Crafting Your Own Scissors Sketch: A Look At Everyday Tools As Art
Have you ever stopped to truly look at the everyday items around you? Like, really look at them? It's almost, that, the simplest tools, the ones we reach for without a second thought, can hold so much visual interest. A pair of scissors, for example, might just be a tool for cutting, but when you think about it, its shape, its mechanics, well, it offers a fascinating subject for anyone who enjoys putting pencil to paper. We're going to explore what makes a great scissors sketch, looking at these familiar objects with fresh eyes.
You see, sketching isn't just about drawing something pretty; it's also about seeing the form, the purpose, and the little details that give an object its character. And honestly, a pair of scissors, in all its varied forms, provides a rich landscape for artistic exploration. It’s a chance to practice seeing angles, curves, and how different parts come together.
So, what exactly goes into making a compelling drawing of this common item? We will walk through how to approach sketching scissors, thinking about their parts, their different types, and how to capture their essence. It’s a bit like getting to know your subject before you draw it, which, you know, can really make a difference in your art.
Table of Contents
- Seeing the Scissors as an Artist
- Getting Started with Your Sketch
- Adding Detail and Texture
- Sketching Different Types of Scissors
- Why Sketch Everyday Objects Like Scissors?
- Frequently Asked Questions About Scissors Sketches
Seeing the Scissors as an Artist
When you pick up a pair of scissors, you usually just think about what it cuts. But for a scissors sketch, you really need to shift your view. It's about seeing the lines, the curves, the way light catches on the metal. This kind of observation, you know, helps you create a drawing that feels alive.
It's not just about copying what you see. It's about interpreting it, about showing the character of the object. A well-done sketch can tell a story about the tool, even if it's just a simple pair of office scissors.
The Fundamental Parts of Scissors
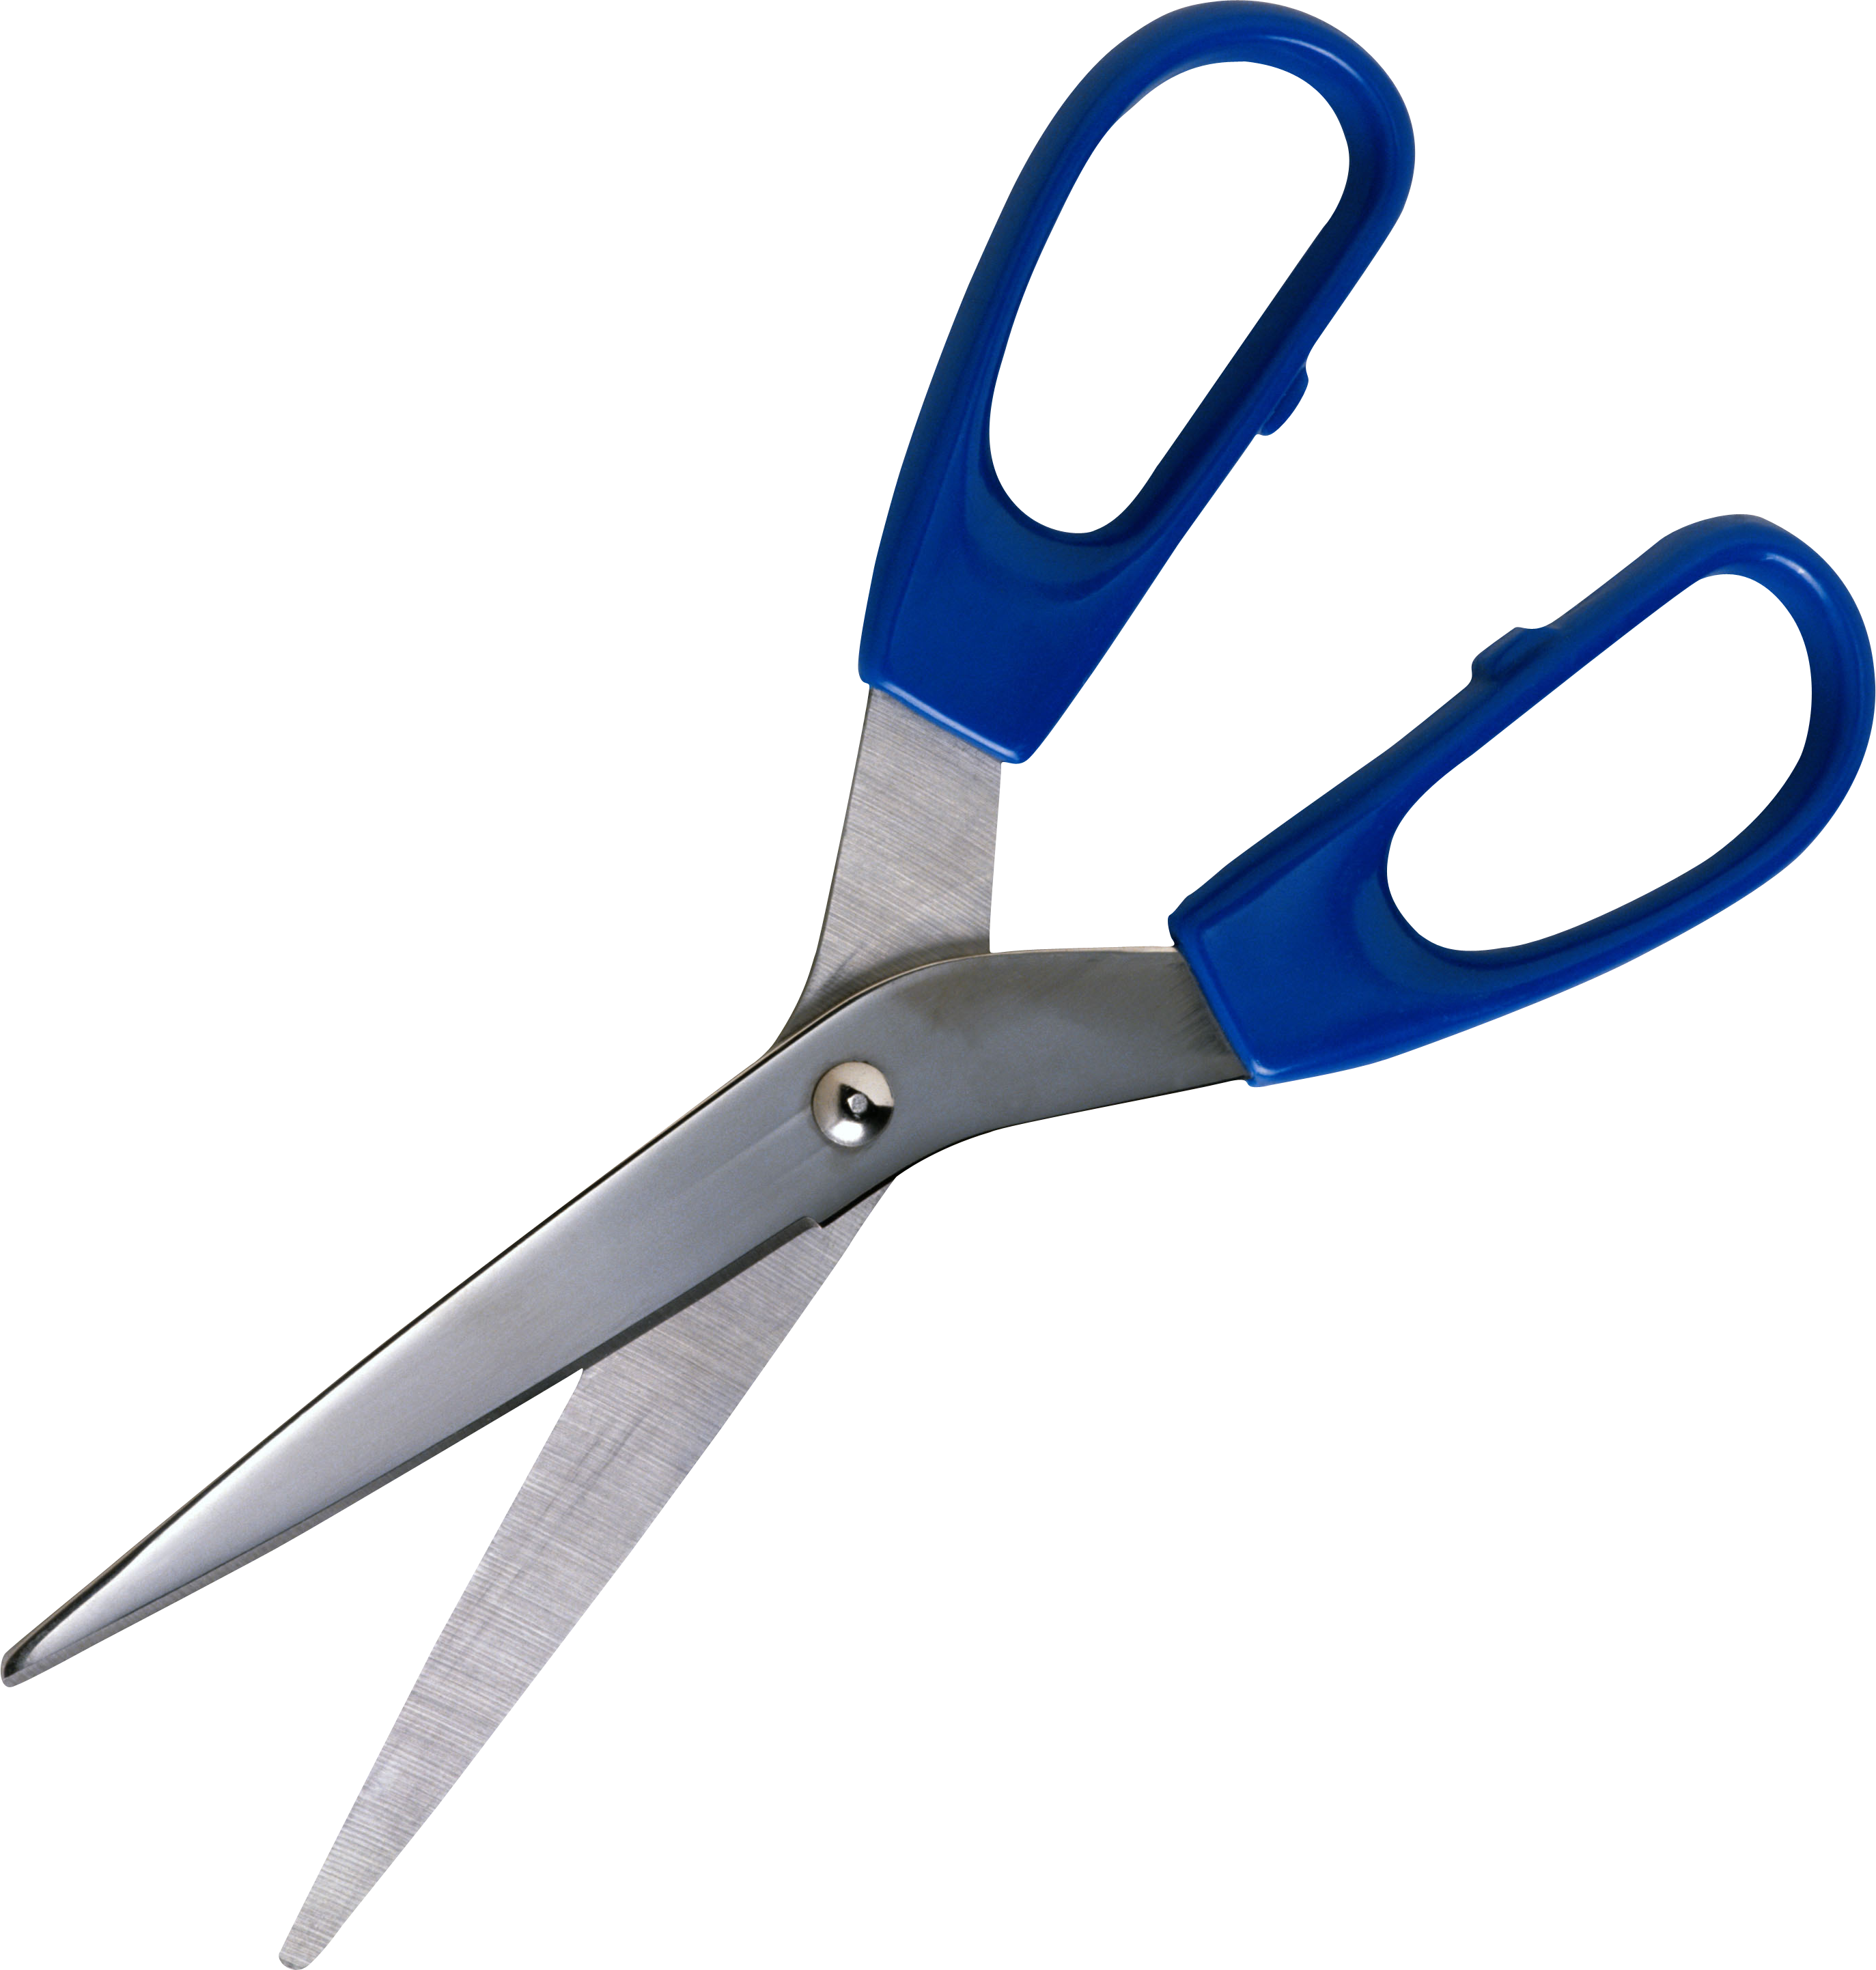
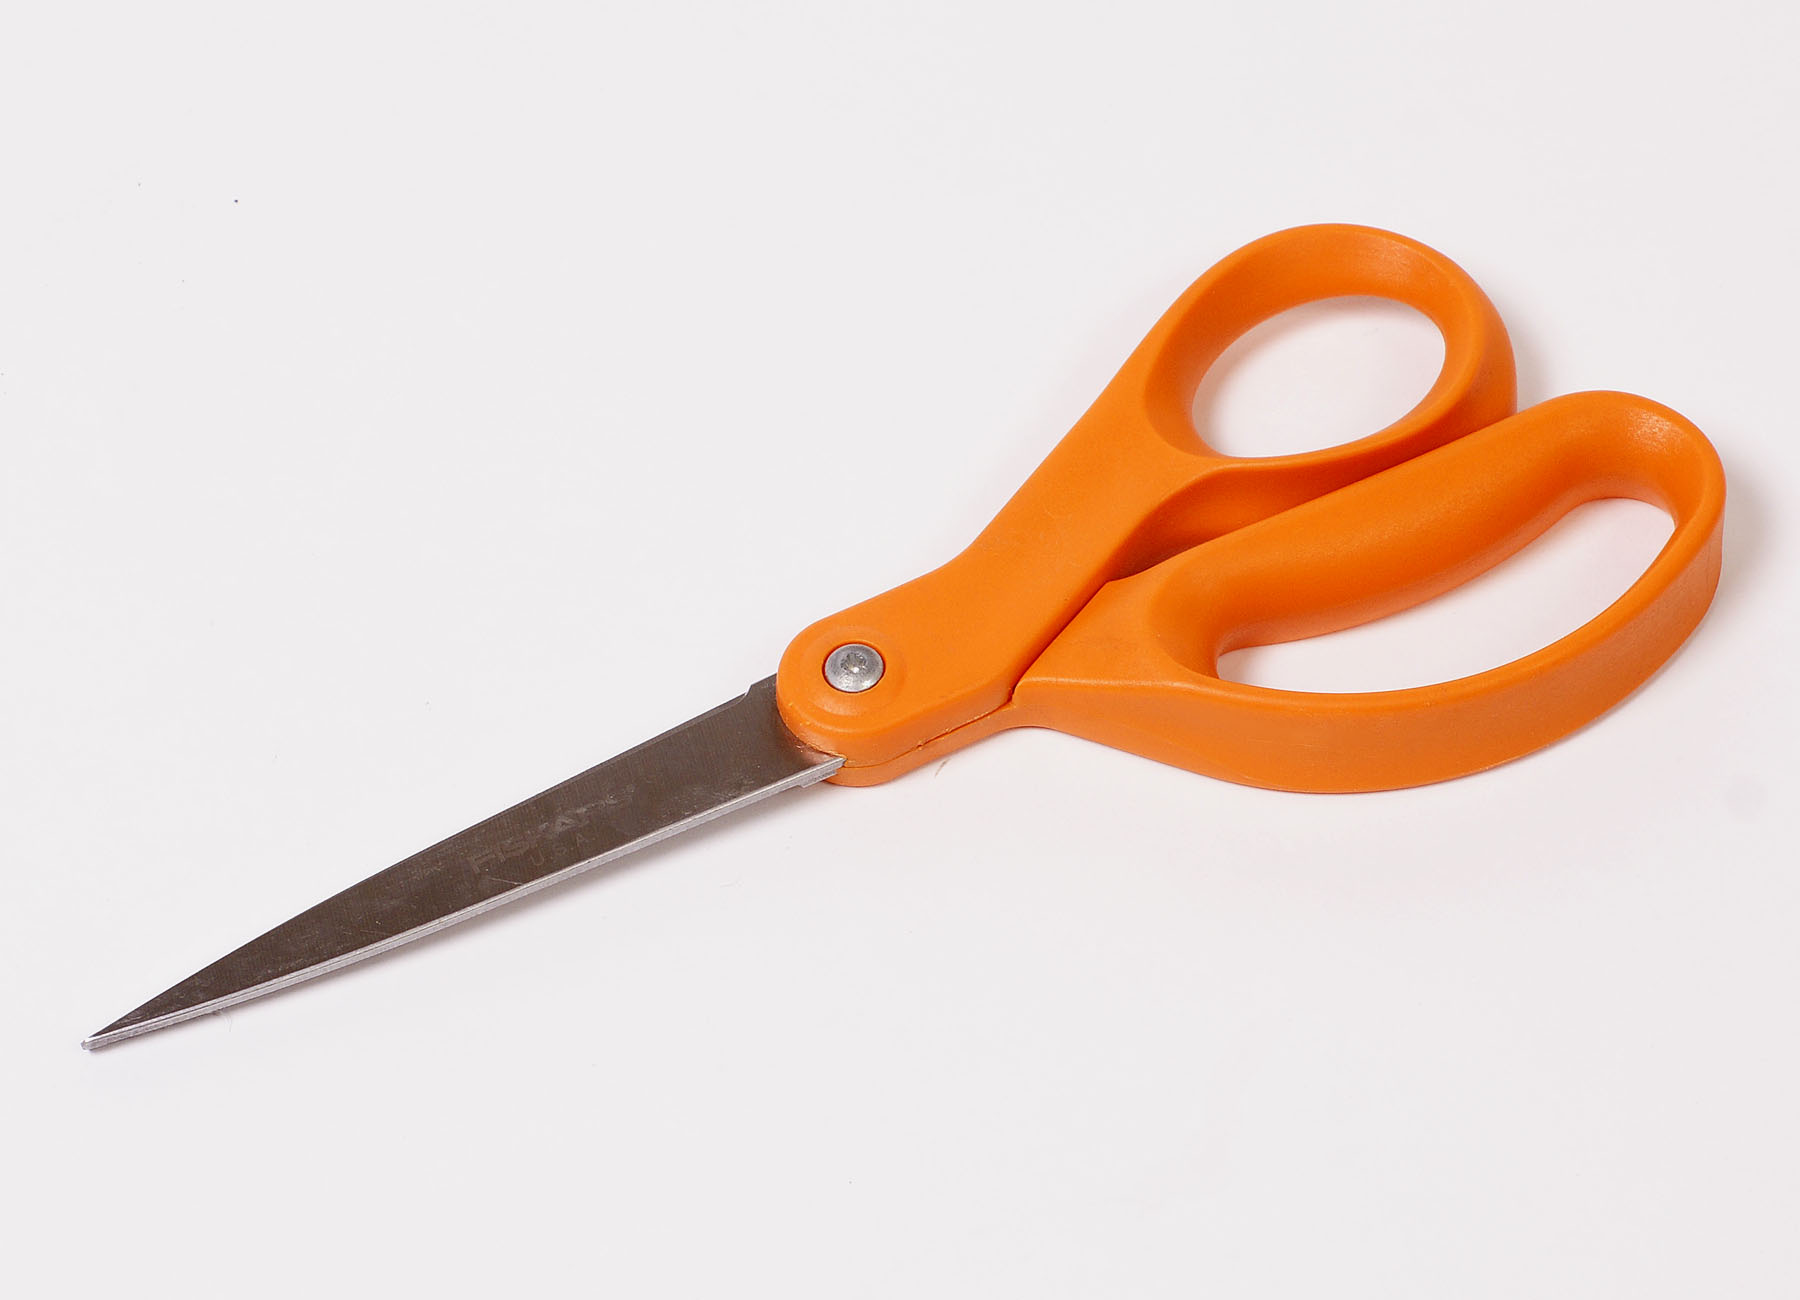
So, a pair of scissors, as a matter of fact, is made up of two blades. These blades are joined at a point, or pivoted, as some might say. The sharp sides of these blades glide past each other when you move the handles. These handles, which are often called bows, are on the opposite side from where the blades are joined. Understanding this basic structure, well, it's pretty important for drawing them correctly.
When you're doing a scissors sketch, you'll want to pay attention to how those two parts, the blades and the handles, connect. The pivot point is a very, very key element. It’s where all the movement happens, and it gives the scissors their distinctive action. Capturing this pivot accurately can really make your drawing feel right.
Variety in Form and Function
Interestingly enough, scissors come in so many different shapes and styles. We often choose scissors that can satisfy a whole range of uses. This could be anything from cutting fabric to snipping herbs, or just general-purpose options. This variety, you know, means there's a pair for just about every type of person or every task.
This wide selection means a lot of interesting subjects for your scissors sketch. You might pick a pair with serrated edges, for instance, if you're trying to show something that cuts through multiple layers of fabric. Or, perhaps, a pair with ergonomic grips, which are designed to keep hands comfortable, could be your focus. Each type has its own visual language, which is rather fascinating to explore on paper.
Getting Started with Your Sketch
Alright, so you've decided to tackle a scissors sketch. Where do you even begin? It can seem a little daunting at first, especially with all those curves and angles. But honestly, breaking it down into smaller steps makes it much more manageable.
The first thing, I mean, the very first thing, is to just observe. Pick up a pair of scissors. Hold it. Feel its weight. See how the light hits it. This kind of physical interaction, you know, can really inform your drawing.
Choosing Your Subject
You might have several pairs of scissors lying around. Maybe some from office supplies, or a sturdy pair from the tools department. Take a moment to pick the one that speaks to you. Is it an old, well-used pair with a bit of character? Or a sleek, modern design? The choice of your subject, pretty much, sets the tone for your scissors sketch.
Consider the purpose of the scissors you pick. A pair designed for cutting tough materials, like those from a hardware store, will look quite different from small paper scissors. This functional difference, you know, translates directly into their visual form. Think about the story the scissors tell just by their appearance.
Initial Shapes and Angles
When you start your scissors sketch, begin with the very basic shapes. Don't worry about the tiny details yet. Think about the overall outline. Are the handles more circular or oval? How long are the blades compared to the handles? These initial measurements and proportions are, like, super important.
Try to capture the main angles first. Where do the blades meet? How do the handles curve away from the pivot? You can use light, feathery lines at this stage. It’s all about getting the general feel of the object down on paper. Don't press too hard, because you might need to adjust things a little as you go.
Adding Detail and Texture
Once you have the basic structure of your scissors sketch, you can start to add the more interesting bits. This is where the drawing really starts to come to life. It's about paying attention to the smaller features that make each pair of scissors unique.
Think about the materials too. Is it shiny metal? Dull plastic? The way you shade and add lines can really show these differences. It’s a bit like adding layers to a story, you know, making it richer and more detailed.
The Blades and Their Purpose
The blades are, obviously, a very central part of any scissors sketch. They are where the cutting action happens. You'll want to show their length, their taper, and how sharp they appear. Some blades might be perfectly smooth, while others, like those used for fabric, could have serrations.
The way the sharpened edges slide against each other is key to how scissors work. In your drawing, you can hint at this by how you render the edges. Are they thin and precise? Or a bit thicker, suggesting strength? This visual representation, you know, tells a lot about the blade's intended use.
Handles and Comfort
The handles, or bows, are where the user interacts with the scissors. They come in so many shapes and sizes. Some are simple loops, while others are designed with ergonomic grips to fit the hand comfortably. When you're doing a scissors sketch, paying attention to these details can really show the thought put into the tool's design.
Think about the material of the handles too. Are they plastic? Rubberized? Metal? The texture you add to your drawing can communicate this. For example, a pair with ergonomic grips might have a slightly softer, more rounded look compared to a pair with rigid metal handles. This distinction, you know, adds a lot to the realism of your sketch.
Sketching Different Types of Scissors
Since scissors come in such a wide array of types, it’s a good idea to practice sketching a few different kinds. This really helps you see how subtle changes in design reflect different purposes. It’s like learning the different dialects of a language, you know, each one has its own nuances.
From office scissors to those used for tough materials, each pair presents its own drawing challenges and opportunities. It keeps your sketching practice fresh and interesting, too.
Multipurpose and Utility Scissors
Many scissors are designed as multipurpose tools. They seamlessly tackle various tasks, like cutting paper, cardboard, fabric, photos, and so much more. These are often sturdy enough to serve as utility scissors, capable of handling a bit of everything. For your scissors sketch, these types often have a balanced look, not too delicate, not too bulky.
When drawing multipurpose scissors, you might focus on their robust build. They tend to have stronger blades and handles that look like they can take a bit of wear and tear. Capturing that sense of durability, you know, can be a fun challenge.
Specialized Scissors for Specific Tasks
Then there are the specialized scissors. You might find a pair that's ideal for cutting paper, cardboard, or even wire. Some are designed to cut through tough materials, perhaps from a place like Harbor Freight, as a matter of fact. These specialized tools often have very distinct features that set them apart.
For a scissors sketch of these, you'd really want to emphasize those unique traits. A wire cutter, for instance, might have much thicker blades or different handle shapes to give more leverage. A fabric shear might have a longer blade and a bent handle. These specific design elements, you know, are what make the sketch interesting.
Why Sketch Everyday Objects Like Scissors?
You might wonder why bother sketching something as common as scissors. Well, honestly, it’s a fantastic way to sharpen your observational skills. These objects are readily available, so you can pick one up, turn it around, and really study it from every angle. This kind of practice, you know, is invaluable for any artist.
Plus, drawing familiar things helps you see them in a new light. It makes you appreciate the design and engineering that goes into even the simplest tools. A successful scissors sketch isn't just a drawing; it's a testament to careful observation and thoughtful rendering. It helps you develop your hand-eye coordination and your ability to translate three-dimensional objects onto a two-dimensional surface. You can learn more about drawing techniques on our site, which can really help with this.
And, as a matter of fact, it’s a great way to build your visual vocabulary. The more different objects you draw, the better you become at understanding form, light, and shadow. It’s a foundational skill, really, that can be applied to more complex subjects later on. This practice, you know, really helps you grow as an artist.
Frequently Asked Questions About Scissors Sketches
Here are some common questions people often ask about drawing scissors.
What is the easiest way to start a scissors sketch?
The easiest way, you know, is to begin with the main shapes. Don't get caught up in the tiny details right away. Think of the handles as simple circles or ovals, and the blades as long, narrow rectangles. Then, you can gradually refine those shapes. It's all about building up your drawing from simple forms.
How do I make my scissors sketch look realistic?
To make your scissors sketch look realistic, pay close attention to the light and shadow. Where does the light source come from? How does it hit the metal blades, making them shiny in some spots and darker in others? Also, consider the thickness of the blades and the curves of the handles. Adding subtle texture, like the feel of the grip, can also help a lot. It’s about observing those little nuances, you know.
What materials are best for drawing scissors?
For drawing scissors, you can use just about any material. A simple pencil and paper are perfectly fine for a basic sketch. If you want to add color, colored pencils or markers work well. For a more detailed look, you might try charcoal or even ink. It really depends on the style you're going for. Just pick what you feel comfortable with, you know, and have fun experimenting.
We hope this has given you a fresh perspective on the humble scissors and inspired you to try your own sketch. There's so much to discover when you really look at the world around you, and every object, even a pair of scissors, can be a source of artistic inspiration. You can find more inspiration for everyday object drawing right here on our site. Check out this page for more ideas.

File:Pair of scissors with black handle, 2015-06-07.jpg - Wikimedia Commons
scissors PNG image
File:Large-scissors.jpg
