Crafting Unique Walls: The Art Of Plaster Stencils For Walls
Transforming your living space can feel like a big project, can't it? Yet, what if you could add a truly special touch, something that really shows off your personal style, right on your walls? Using plaster stencils for walls offers a wonderful way to bring amazing texture and beautiful designs into any room. It's a method that lets you create stunning, raised patterns, making your home feel much more custom and thoughtfully designed. This isn't just about painting; it's about giving your walls a whole new dimension, a bit like creating a piece of art that covers an entire surface.
For those who appreciate decor that stands out, plaster stencils are, you know, a fantastic choice. They allow for an incredible range of looks, from subtle, elegant textures to bold, intricate motifs. Think about it: you can have patterns that feel ancient and classic, or something very modern and clean. It’s pretty amazing how much you can do with just a few simple tools and some creative ideas. This technique, too, is a bit of a secret weapon for decorators who want to make a big impact without, perhaps, a huge amount of fuss.
So, if you're keen to explore a decorating technique that offers both visual interest and tactile appeal, staying with us might be a good idea. We're going to talk all about how plaster stencils can change your walls, what you need to get started, and how to make sure your project looks just right. It's actually a lot simpler than you might think to achieve these beautiful, textured designs, and the results are really quite rewarding, wouldn't you say?
Table of Contents
- What Are Plaster Stencils for Walls?
- Why Choose Plaster Stencils for Your Home?
- Getting Started: Materials and Tools
- The Process: Step-by-Step Application
- Creative Ideas and Advanced Techniques
- Common Questions About Plaster Stencils
- Making Your Walls Stand Out
What Are Plaster Stencils for Walls?
Well, plaster stencils for walls are essentially templates that you use to apply a pasty composition, like plaster, onto a surface, creating a raised, textured design. This material, you know, hardens as it dries. Plaster itself is a building material, often used for protective or decorative coatings on walls and ceilings, and also for making decorative elements. It's typically a mix of lime or gypsum, water, and sand, which makes it very versatile for creating different effects. Victoria Larsen Stencils, for example, was actually one of the first to introduce raised plaster stencils back in 2004, and they've been a leader in this unique decorating technique ever since, which is pretty cool.
So, instead of just painting a flat design, you're actually building up a three-dimensional image. This gives your walls a depth and a tactile quality that regular paint or wallpaper just can't quite match. It’s like adding a sculptural element directly to your living space. You can find a very good selection of plaster stencils for walls, offering all sorts of unique or custom, handmade pieces, from various stencils and templates shops. It’s quite a popular thing, really.
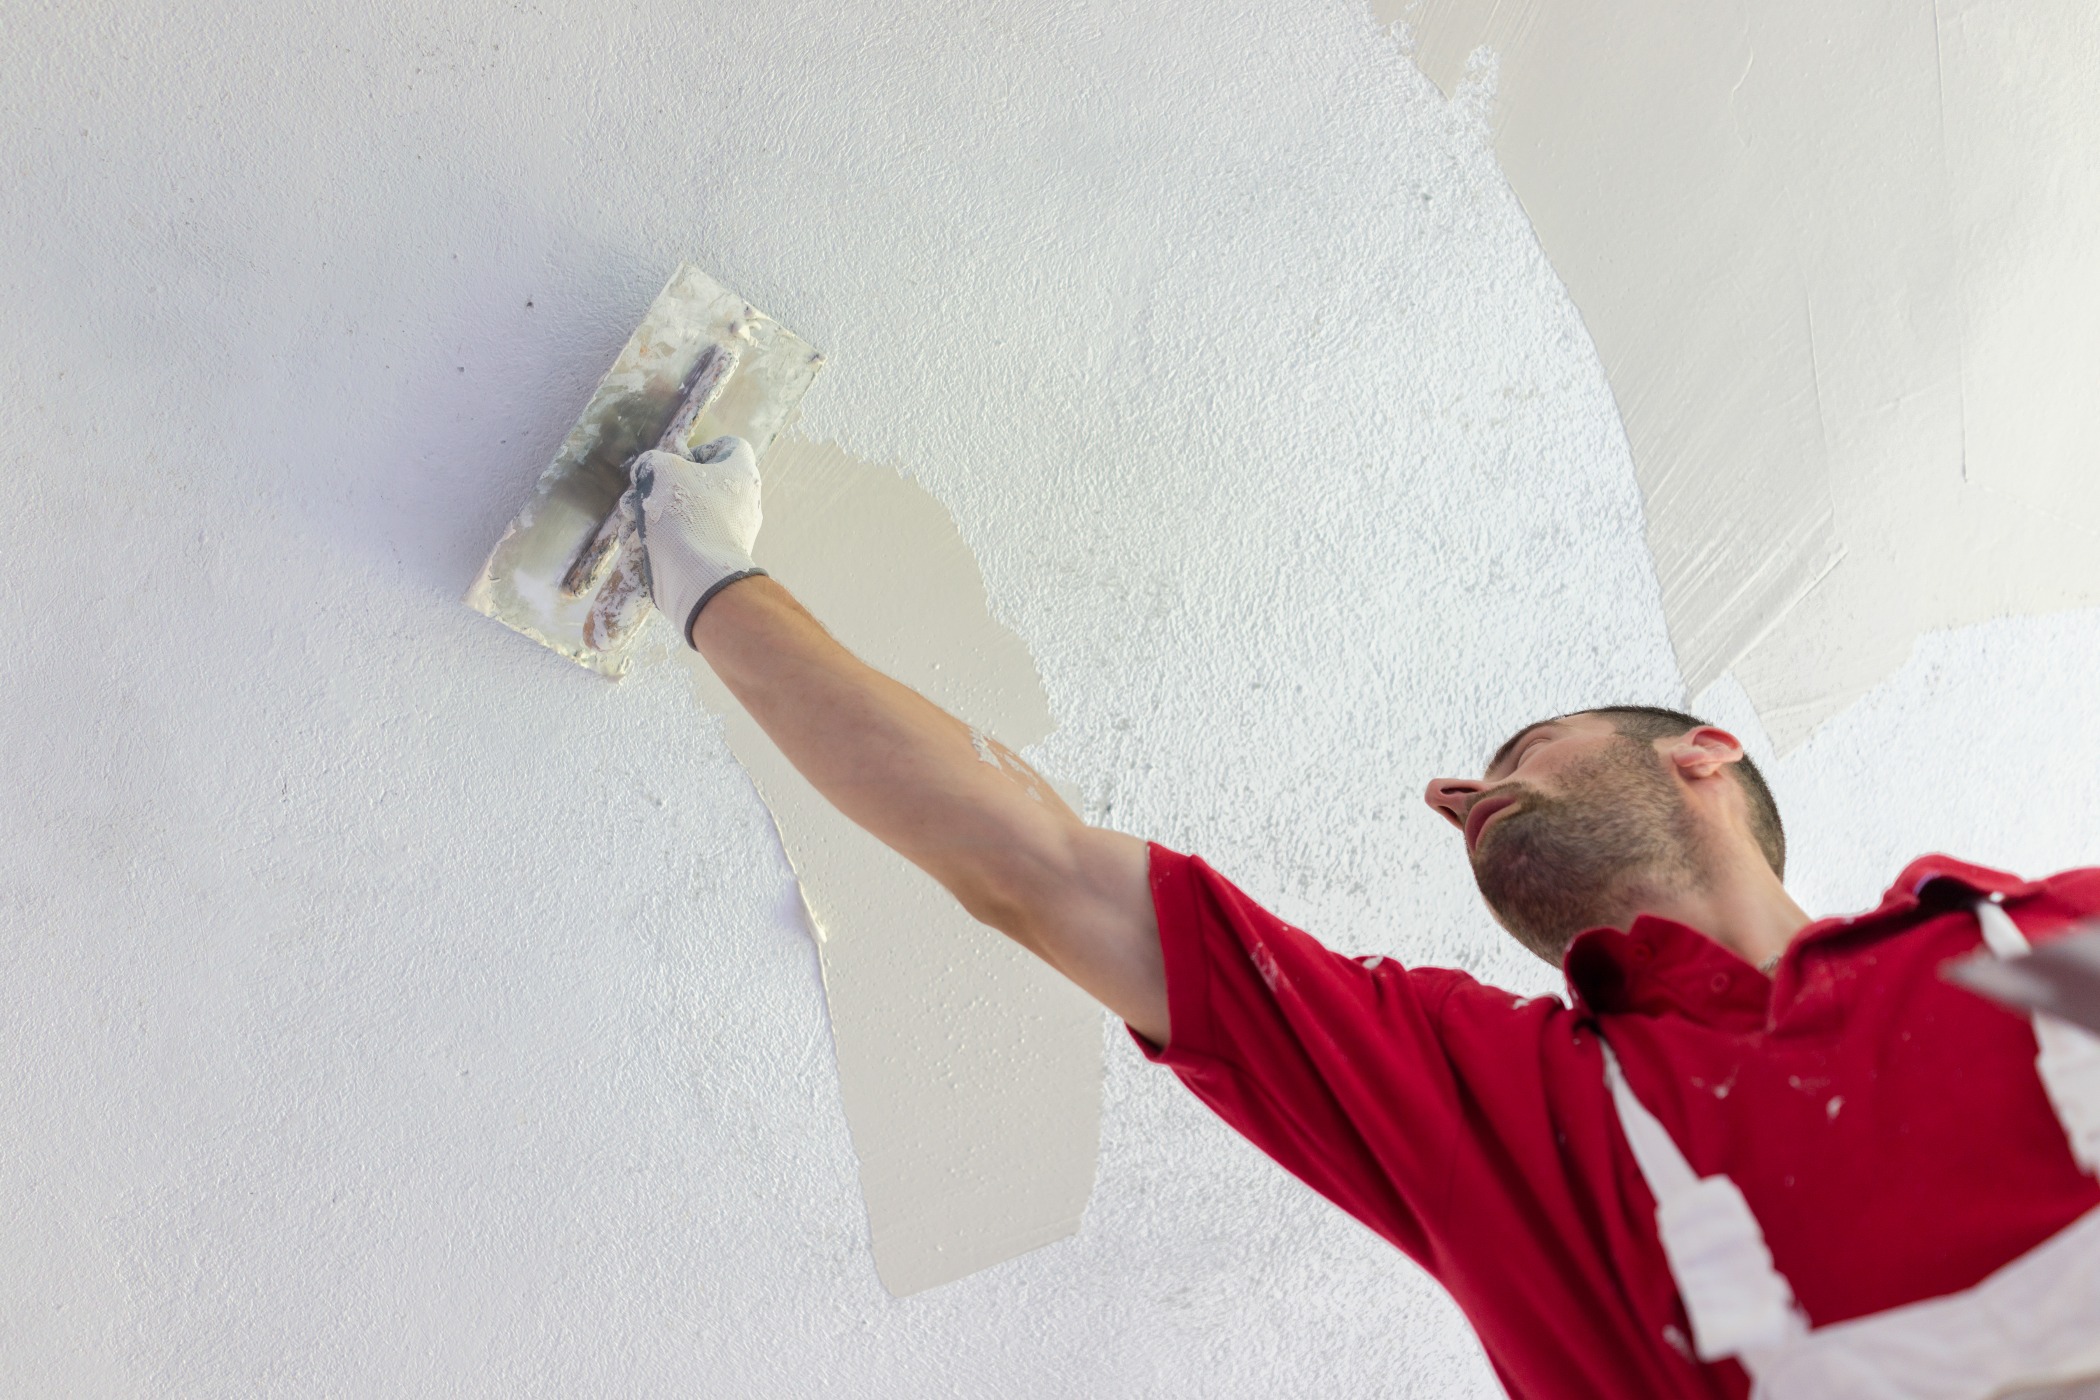
This method lets you learn to create really stunning plaster reliefs on interior walls using stencils. It’s often seen as an easy DIY guide for beautiful, textured designs, too. While applying plaster can be a highly technical process, often best left to professionals, this specific stencil technique makes it much more accessible for almost anyone to try. It's a way to get that professional look, but on your own terms, you see.
Why Choose Plaster Stencils for Your Home?
Choosing plaster stencils for your walls brings a whole host of benefits, especially if you're looking to add character and a unique feel to your home. It’s not just about covering a surface; it's about creating something that truly reflects your style and adds value, both visually and, in a way, emotionally, to your living space.
A Touch of Elegance and Depth
One of the biggest reasons people love plaster stencils is the incredible depth and elegance they add. Unlike flat paint or wallpaper, the raised designs catch the light in interesting ways, creating shadows and highlights that change throughout the day. This dynamic quality makes your walls feel alive and much more sophisticated. Pairing Royal Design Studio stencils with Novacolor decorative finishes, for instance, creates infinite possibilities for texture and pattern, really releasing the creativity of the professional decorator, and you too, for that matter. It's quite remarkable, actually.
This texture can make a room feel cozier or more grand, depending on the pattern you choose. It's a subtle yet very impactful way to make a statement. You can, for example, use a delicate floral pattern for a soft, inviting bedroom, or perhaps a geometric design for a more modern and striking living area. The options are, in some respects, nearly endless.
Unleashing Your Inner Artist
For many, the appeal of plaster stencils lies in the chance to be creative without needing to be an expert artist. The stencil does much of the hard work for you, providing the outline, while you get to enjoy the process of applying the plaster and seeing your design come to life. It's a very satisfying feeling to create something beautiful with your own hands. This DIY approach means you can customize every detail, from the thickness of the plaster to the finish, making your project truly unique. You know, it’s a wonderful way to express yourself.
It's also a fantastic way to experiment with different looks. You might start with a small accent wall, and then, if you really like it, move on to larger areas. The process itself is quite meditative for some people, too. You get to focus on the task at hand, and watch as your vision takes shape, which is pretty cool.
Durability and Longevity
Plaster, as a material, is quite robust once it's dry. It provides a durable coating that can stand up to daily wear and tear better than some other wall finishes. While it's true that plaster can be brittle and might crack if a home settles, especially compared to drywall, when applied correctly with stencils, it can last for many years. This means your beautiful textured designs will continue to look great for a long time, providing lasting beauty to your home. It's a fairly long-term solution for wall decor, you see.
Maintaining plaster walls is also relatively straightforward. They can often be cleaned with a soft cloth, and if needed, you can touch up small areas. This durability makes plaster stencils a practical choice for high-traffic areas or for anyone wanting a low-maintenance yet high-impact wall treatment. It's quite a sensible option, really.
Getting Started: Materials and Tools
Before you jump into creating your amazing textured walls, it's a good idea to gather everything you'll need. Having the right materials and tools on hand will make the process much smoother and help you achieve the best results. It's kind of like preparing for a cooking project; you wouldn't start without all your ingredients, would you?
Choosing the Right Plaster
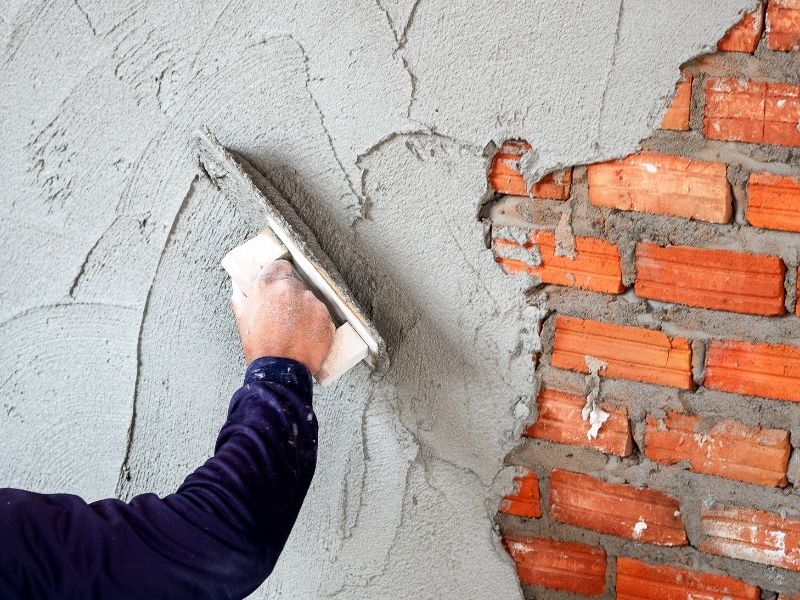
The type of plaster you use is very important for the final look and feel of your textured design. Plaster is a pasty composition that hardens when it dries, and it was used as a medium for centuries. You have options like lime plasters, which offer a natural, breathable finish, or gypsum-based plasters, which are common for interior use. Venetian plaster and Tadelakt are also popular choices, offering unique textures and sheens. Makers of the finest natural lime and marble coatings can apply these in any texture, sheen, or color, which is really versatile.
For raised stencil work, you generally want a plaster that has a good consistency – not too runny, not too thick – so it holds its shape when applied through the stencil. Some plasters are specifically formulated for decorative finishes, which can be a good starting point. You can actually shop for plaster at places like walmart.com, and you might even get free shipping on qualified plaster products or buy online pick up in store today in the paint department, which is pretty convenient, you know.
Selecting Your Stencils
This is where the fun really begins! Your stencil choice will determine the pattern on your wall. As mentioned, you can check out plaster stencils selections for the very best in unique or custom, handmade pieces from various stencils & templates shops. Royal Design Studio stencils, for example, are known for their quality and wide range of designs. You'll want a stencil that's durable and easy to clean, especially since you'll be working with a wet material.
Consider the scale of your design in relation to the size of your wall. A large, repeating pattern can make a big impact on a broad wall, while smaller, more intricate stencils might be better for an accent area or even furniture. Raised plaster stencils allow you to create raised images on furniture or even walls, so think about where else you might want to add a touch of texture. It's quite flexible, you see.
Essential Tools for Application
Beyond the plaster and stencils, you'll need a few key tools. A flexible putty knife or a plastering trowel is crucial for applying the plaster smoothly over the stencil. You'll also want painter's tape to secure your stencil to the wall, a spray adhesive for extra hold, and a damp sponge or cloth for cleaning up any excess plaster. A level will help you keep your designs straight, which is, you know, pretty important for a neat finish.
Having a bucket of water nearby for cleaning your tools immediately after use is also a very good idea. Plaster can dry quickly, and it's much easier to clean tools when the material is still wet. Some people also like to have a small brush for touching up fine details, too. These basic tools will get you well on your way to creating beautiful textured walls, really.
The Process: Step-by-Step Application
Now that you have all your materials ready, let's go through the steps of applying plaster stencils to your walls. This easy DIY guide is for beautiful, textured designs, so don't worry, it's actually quite manageable. Just take your time, and you'll get some great results, you know.
Surface Preparation
First things first, your wall needs to be clean, dry, and smooth. Any dust, dirt, or loose paint could prevent the plaster from adhering properly. Give the wall a good wipe down, and if there are any holes or cracks, fill them and sand them smooth. If your wall is freshly painted, make sure the paint is fully cured. A primer can also be very helpful, especially if you're working on a porous surface, as it creates a consistent base for the plaster. This step is, you know, pretty important for a good outcome.
Remember that plastering is one of the final steps in finishing an interior or exterior wall. While applying plaster is a highly technical process that is usually best left to professionals, any preparation you do to your wall makes the stencil application much easier for you. So, take your time here; it really pays off in the end, it does.
Positioning the Stencil
This is where precision comes into play. Decide exactly where you want your design to go. Use a level to ensure your stencil is perfectly straight, especially if it's a repeating pattern. Secure the stencil firmly to the wall using painter's tape around all edges. For extra security and to prevent bleed-under, you might also use a temporary spray adhesive on the back of the stencil. This helps keep the stencil very flat against the wall, which is, you know, quite helpful for crisp lines.
If you're doing a repeating pattern, measure carefully to ensure consistent spacing between each application. Some stencils have registration marks to help with this, which is really handy. Take a moment to step back and look at the placement before you start applying plaster; it's much easier to adjust now than later, you see.
Applying the Plaster
Now for the main event! Scoop a small amount of plaster onto your putty knife or trowel. Start at one edge of the stencil and, using a smooth, even motion, spread the plaster thinly and evenly over the stencil's openings. You want to apply just enough pressure to push the plaster through the openings without forcing it under the stencil. The goal is to create a raised image, so don't apply too much, but make sure it covers the entire design. It's a bit like frosting a cake, you know, in a way.
Once you've covered the design, use your knife to carefully scrape off any excess plaster from the surface of the stencil, leaving only the plaster that has gone through the openings. This helps create a clean, crisp edge for your raised design. Work relatively quickly, as plaster can start to set, you know, pretty fast.
Finishing Touches
This is a crucial step for a clean result. Carefully and slowly peel the stencil away from the wall immediately after applying the plaster. Do not wait for the plaster to dry completely, as it might stick to the stencil and pull away from the wall. Pull the stencil straight back, not up or to the side, to avoid smudging your fresh design. You'll see your beautiful raised pattern appear! It's actually quite exciting, you know, at this point.
If there are any small imperfections or rough edges, you can gently smooth them with a damp finger or a small brush before the plaster fully hardens. If you're doing a repeating pattern, clean your stencil thoroughly before moving it to the next position. This prevents any dried plaster from creating messy edges on subsequent applications. Let the plaster dry completely according to the manufacturer's instructions, which might take several hours. Once dry, you can paint or seal your design if you wish, adding another layer of customization. It’s a very satisfying process, really.
Creative Ideas and Advanced Techniques
Once you get comfortable with the basic technique of using plaster stencils for walls, you might want to explore some more creative ideas. There's a whole world of possibilities beyond just a single color and texture. It's actually pretty cool how much you can do, you know, to make your walls truly unique.
Mixing Textures and Colors
Don't feel limited to just one type of plaster or one color. You could, for instance, apply a base layer of one plaster texture and then use your stencil with a different type of plaster for the raised design. Or, after your plaster design has dried, you could paint over it with a contrasting color to make the raised pattern really pop. You can also use metallic paints or glazes to add a subtle shimmer or an antique look. This layering of finishes adds incredible depth and visual interest, making your wall a true focal point. It’s quite artistic, in a way.
Think about using lime paint over a plaster stencil design for a soft, matte finish, or perhaps a Venetian plaster technique for a more polished, marble-like effect. The makers of the finest natural lime and marble coatings, as a matter of fact, can apply their products in any texture, sheen, or color, which gives you so much freedom. You could even incorporate multiple colors within the stencil design itself, carefully painting different sections once the plaster is dry. The possibilities are, you know, quite vast.
Beyond Walls: Furniture and More
While the focus is on plaster stencils for walls, remember that raised plaster stencils allow you to create raised images on furniture or even other decorative elements. Imagine a plain dresser transformed with an elegant raised pattern on its drawer fronts, or a simple wooden box given a new life with a textured design. This technique isn't just for large surfaces; it can add a bespoke touch to smaller items too. It’s actually very versatile, you know, what you can do.
You could also use this technique on canvas or wood panels to create unique art pieces that complement your wall designs. Or, consider adding a textured border around a mirror or a doorway. The material, plaster, was used as a medium for moulding and casting decorative elements for a very long time, so its application isn't limited to just flat surfaces. It’s pretty neat how you can extend this creativity throughout your home, really.
Common Questions About Plaster Stencils
People often have questions when they're thinking about using plaster stencils for their walls. Here are some common ones that might help you, you know, get a better grasp of things.
Is it difficult to cut into plaster walls if I need to make changes later?
Well, it's more difficult to cut into plaster walls when you need to make plumbing or electrical upgrades, that's true. Plaster is quite hard and brittle compared to drywall. So, while it's durable, modifications can be a bit more involved. It's something to keep in mind, you know, when planning your long-term home projects.
What kind of plaster should I use for a raised effect?
For a raised effect, you'll want a plaster that's specifically designed for decorative finishes or one that's known for holding its shape well. Gypsum-based plasters are a common choice for interior decorative work. Some specialized products are even labeled for "raised stencil" or "texture" applications. It's always a good idea to check the product description or ask for advice at your local paint or hardware store, you know, just to be sure.
Can I use plaster stencils on surfaces other than walls?
Absolutely! Raised plaster stencils allow you to create raised images on furniture or even other decorative items. People use them on wooden panels, canvases, and even small decor pieces to add texture and unique design. It's actually a very versatile technique that goes beyond just your walls, which is pretty cool.
Making Your Walls Stand Out
Creating beautiful, textured designs with plaster stencils for walls is, you know, a truly rewarding project. It's a way to infuse your home with character and a sense of artistry that flat paint just can't quite capture. From the initial choice of your unique stencil to the final smoothing of the plaster, each step lets you build something truly special. Remember how Victoria Larsen Stencils was the first to introduce you to raised plaster stencils in 2004 and has been the leader ever since with this unique and innovative decorating technique? That's because it works, and it looks amazing. This approach lets you learn to create stunning plaster reliefs on interior walls using stencils, making it an easy DIY guide for beautiful, textured designs.
So, why not consider adding a touch of this unique texture to your own home? Whether you're aiming for a subtle backdrop or a dramatic focal point, plaster stencils offer a versatile and lasting solution. You can really make your walls speak volumes about your personal style, can't you? To learn more about decorating techniques on our site, or perhaps to explore more about different types of plaster finishes, just click on those links. It’s time to give your walls that special something, really.
Plastering walls 101: Everything you need to know | Real Homes
Modern Plaster for 2021 and Beyond - JTD Building Supplies
/Plasterwall-GettyImages-1154410805-733fd7debda049c293c89c1ce034e56b.jpg)
How to Plaster Walls With Clay Instead of Painting
