Achieve The Perfect Sally Skellington Makeup Look For Your Next Event
Are you getting ready for a special gathering, perhaps a costume party or a fun cosplay convention? Maybe you just love the spooky charm of Halloween, even when it's not October. If you're searching for a makeup idea that is both iconic and a little bit spooky, then the Sally Skellington look might be just what you need. This character, with her distinct stitches and unique complexion, offers a fantastic chance to get creative with your face paints and brushes. It's a look that really stands out, you know, and captures attention wherever you go.
So, many people find themselves drawn to Sally from Tim Burton's classic tale, "The Nightmare Before Christmas." She's a character with a lot of heart, a kind spirit, and a look that is truly unforgettable. Recreating her appearance is a fun challenge, and it lets you show off your artistic side. It's actually a pretty rewarding process, seeing her come to life on your own face.
This article will walk you through how to get that signature Sally Skellington makeup. We'll talk about the right products to use, how to apply them, and some clever ways to make your look last. You'll find out how to pick out good quality cosmetic items, just like you would for salon quality hair color or expert hair care, making sure your creation looks its best. You could say, it's about bringing out your most luxurious locks yet, but for your face, more or less!
Table of Contents
- Sally Skellington: The Character Behind the Look
- Why Sally Skellington Makeup Endures
- Getting Started: Your Sally Skellington Makeup Kit
- Step-by-Step: Crafting Your Sally Skellington Face
- Tips for a Flawless, Long-Lasting Look
- Frequently Asked Questions About Sally Skellington Makeup
Sally Skellington: The Character Behind the Look
Who is Sally Skellington?
Sally is a rag doll creation from the mind of Dr. Finkelstein, a rather clever scientist. She longs for independence and to be with Jack Skellington, the Pumpkin King of Halloween Town. She's a sweet and caring character, often seeing things more clearly than the town's other residents. Her appearance is quite unique, made up of different pieces stitched together, which really makes her stand out, you know?
She often has visions, which help her try to warn Jack about potential troubles. Despite her creator's attempts to keep her confined, she's very resourceful and determined. Her distinctive look, with its patchwork skin and visible stitches, is a big part of her appeal, and that's why so many people want to recreate it. It's a pretty powerful visual, really.
Sally Skellington: Character Details
| Full Name | Sally Skellington |
| Species | Rag Doll |
| Creator | Dr. Finkelstein |
| Love Interest | Jack Skellington |
| Signature Look | Patchwork skin, visible stitches, long red hair |
| Personality Traits | Kind, resourceful, independent, caring, intuitive |
Why Sally Skellington Makeup Endures
The appeal of Sally Skellington makeup stays strong year after year, and it's not just for Halloween. This look is a favorite for cosplay events, movie-themed parties, and even artistic photo shoots. Her gentle nature combined with her visually striking appearance makes her a compelling choice for many people. It’s a look that really lets you express a different side of yourself, in a way.
Part of its lasting popularity comes from the distinct elements that are fairly easy to recognize. The pale blue-green skin, the big, expressive eyes, and of course, those iconic stitches. These features offer a fantastic canvas for makeup enthusiasts of all skill levels. Plus, the character herself is just so beloved, which helps a lot, you know?
You can see how this character's makeup really captures the imagination, much like finding amazing beauty deals, coupons, and promotions for top hair, nail, and cosmetic brands. People are always looking for ways to get a special look without too much fuss. This particular style allows for a lot of creativity, yet it's still very achievable for many. It's pretty cool, actually.
Getting Started: Your Sally Skellington Makeup Kit
Before you begin, gathering the right supplies is key to making your Sally Skellington makeup truly shine. Think about it like getting everything ready for a big hair styling session; you need your brushes and tools from sally beauty to style your hair like a pro. The same idea applies here for your face. Having good products on hand makes a big difference, you know?
You'll want to choose cosmetic items that are gentle on your skin but also offer good coverage and staying power. Looking for salon quality options, even for special effects makeup, can really help your look last. It's pretty important to get the right shades and textures, so your face looks just right. You could say, it's almost like a painting project for your face.
Many places offer beauty deals on the kinds of items you'll need, which is a definite plus. You can find everything from face paints to special brushes. It’s about building a collection that helps you bring out your most luxurious locks yet, but for your makeup, really. So, let's look at what you'll want to have ready.
The Essentials for Your Base
Cream or Water-Activated Face Paint (Blue-Green/Mint): This is the foundation of Sally's unique skin tone. You'll want a color that leans more towards a pale mint or a very light teal, rather than a bright blue. A good quality paint will give you smooth coverage, you know, without looking streaky.
Setting Powder (Translucent): After applying your base color, a generous amount of translucent setting powder will help keep it from smudging or creasing. This is a pretty vital step for durability, especially if you plan to wear the makeup for a long time.
Makeup Sponges or Brushes: For applying the base color evenly. Sponges can give a smooth finish, while brushes might help with more precise areas. It really depends on what you feel comfortable using, more or less.
Bringing Her Features to Life
Black Eyeliner (Liquid or Gel): This is crucial for outlining Sally's large, expressive eyes and for drawing the stitches. A liquid liner often gives a sharp, clean line, which is pretty much what you need for this look. You want something that won't smudge easily, so it stays put.
White Eyeliner or Face Paint: To make the eyes appear larger and brighter. You'll use this on your waterline and perhaps to extend the white of your eyes. It makes a big difference, honestly.
Eyeshadow Palette (Browns, Grays, Purples): For contouring and adding depth around the eyes and cheekbones. Sally's face has a slightly sunken, doll-like quality, which these shades can help create. It's about adding shadows in the right places, you know?
Red Lipstick or Lip Paint: For her small, delicate lips. A deep red or even a brownish-red works well. You don't want anything too bright or glossy, typically.
Adding Those Special Stitches
Fine-Tipped Brush: Absolutely necessary for drawing the thin, precise stitch lines. The smaller the brush, the better control you'll have. It's like using a fine artist's brush, really.
Dark Brown or Black Face Paint/Eyeliner: For the stitches themselves. Some people prefer a dark brown for a slightly softer, more worn look, while others go for stark black. It's a choice that can change the overall feel, you know?
Spirit Gum or Adhesive (Optional): If you plan to add actual yarn or string for a more three-dimensional stitch effect. This is for those who want to go an extra step, so it's not always needed.
Step-by-Step: Crafting Your Sally Skellington Face
Now that you have your tools and cosmetic items ready, let's get into the actual application. Think of this as a creative project, much like when you shop nail supplies, pro nail products, and accessories at sally beauty to create a beautiful manicure. Each step builds on the last, and taking your time will give you the best outcome, you know? It's pretty satisfying to see it all come together.
Prepping Your Canvas
Cleanse and Moisturize: Start with a clean, moisturized face. This creates a smooth base for your makeup and helps it adhere better. It's a pretty basic step, but very important, actually.
Prime Your Skin: Apply a good makeup primer. This helps the face paint go on smoothly and last longer. It's kind of like preparing a wall before you paint it, you know?
Building the Base Color
Apply the Blue-Green Base: Using a damp sponge or a large brush, apply your chosen blue-green face paint evenly over your entire face, neck, and any exposed skin. Build up the color in thin layers until you achieve an opaque, consistent shade. Make sure to blend it down your neck so there isn't a harsh line. It's pretty crucial to get this right, so take your time.
Set the Base: Once the base color is dry, generously dust translucent setting powder over everything. Press the powder into the paint with a puff or large brush, then lightly brush off any excess. This step is super important for preventing smudging and creasing, you know, especially around your mouth and eyes.
Defining Her Eyes and Brows
Shape the Eyes: Using black liquid or gel eyeliner, draw a dramatic, exaggerated outline around your eyes. Sally's eyes are large and roundish, with a slightly sad, doll-like droop at the outer corners. You'll want to extend the line beyond your natural eye shape to create this effect. It's a pretty defining feature, so be careful here.
Fill in the Eyes: Use white eyeliner or face paint on your waterline and to fill in any areas between your natural eye and the new black outline. This makes your eyes appear much larger, almost cartoonish. It's a very striking contrast, actually.
Add Dimension: With a small brush and brown or gray eyeshadow, add subtle shading around the outer edges of your new eye shape and beneath your cheekbones. This creates a more sunken, doll-like appearance. You're basically creating shadows, you know, to give depth.
Draw the Brows: Sally has very thin, arched eyebrows that are often a dark brown or black. Use your black eyeliner or a brow pencil to draw these above your natural brows, following her distinctive shape. They are fairly expressive, so pay attention to the curve, more or less.
Creating the Iconic Stitches
Outline Stitch Paths: With a fine-tipped brush and dark brown or black face paint, lightly sketch where your stitches will go. Sally has prominent stitches across her forehead, down her nose, on her cheeks, and across her mouth. You can also add some on your neck or arms if those areas are exposed. It's like drawing a map for your stitches, you know?
Draw the Stitch Lines: Go over your sketched lines, making them more defined. Keep them relatively thin and slightly uneven, as if they were hand-sewn. This gives them a more authentic, rag doll feel. It's pretty much about imperfection here, actually.
Add Cross-Stitches: Along each main stitch line, draw small, perpendicular dashes to represent the individual threads. These should be short and slightly varied in length, giving a homemade look. This is where the magic happens, so to speak, to make them look real.
Create a "Torn" Mouth: For Sally's mouth, draw a small, delicate red lip. Then, extend a stitch line from one or both corners of your mouth outwards, with cross-stitches, to give the appearance of her mouth being sewn shut or torn. This is a very recognizable part of her look, you know, and really sells the character.
Finishing Touches
Add Freckles (Optional): Sally has small, dark freckles. You can dot these on with a fine brush and brown paint, if you like. It adds a little more detail, you know, and makes the look more complete.
Apply Red Wig: A long, flowing red wig is essential to complete the Sally Skellington look. Make sure it's styled somewhat wildly, like her hair in the film. You want it to look just right, like you've had expert hair care, but for a wig, basically.
Set Again: Give your entire face another light dusting of translucent setting powder or a setting spray to lock everything in place. This is pretty much the final step for durability, honestly. You want it to last through your event.
Tips for a Flawless, Long-Lasting Look
Making your Sally Skellington makeup stay put all day or night is super important, especially if you're going to a long event. Just like you'd want to maintain gorgeous, healthy hair with expert hair care, you want your makeup to look fresh. A few simple tricks can make a big difference, you know, in how long your creation lasts.
One key thing is layering your products correctly. Start with a good primer, then thin layers of face paint, and always, always set with powder. This helps create a kind of barrier that keeps things from smudging. It’s pretty much like building a strong foundation, actually.
Also, try to avoid touching your face too much once the makeup is on. The oils from your hands can break down the product. If you need to scratch an itch, gently pat rather than rub. It's a small thing, but it helps a lot, you know? And if you're looking for the best prices on salon quality hair color, hair care, nail supplies & more, remember that good quality products often perform better and last longer for your makeup too.
Carrying a small compact of translucent powder for touch-ups is also a smart idea. A quick dab can absorb any shine and refresh your look. It's a little trick that can keep you looking perfect, pretty much all the time. You can find beauty deals and coupons for these kinds of items, which is always a plus.
For more inspiration on makeup application techniques, you might check out some professional makeup artist blogs, like this one: Professional Makeup Tips. They often have great ideas for making looks last. It's pretty helpful to see how the pros do it, you know?
Frequently Asked Questions About Sally Skellington Makeup
People often have questions about getting their Sally Skellington makeup just right. It's a popular look, so it's natural to wonder about the best ways to do things. Here are some common things people ask, you know, when they're trying this out.
One question that comes up a lot is about the base color. "What kind of paint should I use for Sally's skin?" For the pale blue-green skin, you'll want a theatrical cream makeup or a water-activated face paint. These give the best coverage and are usually designed to be safe for skin. You can find these at costume shops or online beauty supply stores. It's pretty much about getting good coverage that stays put, so look for something labeled "professional" or "theatrical grade."
Another common query is, "How do I make the stitches look real?" The key to realistic stitches is to use a fine-tipped brush and a dark brown or black liquid eyeliner or face paint. Make sure your base is completely dry and set with powder first. Draw the main lines slightly unevenly, then add small, perpendicular dashes along them. You can even add tiny dots at the ends of the dashes to mimic where the thread goes into the skin. It’s about creating that slightly imperfect, hand-stitched feel, you know?
And finally, people often ask, "How can I make my Sally makeup last all day?" To keep your look fresh, start with a clean, primed face. Apply your base in thin layers, setting each layer with translucent powder. After all your makeup is done, use a good quality setting spray. These sprays create a barrier that helps prevent smudging and fading. Also, try to avoid touching your face throughout the day, as oils from your hands can break down the makeup. You know, just like you'd protect a fresh hairstyle, you want to protect your makeup.
To learn more about beauty essentials on our site, and to find out how to get the best beauty deals, just click these links. We've got plenty of helpful advice and products that can help you create amazing looks, you know, for any occasion.
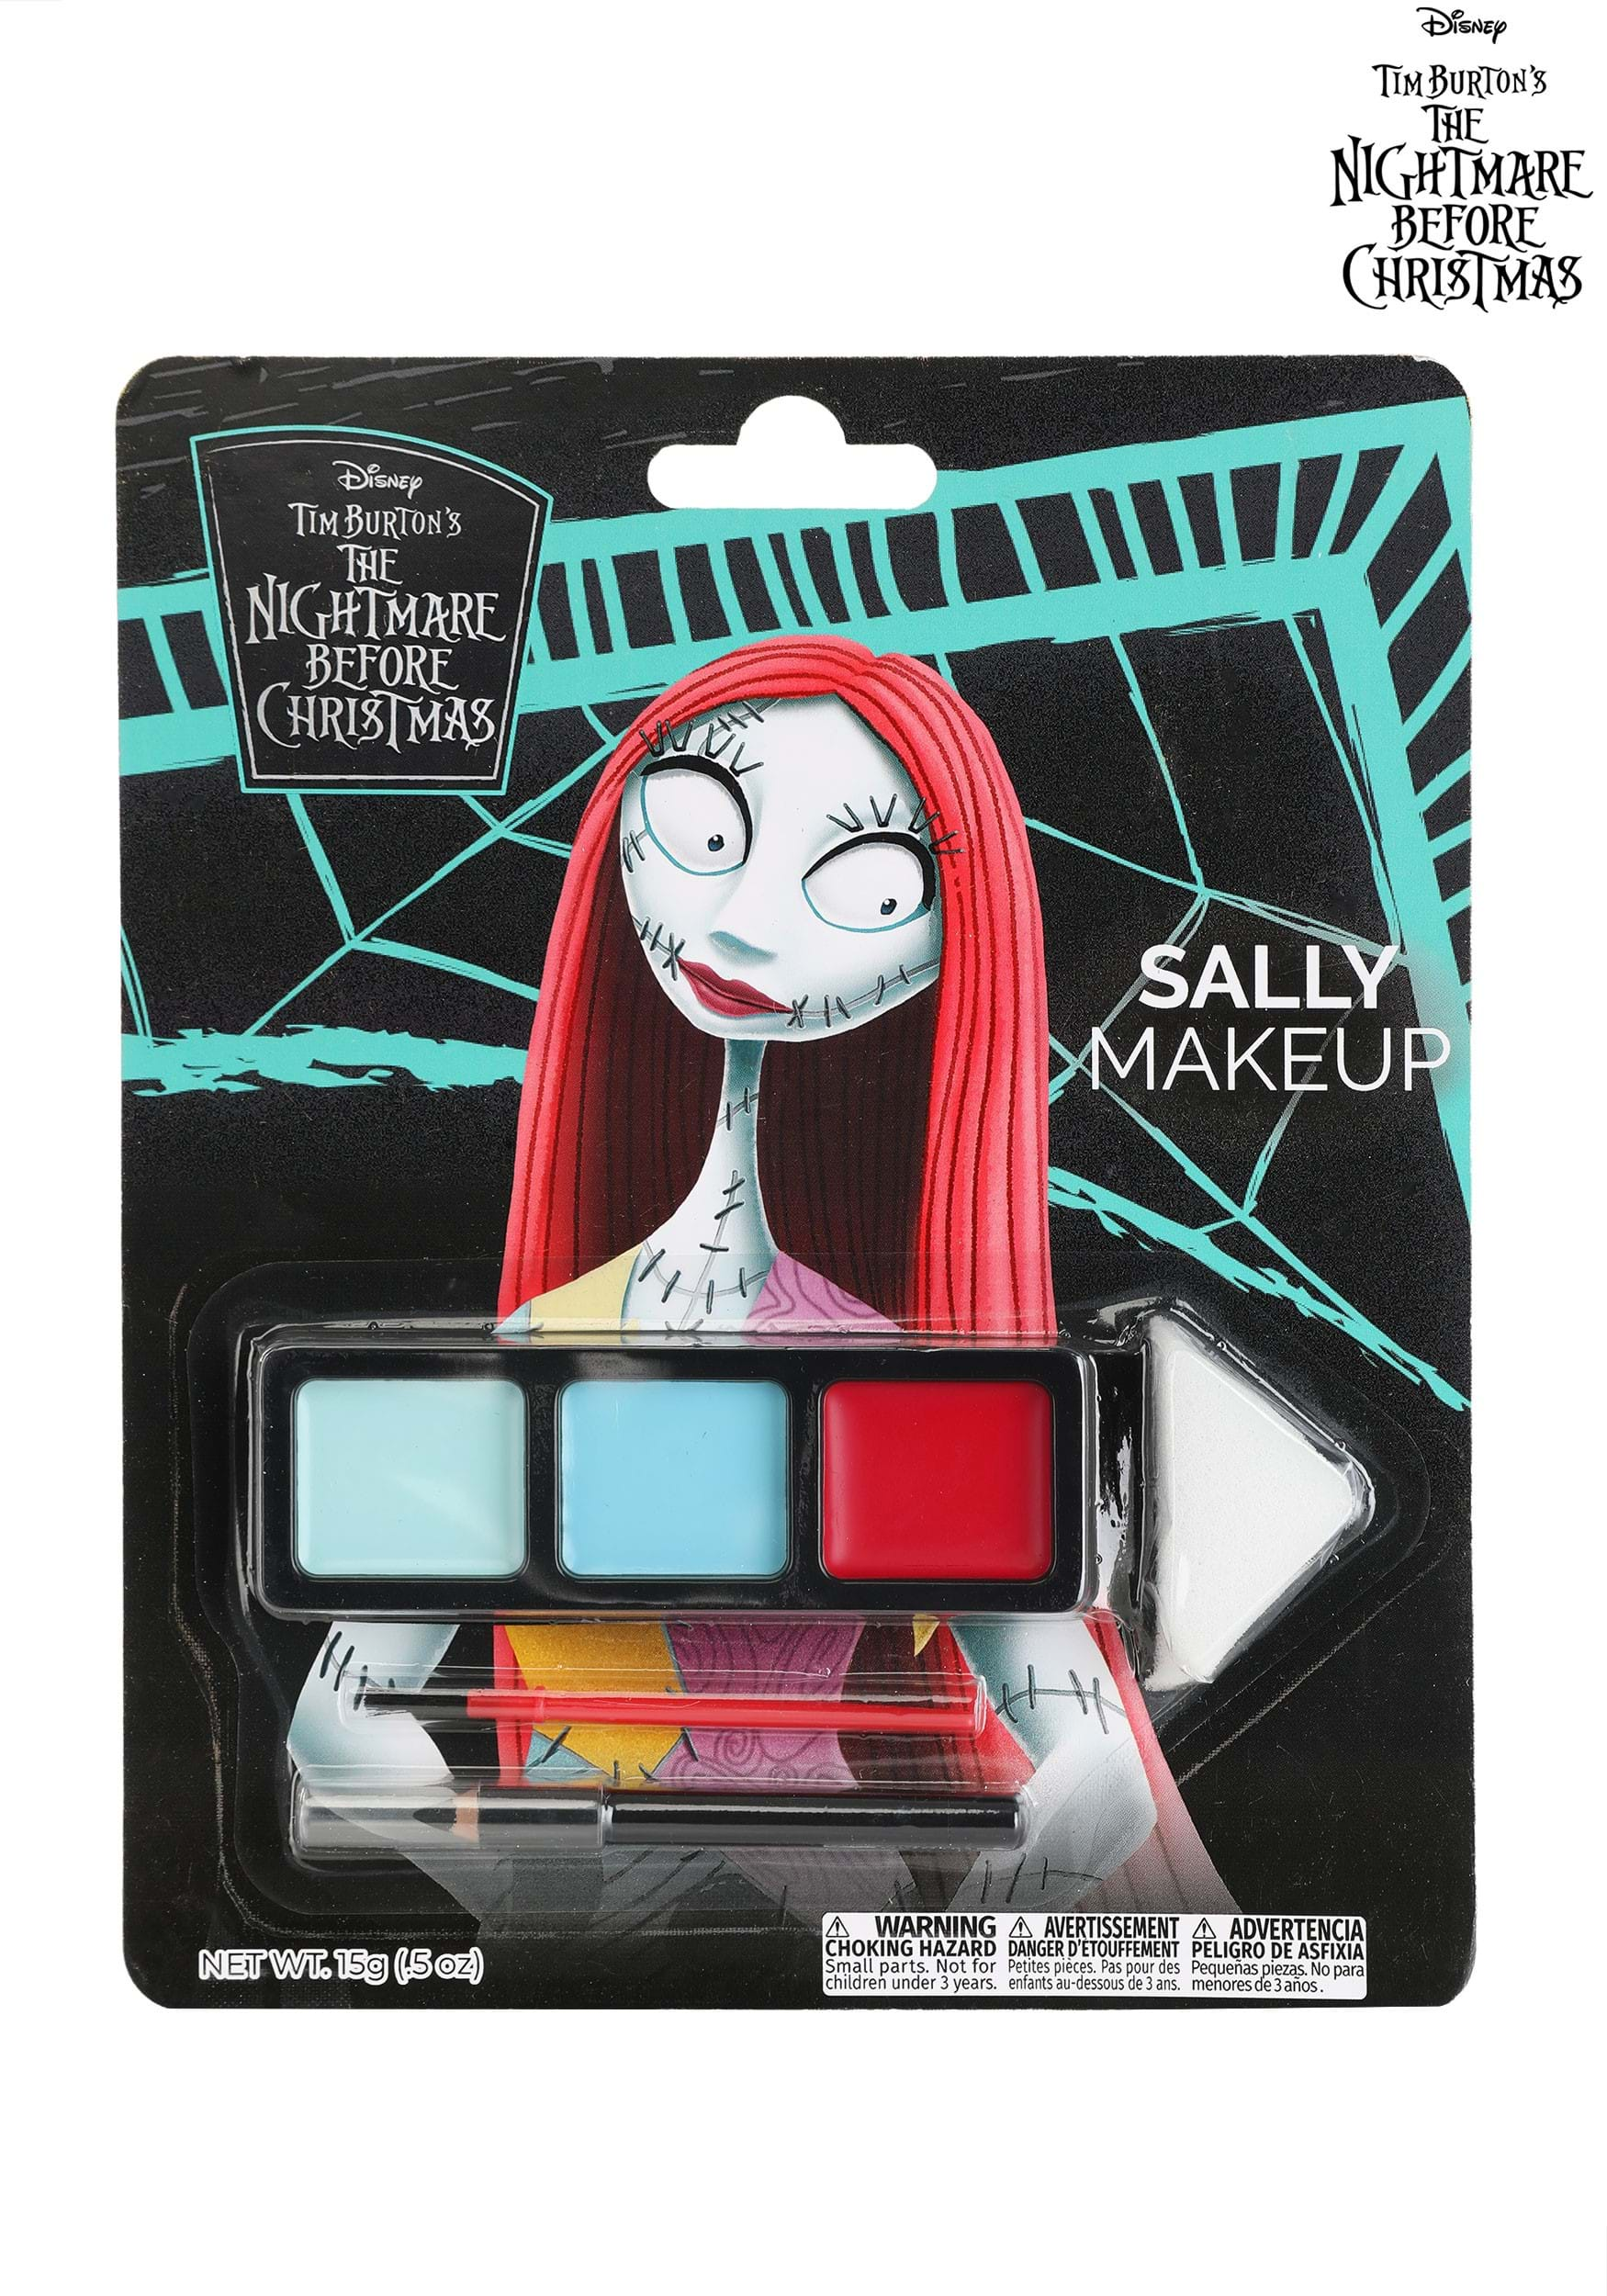
Disney Nightmare Before Christmas Sally Makeup Kit | Disney Accessories

Sally Skellington Makeup | Saubhaya Makeup

Sally Skellington Makeup | Saubhaya Makeup
