Mastering Canning Pickled Onions: Your Guide To Homemade Goodness
There is something truly special about having a pantry full of homemade treats, and learning about canning pickled onions is, you know, a really rewarding activity. It allows you to take fresh, crisp onions and turn them into a tangy, flavorful condiment that brightens up so many dishes. This method helps you keep the taste of the garden, or maybe the farmer's market, right there in your kitchen for months and months.
Making your own pickled onions is, in a way, a simple pleasure. It gives you complete say over the ingredients, meaning you can skip all those things you might not want in your food. Plus, the taste of something you have made yourself, from start to finish, is honestly just incomparable to anything you might pick up at the store. It is a bit like magic, watching humble onions change into something so wonderfully zesty.
This guide will walk you through the whole process of canning pickled onions, making sure you feel ready and, well, quite confident to give it a go. We will cover everything from picking out your onions to making sure your jars seal up just right. You will, as a matter of fact, discover how easy it is to stock your shelves with this delightful, crunchy snack or side.
Table of Contents
- Why Can Your Own Pickled Onions?
- Getting Ready: What You'll Need
- Safety First: Essential Canning Guidelines
- The Pickling Process: Step-by-Step
- Flavor Adventures: Beyond the Basic Pickled Onion
- Troubleshooting Common Canning Questions
- Enjoying Your Homemade Pickled Onions
- Frequently Asked Questions (FAQs)
Why Can Your Own Pickled Onions?
There are, you know, many good reasons to start canning pickled onions right in your own kitchen. For one thing, the taste is just so much better. Store-bought versions, you know, often fall short of that fresh, bright flavor you get from making them yourself. You can really taste the difference.
Another big plus is having full say over what goes into your food. You pick the onions, the vinegar, and the spices. This means no unwanted additives or, you know, strange ingredients. It is all about pure, simple goodness, which is, in a way, very satisfying.
Then there is the joy of keeping seasonal produce for later. If you have a garden, or if you find a great deal on onions at the market, canning them helps you avoid waste. It is a smart way to make the most of what is available, and, you know, save a little money too, which is always nice.
Getting Ready: What You'll Need
Essential Equipment
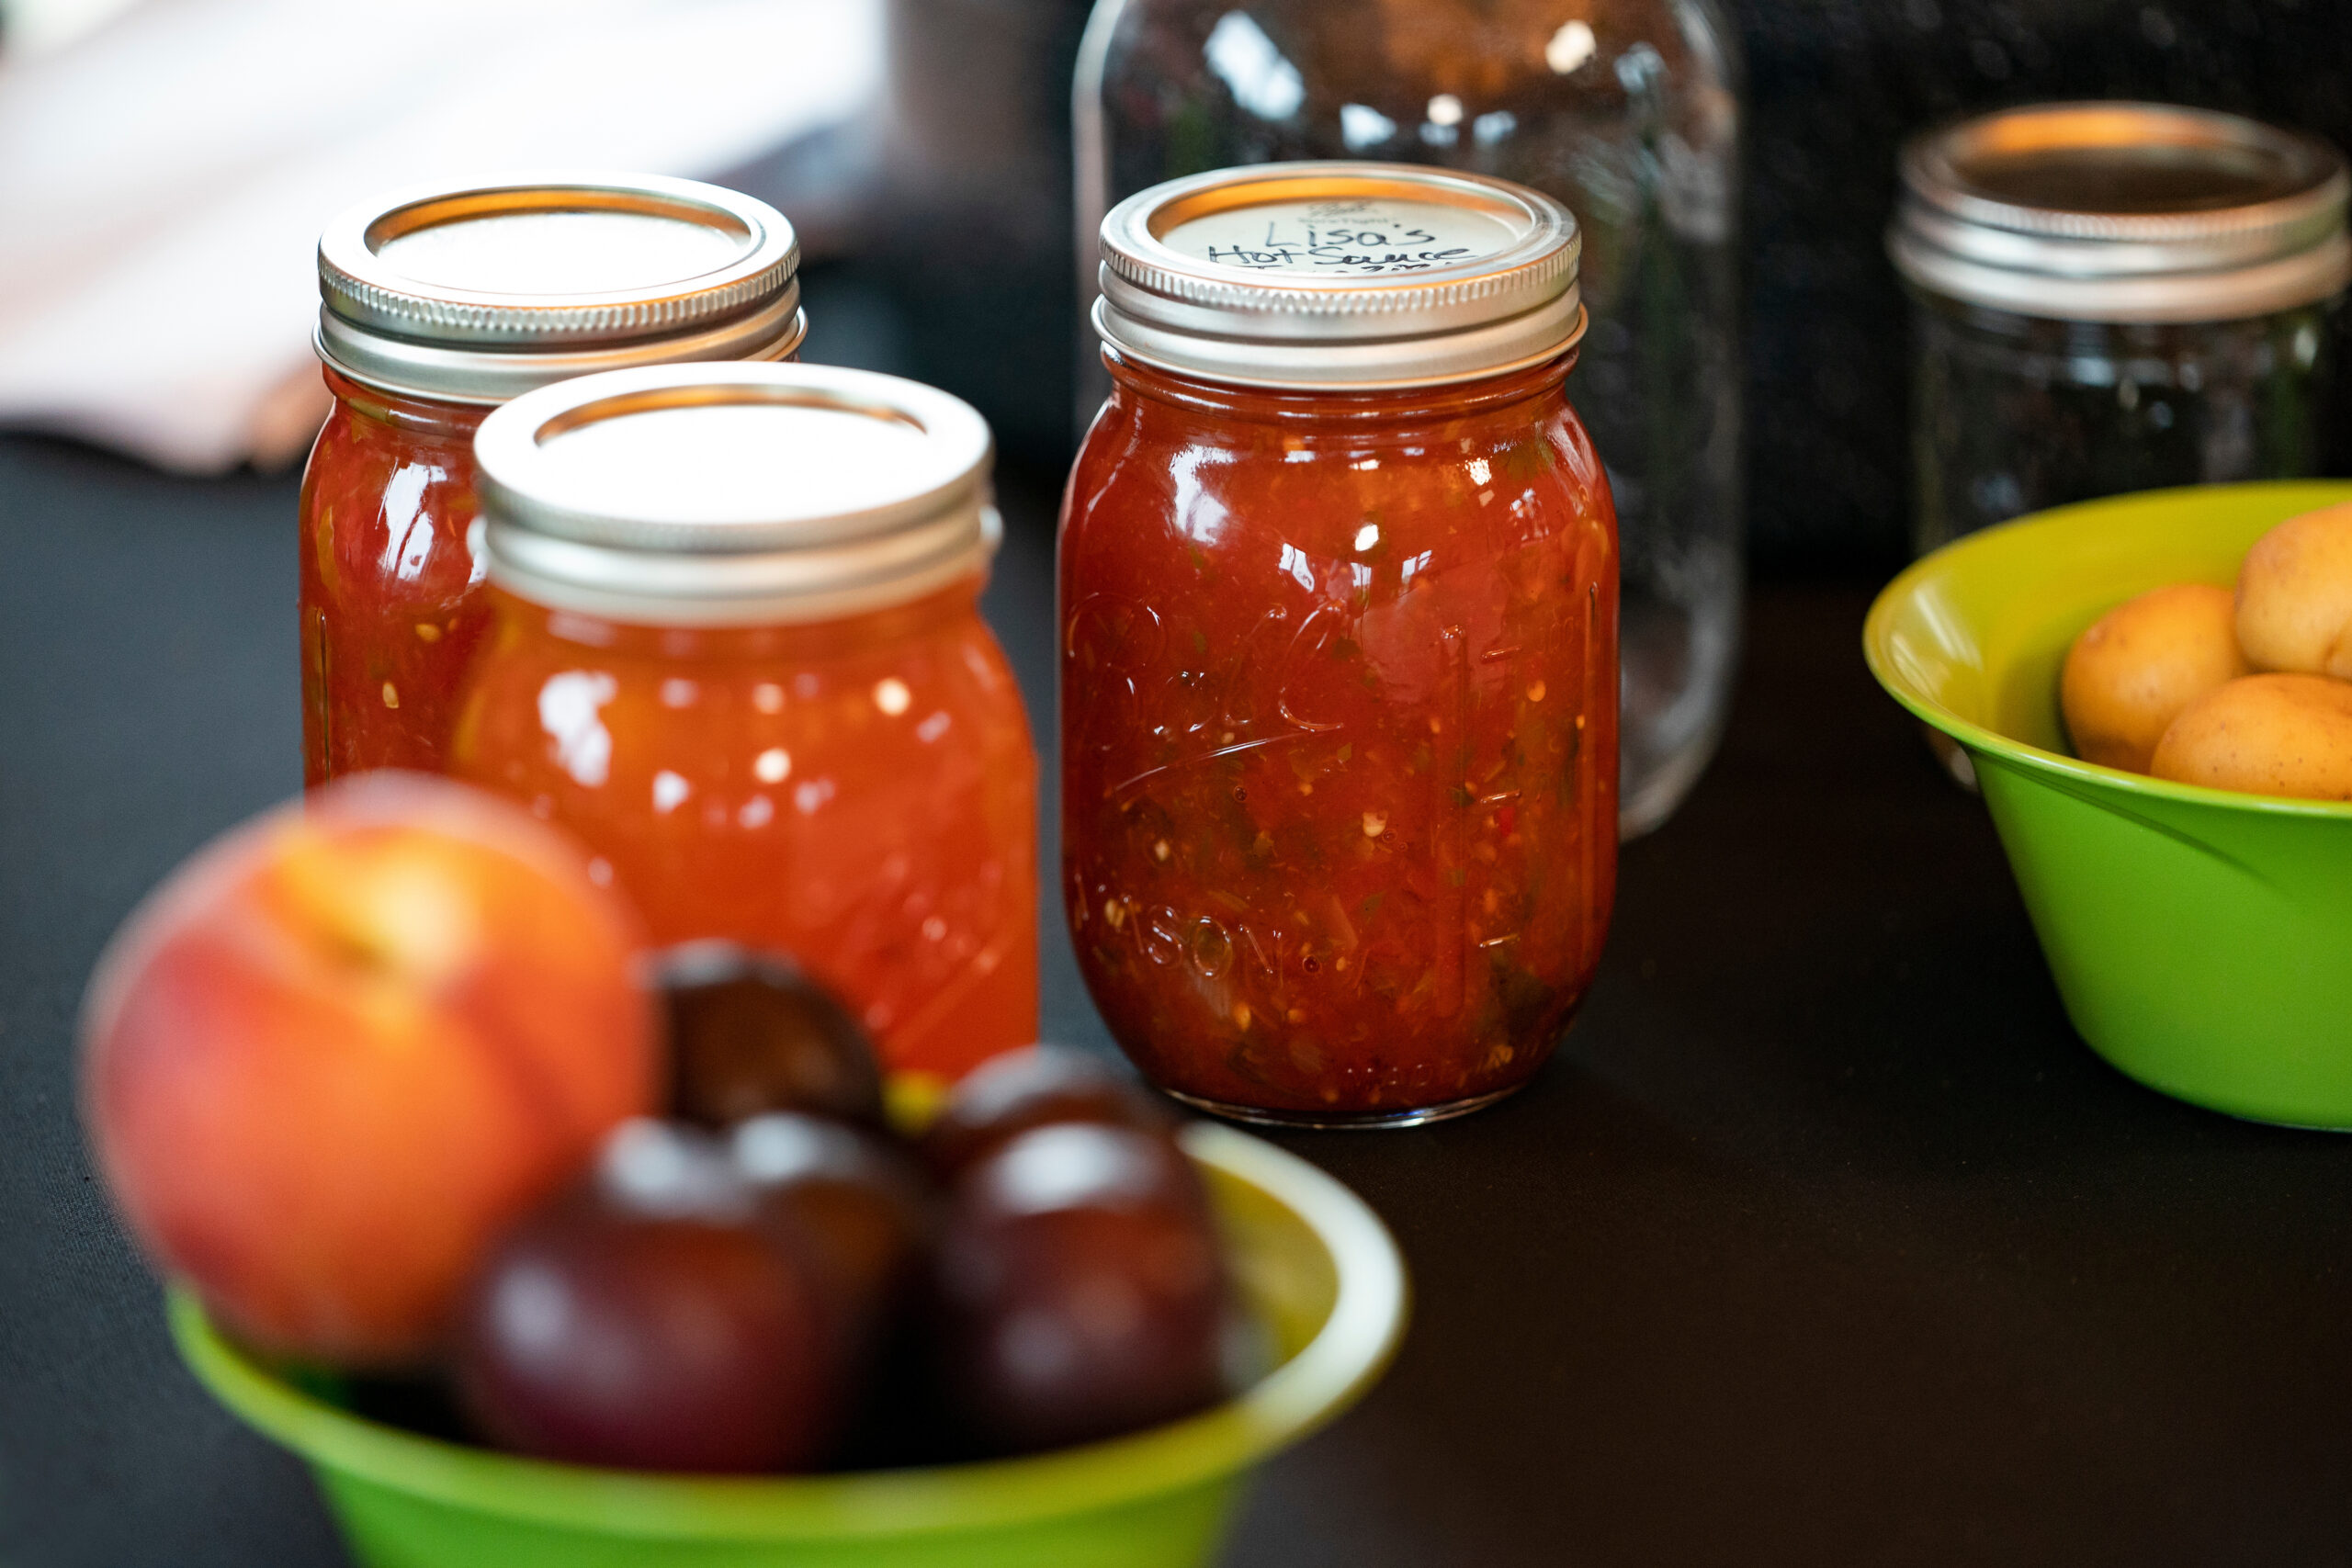
Before you start, gather your tools. You will need canning jars, of course, with their two-piece lids. Make sure they are, you know, clean and without any nicks or cracks. A water bath canner is also a must for safe canning; this is basically a big pot with a rack inside.
You will also want some basic kitchen items. This includes a large pot for making your brine, a ladle for pouring, and a funnel to help get the brine into the jars without a mess. Tongs for handling hot jars and a jar lifter are, you know, pretty helpful too for safety. A bubble remover, or maybe a chopstick, helps get air out of the jars.
Having all your equipment ready before you begin makes the whole process, you know, much smoother. It is a bit like preparing for a cooking show, everything in its place. This way, you can just focus on the steps, and, you know, not have to search for things mid-process.
Choosing Your Onions and Ingredients
For canning pickled onions, the type of onion matters. Small pearl onions or boiler onions work very well because they fit nicely into jars and, you know, pickle all the way through. You can use red, white, or yellow varieties, depending on the color and flavor you like. Red onions, for example, give a pretty pink color to your brine.
Your pickling liquid, or brine, is usually a mix of vinegar, water, salt, and sometimes sugar. White vinegar or apple cider vinegar are common choices; they have enough acidity for safe canning. Make sure your salt is canning salt, or plain salt, without iodine or anti-caking agents, as these can, you know, make your brine cloudy. Sugar is optional, depending on if you want a sweet or, you know, more savory pickle.
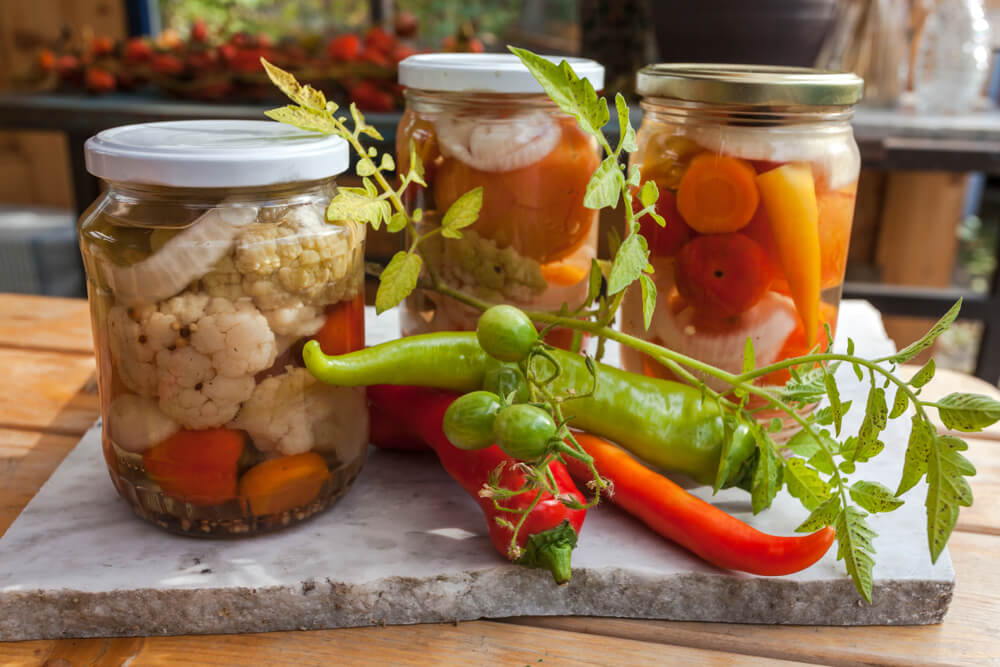
Spices add a lot of personality. Think about mustard seeds, dill seeds, peppercorns, or even a bay leaf. You can, you know, mix and match these to create your own unique flavor profile. Remember, these ingredients are the heart of your pickled onions, so pick ones you really enjoy.
Safety First: Essential Canning Guidelines
When it comes to canning pickled onions, safety is, you know, absolutely paramount. You are dealing with food preservation, and doing it correctly means your food will be safe to eat for a long time. The biggest thing to keep in mind is preventing the growth of harmful bacteria, especially one that causes botulism, which is, you know, very serious.
The acidity of your brine is your first line of defense. Vinegar, with its acid content, creates an environment where most harmful bacteria cannot grow. That is why it is, you know, really important to use vinegar with at least 5% acidity. Do not try to reduce the amount of vinegar in your recipe, as this can make your product unsafe. It is, you know, not worth the risk.
Using a water bath canner and processing your jars for the correct amount of time is the other key safety step. This heat treatment kills yeasts, molds, and other spoilage organisms. Always follow tested recipes from reliable sources, like a trusted food safety resource, which you can learn more about on our site, for processing times. This ensures your pickled onions are, you know, truly safe for storage.
Cleanliness is also, you know, super important. Make sure your jars and lids are clean and free of any debris. Sterilizing jars is often recommended for longer processing times, but for shorter ones, simply having them hot when you fill them is usually enough. Just make sure everything is, you know, ready to go and spotless.
The Pickling Process: Step-by-Step
Preparing the Onions
First, you will want to get your onions ready. This means peeling them. For small onions, this can be a bit of a task, but it is, you know, worth the effort. A trick many people use is to blanch the onions in boiling water for a minute or two, then quickly move them to an ice bath. This makes the skins, you know, much easier to slip off.
Once peeled, you can leave small pearl onions whole. If you are using larger onions, you might want to slice them into rings or, you know, quarter them. The size of your onion pieces will affect how quickly they pickle and how they fit into your jars. Just make sure they are, you know, uniform enough for even pickling.
Some recipes call for salting the onions and letting them sit for a few hours to draw out some moisture. This can result in a crisper pickle. If you do this, make sure to rinse them well before moving on to the next step. This is, you know, an extra step that some people really like for texture.
Making the Brine
Next, you will prepare your pickling brine. In a large pot, combine your vinegar, water, salt, and any sugar you are using. You can, you know, also add your pickling spices directly to the brine at this point. This allows their flavors to, you know, really infuse the liquid as it heats up.
Bring this mixture to a boil, stirring until the salt and sugar, if using, are completely dissolved. Let it boil for a minute or two to ensure all the flavors have, you know, mingled well. This hot brine will help with the pickling process and also with creating a good seal on your jars later on. It is, you know, the heart of the flavor.
Keep the brine hot while you are working on packing your jars. A hot brine poured over hot onions in hot jars helps prevent thermal shock, which could, you know, cause your jars to crack. This is, you know, a small detail that makes a big difference in the end result.
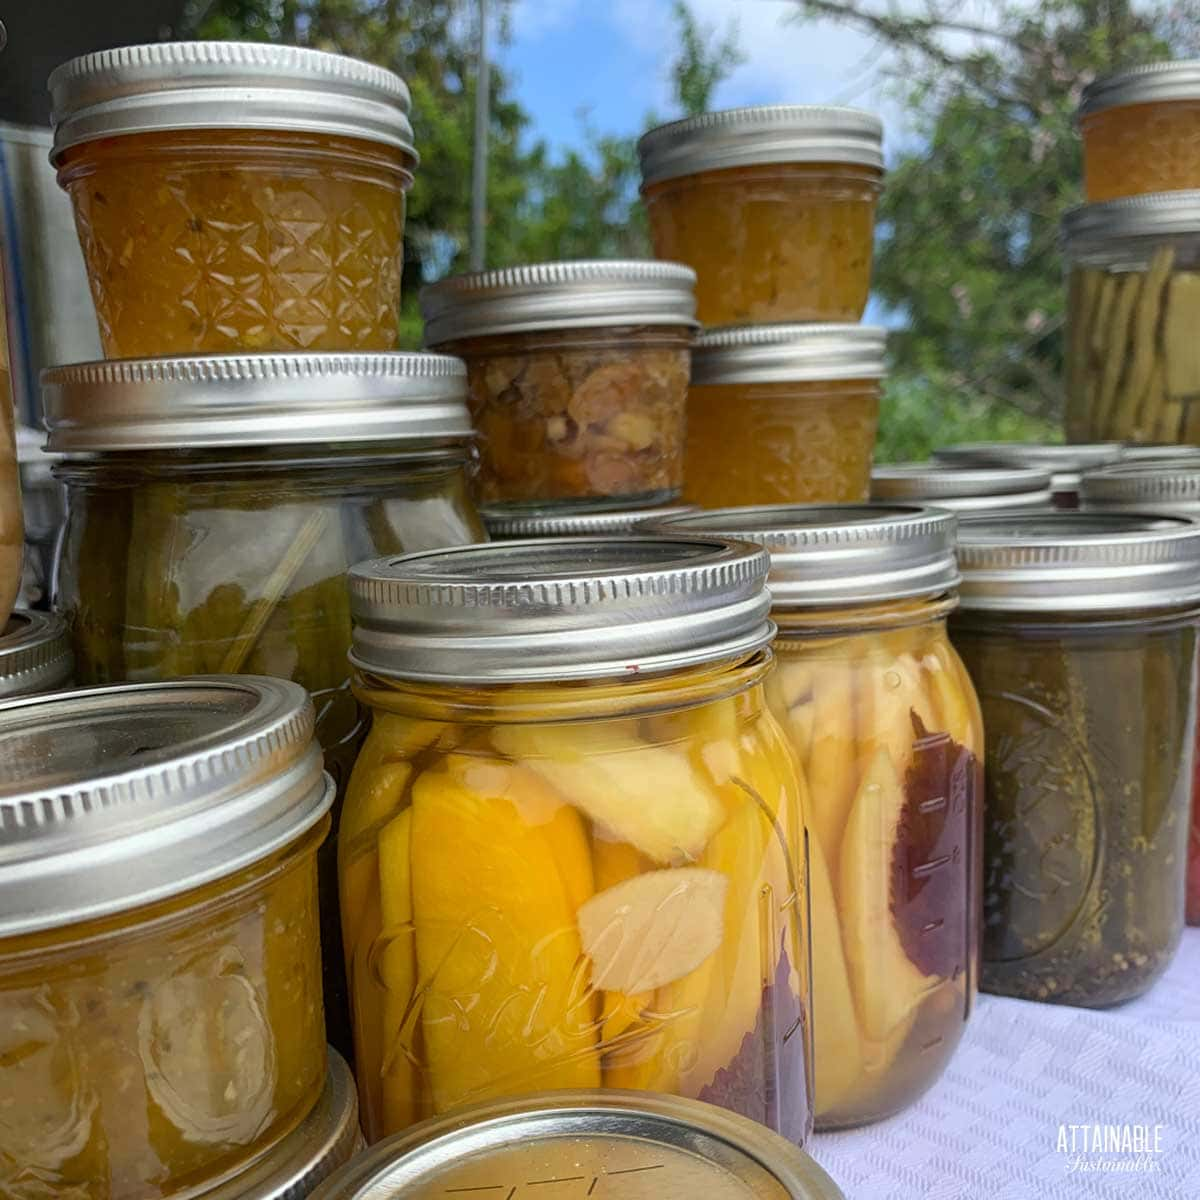
Packing the Jars
Now for packing. Carefully place your prepared onions into your clean, hot canning jars. You want to pack them, you know, quite snugly but without crushing them. Leave about a half-inch of space from the top of the jar; this is called headspace. This space is, you know, important for a proper seal.
If you are adding any fresh herbs or whole spices directly to the jars, like a sprig of dill or a few garlic cloves, put them in now. Then, using your ladle and funnel, carefully pour the hot brine over the onions, making sure they are fully covered. Remember to maintain that half-inch of headspace, which is, you know, really key.
After filling, use your bubble remover tool, or a clean chopstick, to gently move around inside the jar. This releases any trapped air bubbles. If the liquid level drops, just add a little more hot brine to bring it back to that half-inch headspace mark. This step is, you know, often overlooked but it helps a lot.
Wipe the rims of your jars clean with a damp cloth. Any food particles on the rim can, you know, prevent a good seal. Place a new, clean lid on each jar, followed by a screw band. Tighten the screw bands only to fingertip tight; you do not want to overtighten them. This allows air to escape during processing, which is, you know, what helps create the vacuum seal.
Processing the Jars
Carefully place your filled jars onto the rack in your water bath canner. Make sure the jars are not touching each other or the sides of the canner. Add hot water to the canner until the jars are covered by at least one to two inches of water. This ensures even heating, and, you know, a proper process.
Put the lid on the canner and bring the water to a rolling boil. Once it reaches a full, steady boil, start your processing timer. The processing time will depend on your recipe and your altitude. For most pickled onions, it is, you know, typically around 10-15 minutes at sea level. If you are at a higher altitude, you will need to adjust this time, which is, you know, quite important for safety.
Once the processing time is complete, turn off the heat and let the jars sit in the hot water for another 5 minutes. This helps them cool down gradually and, you know, aids in the sealing process. Then, using your jar lifter, carefully remove the hot jars from the canner and place them on a towel-lined counter or a cooling rack. Do not tilt them, as this can, you know, break the seal.
Let the jars cool completely, undisturbed, for 12 to 24 hours. As they cool, you will hear a popping sound as the lids seal. Check for seals by pressing on the center of each lid. If it does not flex up and down, the jar is sealed. If a lid does not seal, refrigerate that jar and use its contents within a few weeks. This is, you know, a pretty clear sign of success.
Flavor Adventures: Beyond the Basic Pickled Onion
While a classic pickled onion is, you know, truly wonderful, there are so many ways to play with flavors when canning pickled onions. You are, in a way, the artist here. Think about adding different types of spices to your brine. Whole peppercorns, coriander seeds, or even a dried chili for a little kick can, you know, really change the profile.
Consider using different vinegars. While white vinegar is common, apple cider vinegar gives a slightly fruitier, milder taste. Rice vinegar offers a, you know, very delicate flavor, great for Asian-inspired dishes. You can even combine vinegars for a more complex base, which is, you know, a pretty neat trick.
Herbs are another avenue for exploration. Fresh dill sprigs, thyme, or rosemary added to the jars can, you know, infuse the onions with their unique aromas. Garlic cloves, either whole or sliced, are also a popular addition for a pungent flavor. You can, you know, experiment a lot here.
For a sweeter pickled onion, increase the amount of sugar in your brine. For a savory version, you might add a bay leaf or some dried oregano. You could even try a touch of turmeric for color and an earthy note. The possibilities are, you know, quite vast, letting you create a pickled onion that is, you know, just right for you.
Troubleshooting Common Canning Questions
Sometimes, when canning pickled onions, you might run into a few little bumps. One common question is about cloudy brine. This can happen for a few reasons. It might be minerals in your water, or maybe using table salt with anti-caking agents instead of canning salt. It usually does not mean the product is unsafe if the seal is good, but it is, you know, less appealing to the eye.
Another issue is lids not sealing. This can be frustrating. It might be due to a dirty jar rim, overtightened screw bands, or perhaps old or damaged lids. Make sure your lids are new for each canning session, and that you tighten the bands just to fingertip tight. If a jar does not seal after 24 hours, just put it in the fridge and, you know, enjoy it soon.
Sometimes, onions can turn out a bit soft instead of crisp. This might happen if they are overcooked during the blanching stage, or if the processing time is too long. Some varieties of onions also just tend to be softer. Using a firm, fresh onion and avoiding over-processing can, you know, help keep that desired crunch.
If you see mold or a broken seal, that jar's contents should, you know, not be eaten. Safety is always the first concern. It is better to, you know, discard it than risk anything. Learning from these little issues is part of the canning journey, and, you know, helps you get better each time.
Enjoying Your Homemade Pickled Onions
Once your jars of canning pickled onions are sealed and cooled, the fun part begins: enjoying them! They need a few weeks to really develop their flavor, so try to be patient. After that waiting period, they are, you know, ready to brighten up so many meals.
Pickled onions are amazing on sandwiches and burgers, adding a tangy crunch. They are also great tossed into salads or served alongside grilled meats. Some people, you know, just like to eat them straight from the jar as a snack. They are versatile, and, you know, really add a pop of flavor.
Store your sealed jars in a cool, dark place, like a pantry or cellar. They will keep for up to a year, sometimes longer, though the quality might, you know, slowly go down over time. Once opened, store them in the refrigerator and use them within a few weeks. It is, you know, pretty convenient to have them on hand.
So, you know, go ahead and get started on your own batch of canning pickled onions. It is a rewarding project that fills your pantry with a delicious, homemade condiment. You will be, you know, so glad you did. To learn more about on our site, and to explore other preservation ideas, you can also check out this page for more inspiration.
Frequently Asked Questions (FAQs)
Do I need special equipment for canning pickled onions?
You will need a water bath canner, canning jars with new lids, and some basic kitchen tools like a ladle and funnel. These items are, you know, pretty standard for home canning. A jar lifter is also, you know, really helpful for moving hot jars safely.
How long do canned pickled onions last?
When properly canned and sealed, pickled onions can last for up to a year, sometimes even longer, in a cool, dark place. Once you open a jar, you should keep it in the refrigerator and, you know, use it within a few weeks. This helps keep them fresh.
Can I use any type of onion for pickling?
Small pearl onions or boiler onions are, you know, typically the best choice because they fit well in jars and pickle evenly. You can use larger onions if you slice or quarter them, but the smaller ones are, you know, often preferred for their texture and ease of use.
Preserving the Harvest - Texas A&M AgriLife Extension Service
Canning Without a Water Bath Canner - Attainable Sustainable®
Traditional Amish Canning Recipes & Water Bath Tips
