Uncovering The Best Striker Loadout In Warzone For Peak Performance
Finding what works "best" for you in Warzone, especially with a weapon like the Striker, is a very personal quest. It's not just about what statistics say; it's about what feels right, what helps you get those eliminations, and what gives you an edge in those intense firefights. A truly effective loadout for the Striker means making choices that improve your chances of victory, so you can really shine on the map. This is your chance, you know, to really make that weapon perform its very best.
When players talk about the "best" choice for a specific purpose, like a weapon setup, they're often thinking about a course of action. It's about picking the right attachments and perks that give you a strong advantage in close-quarters combat, where the Striker truly shines. This submachine gun, with its quick handling and fast firing, can be a real menace if you set it up correctly, so you can really put pressure on your opponents.
Many players are always looking for that ideal setup, the one that makes the weapon feel like an extension of their own movements. The Striker, with its quickness, offers a lot of possibilities for aggressive play. We're going to look at how to get the most out of this weapon, making it a powerful tool in your hands, which is something many people want to achieve.
Table of Contents
- Understanding the Striker's Strengths
- Why the Striker Can Be Your Top Pick
- Crafting the Optimal Striker Loadout
- Perks to Pair with Your Striker
- Essential Equipment for Your Loadout
- Playstyle Tips for the Striker
- Adapting Your Striker Loadout for Any Situation
- Common Questions About the Striker
Understanding the Striker's Strengths
The Striker is a submachine gun, which means it's built for speed and close-range encounters. It's a bit like a sprinter among weapons; it gets the job done quickly when you're up close. Knowing this helps you pick the right attachments, because you want to build on what it already does well, which is, you know, being very quick.
Its natural quickness and ease of handling make it a solid option for players who like to push forward. You can move around the map very fast with it, and it feels pretty light. This makes it a really good choice for getting into fights and getting out of them just as quickly, so you can keep the pressure on.
The Striker's rate of fire is quite good, allowing it to put out a lot of bullets in a short amount of time. This is a big plus in those tight, face-to-face moments where every shot counts. It's actually a weapon that rewards aggressive play, letting you clear rooms or buildings pretty effectively.
Why the Striker Can Be Your Top Pick
When we talk about the "best" choice, it often comes down to what fits your specific needs. For many players, the Striker offers a balance of speed and damage that makes it a very appealing option, particularly for close-quarters fighting. It's a strong contender for those who enjoy being right in the thick of things, you know, getting up close and personal.
The Striker, in your hands, can be a really great tool for clearing out enemies from confined spaces. Its quick aim-down-sight speed means you can react very fast when someone pops out. This is why it's often considered a very good choice for players who like to play fast and loose, always moving.
Comparing it to other weapons, the Striker has a certain feel that many players appreciate. It's relatively easy to control, which means you can be accurate even when moving quickly. This characteristic makes it a dependable choice for many different kinds of players, so it's quite versatile in that sense.
Crafting the Optimal Striker Loadout
Putting together the "best" Striker loadout involves picking attachments that complement its strengths and smooth out its weaknesses. It's about making a series of choices that lead to a truly effective weapon. Each attachment serves a particular purpose, and combining them correctly is what makes the whole thing work, you know, really well.
The goal is to boost its close-range dominance while perhaps adding a little more reach or stability. Think about how you typically play; do you hipfire a lot, or do you always aim down sights? Your playstyle will influence which attachments are the "best" for you, so it's a bit of a personal decision.
Here, we will go through the key attachment slots and discuss some of the top choices for each. Remember, the "best" setup is one that you feel comfortable with and that helps you perform better in the game, so it's really about your preference.
Barrel: Extending Your Reach
For the barrel, you're looking to improve the Striker's effective range and bullet velocity, which means your shots hit faster and harder from a bit further away. The **Striker Elite Long Barrel** is a common choice for this. It gives you that extra bit of distance, making the weapon feel more consistent, so it's a pretty good pick.
This barrel also helps with recoil control, which is important for keeping your shots on target, especially when you're firing continuously. A steadier gun means more hits, and more hits mean more eliminations. It's a very straightforward improvement, you know, making the gun easier to handle.
Another option, if you prefer even more mobility, might be a shorter barrel, but for overall effectiveness and making the Striker a more well-rounded close-to-mid range option, the longer barrel is often preferred. It's a choice that gives you a bit more flexibility in fights, so that's a plus.
Muzzle: Staying Hidden and Steady
The muzzle attachment is where you can really make a difference in how quiet your shots are and how much the gun kicks. The **Bruen Pendulum** or the **FTAC C11 Riser** are good options here. They help with vertical and horizontal recoil, keeping your shots grouped together, so you can be more accurate.
A suppressor, like the **Monolithic Suppressor**, is also a very popular choice. It keeps you off the enemy's radar when you fire, which is a huge advantage in Warzone. Staying hidden means you can surprise opponents or reposition without being seen, which is often a very smart play.
Choosing between recoil control and sound suppression depends on your playstyle. If you're very aggressive and want to stay off the map, a suppressor is probably your "best" choice. If you struggle with recoil, then a compensator might be better, you know, to keep your shots on target.
Laser: For Hipfire Accuracy
For close-quarters weapons like the Striker, hipfire accuracy can be surprisingly important. Sometimes you don't have time to aim down sights, and that's where a laser comes in. The **5mW Laser** or the **Tac Laser** are top picks, as they significantly tighten your hipfire spread. This means more bullets hit the mark even when you're not aiming, so it's a big help.
The 5mW Laser is a solid choice for pure hipfire, while the Tac Laser also gives you a boost to aim down sight speed, though it is visible to enemies. It's a trade-off, really. You get better performance, but you might give away your position if someone is looking for the laser, which is something to think about.
If you find yourself in many situations where you're just spraying from the hip, then adding a laser is definitely a very good course of action. It improves your chances of hitting targets without aiming, which can save you in tight spots, so it's a useful addition.
Stock: Boosting Your Movement
The stock attachment can greatly influence your mobility and aiming stability. For the Striker, you generally want something that keeps you agile. The **FSS Close Quarters Stock** is a popular option because it improves your aim down sight speed and movement speed while aiming. This lets you snap onto targets very quickly, which is, you know, a real advantage.
Another good choice could be something that removes the stock entirely, like the **No Stock** option. This gives you maximum movement speed and aim down sight speed, but at the cost of some recoil control. It's a very aggressive choice for players who are confident in their ability to manage weapon kick.
Your "best" stock choice depends on how much you value speed versus stability. If you're constantly moving and pushing, then prioritizing speed is a very sensible course of action. If you prefer a slightly more controlled feel, then a stock that offers a bit of stability might be better, so it's about balance.
Underbarrel: Keeping Things Stable
Underbarrel attachments are fantastic for managing recoil and improving aiming stability. The **Commando Foregrip** is a favorite for many players because it helps with both vertical and horizontal recoil, without hurting your movement too much. It makes the gun feel much smoother to shoot, which is a really nice feeling.
The **Merc Foregrip** is another strong contender, especially if you want to improve hipfire accuracy alongside recoil control. It's a good all-around option that helps in many situations. This attachment is very versatile, helping you keep your shots on target whether you're aiming or not, so it's a solid choice.
Picking the right underbarrel is about finding that sweet spot between making the gun easier to control and not slowing you down too much. For the Striker, which is all about quick action, you want something that keeps it manageable without turning it into a slow weapon, you know, something that balances things out.
Magazine: More Shots, Less Reloads
Having enough bullets in your magazine is incredibly important, especially in Warzone where you might face multiple opponents. The **.45 Auto 60 Round Mags** are almost always the "best" choice for the Striker. More bullets mean you can take on more enemies or miss a few shots without having to reload in the middle of a fight, which is a big deal.
A larger magazine allows you to sustain fire for longer, putting continuous pressure on your enemies. This is particularly helpful when you're pushing a team or trying to break armor. It just gives you that much more confidence in a firefight, so it's very useful.
While a larger magazine might slightly slow down your aim down sight speed or reload time, the benefit of having more bullets usually outweighs these small drawbacks. It's a choice that directly impacts your ability to win gunfights, so it's very important to consider.
Rear Grip: Holding On Tight
The rear grip can further refine your weapon's handling, particularly with aim stability and flinch resistance. The **Stippled Grip Tape** is a popular option for improving aim down sight speed and sprint-to-fire speed, making you faster to react. This is really good for aggressive players who are constantly moving and shooting, you know, always on the go.
Another choice, like the **Rubberized Grip Tape**, can help more with recoil control if you find the gun still kicks too much. It's about fine-tuning the weapon to your personal preference. The "best" grip for you will be the one that makes the gun feel most comfortable and controllable in your hands, so it's a bit of personal feel.
Consider how much you get shot at and how much that flinch affects your aim. If you're often caught in open areas, flinch resistance might be a very good idea. If you're more about getting the first shot off, then aim down sight speed is probably your top priority, so it really depends on your style.
Perks to Pair with Your Striker
Your perks are just as important as your weapon attachments. They complement your Striker loadout and your overall playstyle. For a fast-moving Striker user, perks that boost mobility and survivability are often the "best" choices. This helps you stay in the fight longer and move around the map effectively, you know, really making a difference.
For your first perk slot, **Double Time** is a fantastic option. It extends the duration of your Tactical Sprint, letting you cover ground much faster. This is very helpful for pushing enemies or getting out of dangerous situations, so it's a pretty strong pick for mobility.
In the second perk slot, **Overkill** is almost a must-have if you want to carry a long-range weapon alongside your Striker. This allows you to have a full primary weapon for both close and long distances, giving you versatility. It's a choice that lets you handle almost any situation, so it's very flexible.
Alternatively, if you prefer to be stealthy, **Ghost** in the second slot keeps you off enemy UAVs, which is very useful for flanking or staying hidden during the later stages of the game. It helps you move around without being detected, which is, you know, a very smart play for surprising enemies.
For your third perk, **Amped** is a very good choice for quick weapon swaps, which is essential when you're switching between your Striker and a long-range primary. This means you can react faster in unexpected encounters. It's a small but significant improvement that can win you gunfights, so it's worth considering.
Another option for the third slot is **Battle Hardened**, which reduces the effect of enemy tactical equipment like stun grenades. This can be a lifesaver when you're pushing into buildings or tight spaces, preventing you from being an easy target, so it's a good defensive pick.
Essential Equipment for Your Loadout
Beyond your weapon and perks, your lethal and tactical equipment can make a huge difference in how you approach engagements. These are tools that can help you clear rooms, get quick eliminations, or even escape danger. Picking the "best" equipment means choosing what fits your aggressive Striker playstyle, so it's quite important.
For your lethal slot, the **Semtex** is a very popular choice. It's a sticky grenade that explodes quickly, great for clearing out corners or finishing off downed enemies. It's very reliable for getting quick damage or breaking enemy armor, which is, you know, always a good thing.
The **Throwing Knife** is another excellent lethal option, especially for aggressive players. It allows for instant eliminations on downed opponents, saving you bullets and time. It's a very satisfying tool to use, and it's surprisingly versatile for quick finishes, so many players like it.
In the tactical slot, the **Stun Grenade** is incredibly effective for pushing enemies. It slows them down and messes with their vision, making them easy targets for your Striker. It's a very strong tool for initiating fights or flushing out campers, so it's a smart choice for an aggressive player.
Alternatively, a **Smoke Grenade** can be a lifesaver for repositioning, reviving teammates, or escaping dangerous situations. It provides instant cover, allowing you to move safely across open areas. It's a very flexible piece of equipment that can turn the tide of a fight, so it's worth carrying.
Playstyle Tips for the Striker
Having the "best" Striker loadout is only half the battle; knowing how to use it effectively is the other half. The Striker really shines when you play aggressively and confidently. It's a weapon that encourages you to push forward and take the fight to your opponents, you know, to really get in their faces.
Always try to get close to your enemies. The Striker's damage drops off at range, so you want to be in those tight spaces. Think about flanking routes and using buildings to your advantage. Getting into close-quarters fights is where this weapon performs its very best, so stick to those areas.
Use your mobility. The Striker allows you to move very fast, so don't stand still. Strafe, jump, and slide around corners to make yourself a harder target. This constant movement can throw off enemy aim and give you a significant advantage, which is, you know, a really smart way to play.
Practice your hipfire. With the right attachments, your Striker can be surprisingly accurate without aiming down sights. In very close encounters, hipfiring can give you the edge by letting you shoot faster and maintain your movement speed. It's a skill that can be very rewarding to learn, so give it a try.
Pair your Striker with a long-range weapon. Since the Striker is for close combat, you'll need something like an assault rifle or a sniper rifle for engagements further away. This makes your overall loadout much more balanced and ready for any situation, so you're always prepared.
Adapting Your Striker Loadout for Any Situation
While we've discussed a generally "best" Striker loadout, remember that the "best" choice can also mean adapting to the specific situation. Just like you might like chocolate "best" but sometimes prefer a different sweet, your loadout might need small adjustments. This flexibility is what makes a truly skilled player, you know, really versatile.
For example, on smaller maps or in modes with very fast-paced action, you might lean even more into mobility, perhaps opting for a "No Stock" setup. This prioritizes pure speed over a little bit of stability, which is a choice that makes sense for those kinds of fights.
If you find yourself in more open areas or needing to hold lines of sight, you might slightly adjust your barrel or underbarrel for more recoil control, even if it means a tiny bit less speed. It's about finding that balance that suits the immediate needs of the game, so it's a very practical approach.
Consider the current "meta" or popular strategies. If everyone is running a certain type of equipment, you might adjust your perks to counter it, like using Battle Hardened more often. Staying aware of what others are doing can help you make the "best" reactive choices, so it's a bit like playing chess.
Ultimately, the "best" Striker loadout is the one that you feel most confident using, the one that helps you achieve your goals in the game. Experiment with different attachments and see what truly clicks with your personal playstyle. There's no single answer that works for everyone, so it's about what you like best.
Common Questions About the Striker
Is the Striker a good weapon in Warzone right now?
Yes, the Striker is actually a very good choice in the current Warzone environment, especially for close-quarters engagements. Its quick handling and decent damage output make it a strong contender for aggressive players, so it's definitely worth considering for your loadout.
What's the best secondary weapon to pair with the Striker?
Since the Striker is an SMG, the "best" secondary weapon is usually a long-range primary, like an assault rifle or a sniper rifle. This gives you coverage for all distances. Popular choices include the Kastov 762 or the SP-X 80, so you have options for different scenarios.
How do I improve my aim with the Striker?
Improving your aim with the Striker involves practice and smart attachment choices. Focus on attachments that help with recoil control and aim stability. Also, spend time in the firing range or practice modes to get a feel for its kick pattern. Consistent practice is the "best" way to get better, you know, to really master it.
For more insights into weapon performance and game updates, you might want to check out the official game website. Learn more about Warzone strategies on our site, and also check out this page for other top SMG setups.
:max_bytes(150000):strip_icc()/nup_180492_0631-2000-1-947568fc1f424463adfdaf452acb64a2.jpg)
The best seasons of 'Yellowstone,' 'Succession,' and 84 more shows
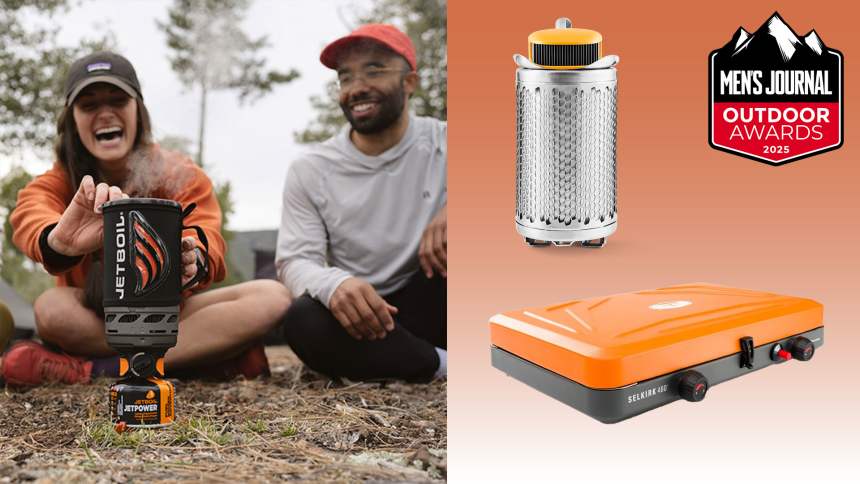
Best Camping Stoves of 2025, Tested and Reviewed
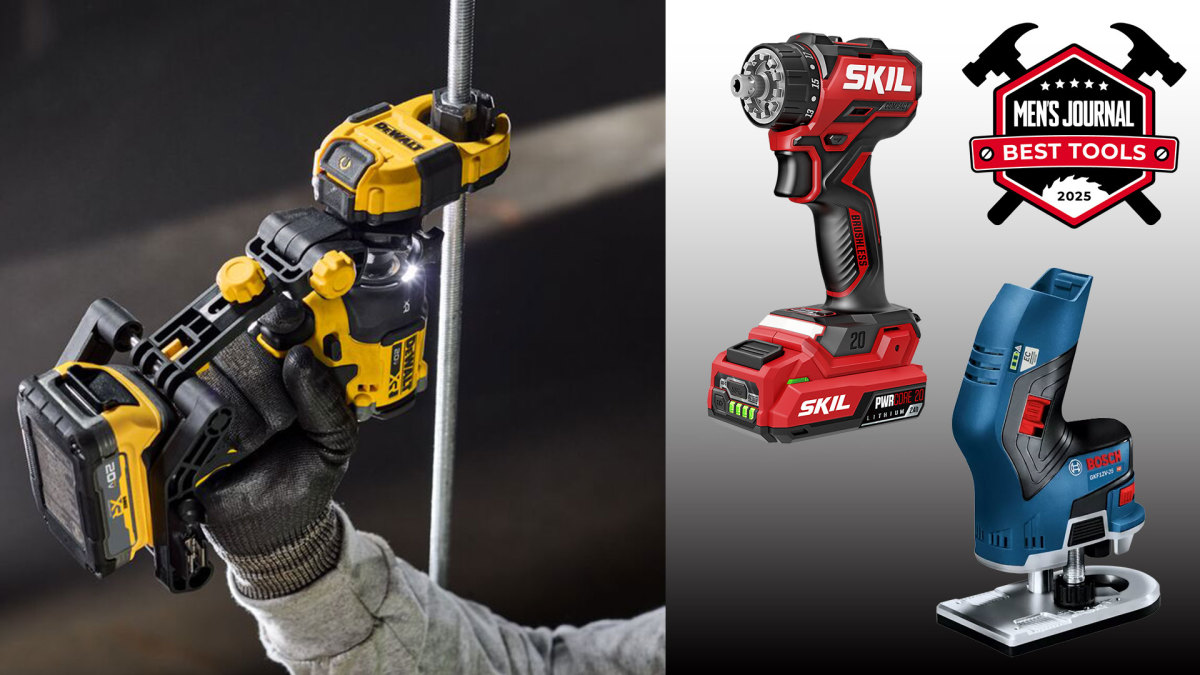
2025 Men’s Journal Best Tools Winners, Tested and Reviewed
