Gentle Ways To Remove Individual Eyelash Extensions At Home
Sometimes, you just need a fresh start, right? You might be looking to refresh your look, give your natural lashes a little break, or perhaps your individual eyelash extensions are just starting to look a bit worn. Whatever the reason, knowing how to remove individual eyelash extensions at home safely and gently is a very helpful skill to have. It saves you a trip to the salon and, honestly, a bit of money too.
You know, it's a bit like when you want to tidy up your digital life. Maybe you've got an old email address saved in your Outlook that you want to clear out, or perhaps a login for a desktop app that's just hanging around on your computer, taking up space. It's that feeling of wanting to regain a little control, to make things neat and organized again. Similarly, your lash extensions, which once looked so lovely, might now feel like something you just want to take off, to make room for something new, or just to go back to basics for a bit.
This guide will walk you through the proper steps, making sure you keep your natural lashes healthy and happy throughout the process. We'll talk about what you need, what to do, and how to look after your lashes once those extensions are off. So, if you're ready to learn how to remove individual eyelash extensions at home with care, you're in the right place.
Table of Contents
- Why You Might Want to Remove Individual Lash Extensions Yourself
- Essential Supplies for At-Home Lash Removal
- Step-by-Step Guide: Safely Removing Individual Eyelash Extensions
- Aftercare for Your Natural Lashes
- Frequently Asked Questions About At-Home Lash Removal
Why You Might Want to Remove Individual Lash Extensions Yourself
There are quite a few good reasons why someone might decide to take off their individual lash extensions at home, rather than going back to a professional. For one thing, life gets busy, and sometimes finding the time for a salon appointment is just a bit of a challenge. It's also true that salon visits can add up, and doing it yourself can save you some cash. So, that's something to think about, really.
Another common reason is simply that your extensions have reached the end of their life cycle. They might be looking a little sparse, or perhaps some have grown out further than others, making them look uneven. When they start to twist or fall out in patches, it's often a sign that it's time for them to go. It's like when you have an old, saved account on a service that you no longer use; you just want to get rid of it to keep things tidy, you know?
Also, sometimes your natural lashes just need a break. Constant extensions, even when applied perfectly, can sometimes put a little stress on your own lashes. Giving them a breather allows them to regain their full strength and health. It’s a very good way to look after them, actually.
When DIY Removal Makes Sense
Doing it yourself at home can be a good choice if your extensions are already quite old and a bit loose. If they're already starting to shed naturally, the bond holding them on is likely weaker, making them easier to remove with less effort. This is usually the best time to consider an at-home approach. It's also a good idea if you're comfortable with being very gentle around your eyes, as precision and patience are key.
If you're someone who likes to be in control of your beauty routine, and you have a steady hand, then learning how to remove individual eyelash extensions at home might be a perfect fit. It gives you the freedom to manage your lash look on your own schedule, which is pretty convenient. Just make sure you have all the right bits and pieces ready before you start, which we will cover in a moment.
However, it's important to remember that not all situations are ideal for DIY removal. If your extensions are brand new, very firmly attached, or if you're experiencing any irritation, it's probably better to see a professional. They have stronger, specialized removers and the expertise to handle trickier situations safely. So, in a way, it's about knowing your limits and what's best for your eye health.
What to Avoid
Please, whatever you do, do not pick or pull at your individual eyelash extensions. This is arguably the most important rule. Pulling them off can seriously damage your natural lashes, causing them to break or even come out from the root. It's a bit like trying to force a stubborn notification off your Microsoft Teams chat when you've accidentally clicked something – it just makes things worse and can lead to bigger problems. Your natural lashes are delicate, and they need to be treated with a lot of care.
Also, avoid using harsh chemicals or anything not specifically designed for lash extension removal. Things like nail polish remover, rubbing alcohol, or even just regular makeup remover often aren't strong enough to break down the lash adhesive, and they can irritate your eyes or skin. Some of these things can be quite dangerous near your eyes, so it's really not worth the risk. Stick to products made for this specific purpose, you know?
Don't rush the process. Removing individual lash extensions takes time and patience. Trying to speed things up can lead to mistakes, like getting product in your eyes or being too rough. Take your time, work slowly, and be very gentle. It’s not a race, and your eyes are very precious, so just take it easy.
Essential Supplies for At-Home Lash Removal
Before you even think about starting, gather all your supplies. Having everything ready beforehand makes the process much smoother and helps you stay calm. You don't want to be scrambling for things with one eye closed, do you? So, here’s a list of what you’ll typically need:
- Oil-Based Cleanser or Lash Extension Remover: This is the star of the show. Look for a remover specifically formulated for lash extensions, or a gentle, oil-based makeup remover or cleansing balm. Castor oil, coconut oil, or olive oil can also work because they help to break down the adhesive, but they might take a little longer.
- Cotton Pads or Lint-Free Applicators: Cotton pads are great for soaking and applying the oil. Lint-free applicators, like micro-brushes or Q-tips, are good for more precise application, especially if you want to target just a few lashes.
- Soft Cloth or Tissue: For wiping away excess product and lashes as they come off.
- Small Bowl (Optional): If you're using a liquid oil, a small bowl can be handy for soaking your cotton pads.
- Mirror: A magnifying mirror can be very helpful, so you can see what you're doing up close.
- Gentle Cleanser: For washing your face and eyes after removal.
- Lash Spoolie or Clean Mascara Wand: For brushing through your lashes.
Having these things ready makes the whole experience much easier, honestly. It’s like having all your tools laid out before you try to remove an old app from your computer; it just makes sense, doesn't it?
Step-by-Step Guide: Safely Removing Individual Eyelash Extensions
Okay, so you've got all your bits and pieces ready. Now, let's get into the actual process of how to remove individual eyelash extensions at home. Remember, patience and a gentle touch are your best friends here. You want to be very kind to your eyes and your natural lashes throughout this, truly.
- Start with a Clean Face: First things first, make sure your face is clean and free of any makeup, especially around your eyes. A clean canvas helps the remover work better and reduces the chance of irritation. So, give your face a good wash, but try to avoid getting water directly on the extensions just yet.
- Protect Your Skin: If you're using a stronger lash extension remover, you might want to place a small piece of tape or a thin cotton pad under your lower lash line to protect your skin from the product. This is a good little trick, honestly, just to be extra careful.
- Apply the Remover:
- If using an oil-based cleanser or balm: Take a generous amount on your fingertips and gently massage it over your closed eyelids and lashes. Let it sit for a few minutes, maybe five to ten, to really let the oil start to break down the adhesive.
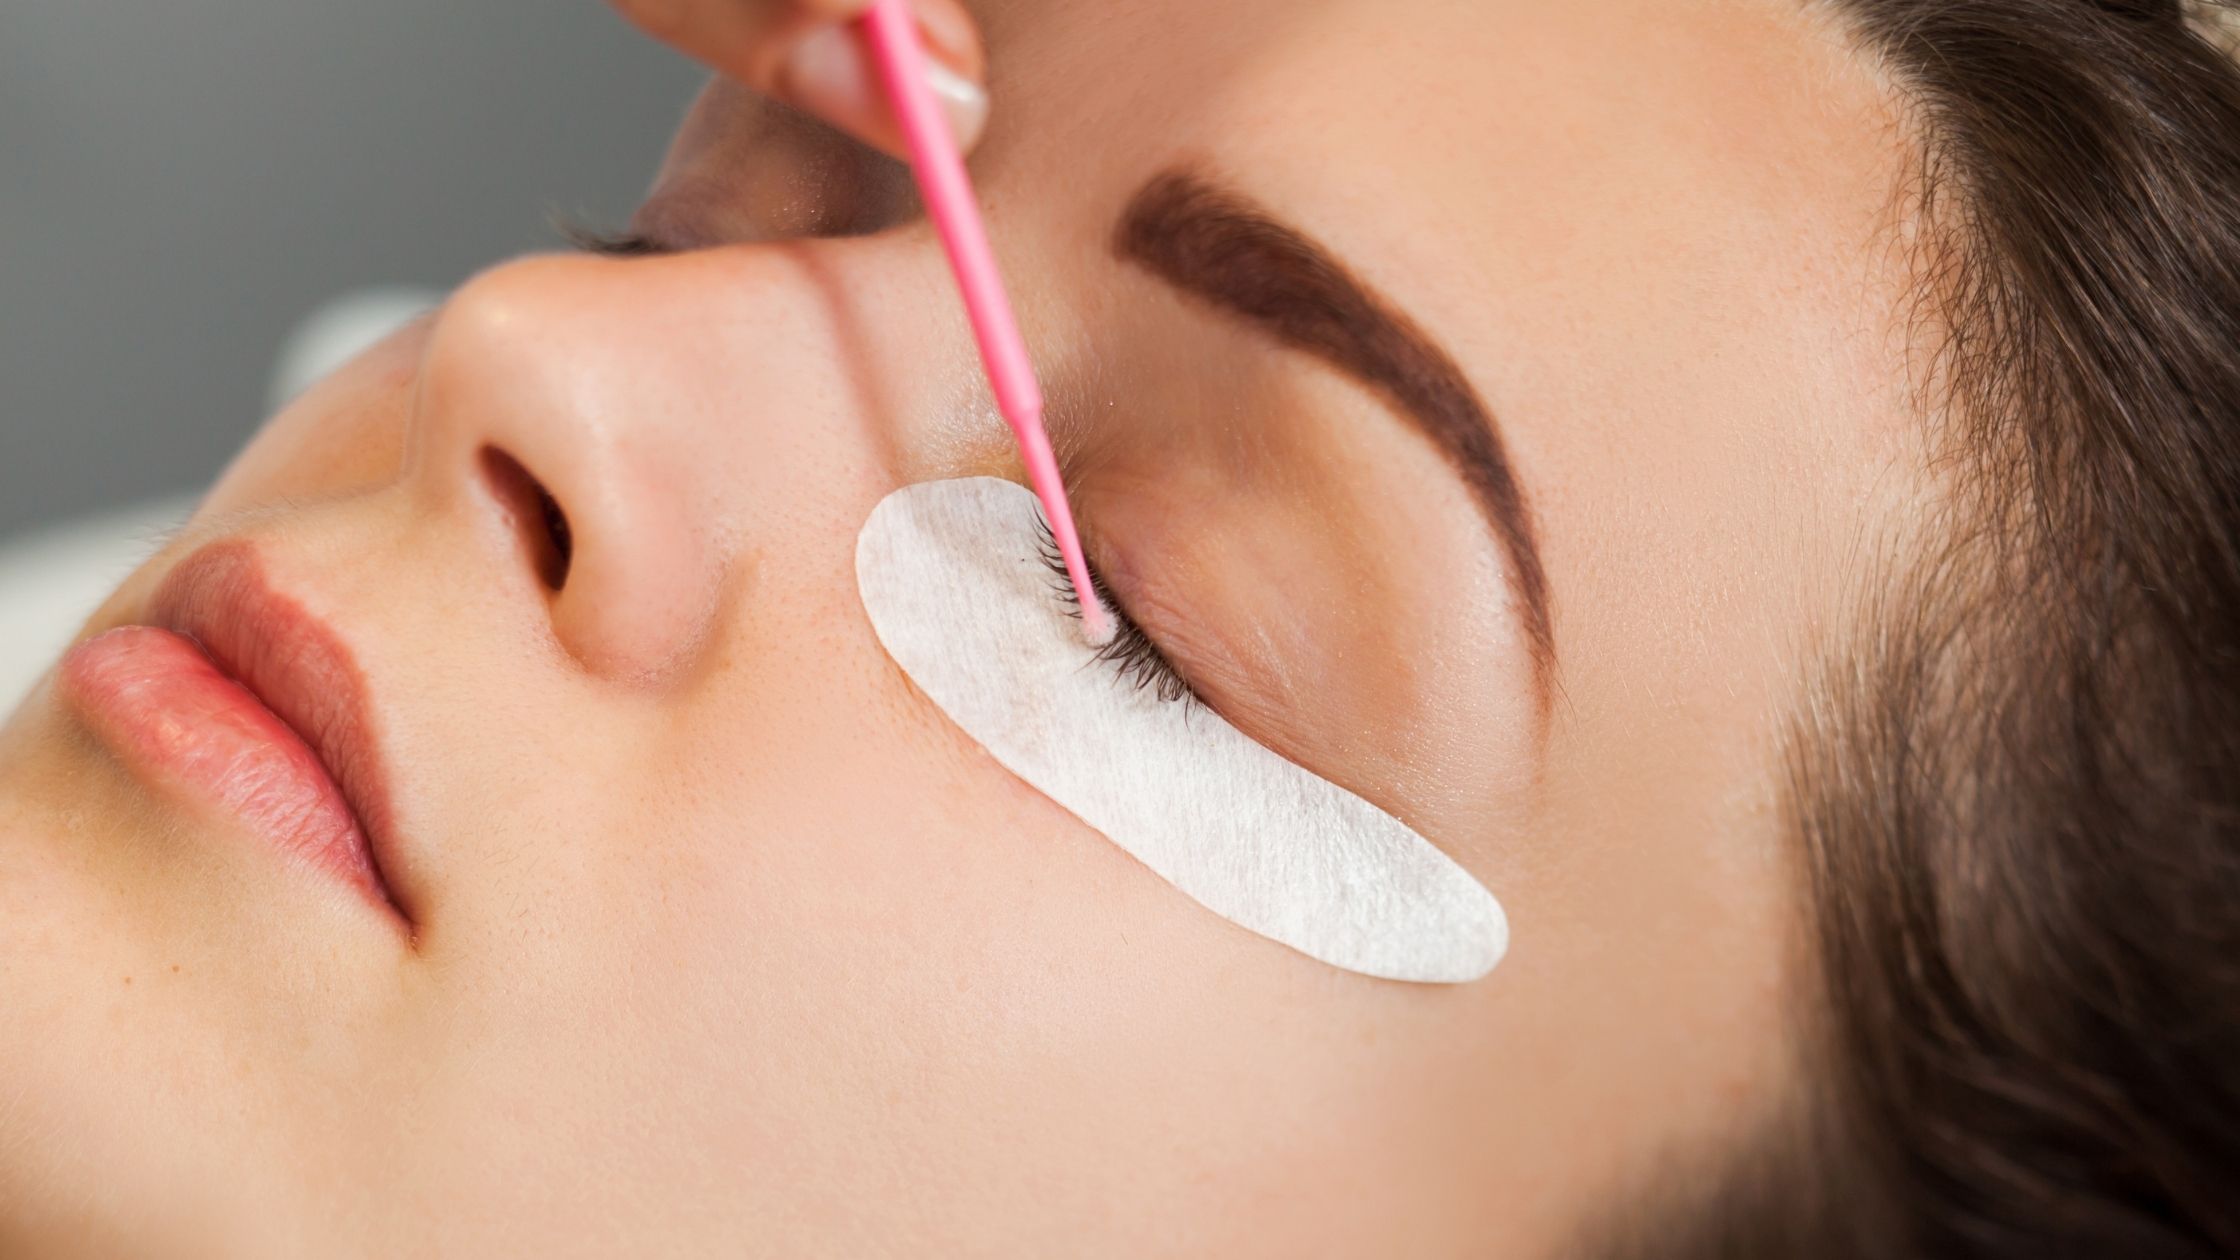
- If using a liquid lash extension remover: Soak a lint-free applicator or a small piece of cotton pad with the remover. Gently press it onto your lash line, making sure to coat the base of the extensions where they are bonded to your natural lashes. Hold it there for a minute or two. You might need to reapply a few times.
The key here is to give the product time to work. Don't rush it, as I was saying earlier. This step is pretty important, actually.
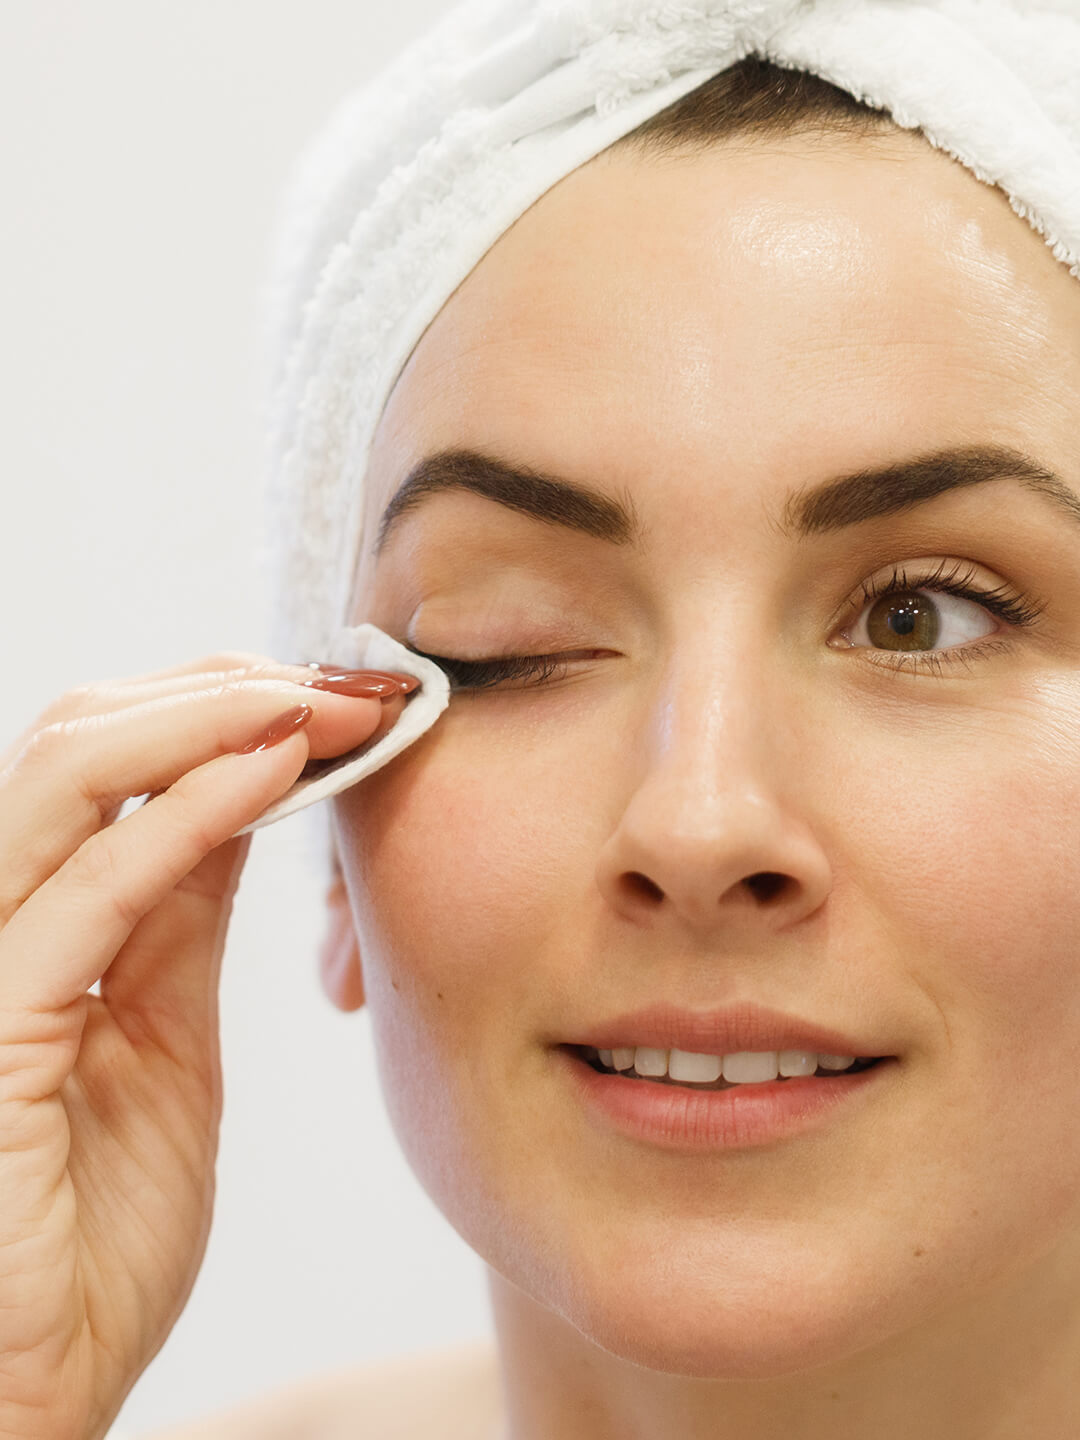
- Gentle Wiping or Sliding: After the waiting period, gently wipe downwards from the base of your lashes to the tips with a clean cotton pad or soft cloth. The extensions should start to slide off quite easily. If they don't, apply more remover and wait a little longer. Do not pull or tug at them. If you're finding it hard to get them off, you might need a bit more oil or remover, or just a little more time.
- Repeat as Needed: You'll likely need to repeat the application and gentle wiping process a few times to get all the extensions off. Work on one eye at a time, and take breaks if your eyes start to feel tired or irritated. It’s a bit of a process, so be patient with yourself, you know?
- Remove Stubborn Extensions (Carefully): For any very stubborn individual extensions, you can try saturating a micro-brush or a Q-tip with remover and gently rolling it over the bond of the extension. Sometimes, a tiny bit of extra focus helps. Just be very, very careful not to get the product in your eye.
- Cleanse Your Lashes: Once all the extensions are off, wash your eyes and face with a gentle, oil-free cleanser to remove any residue from the remover. This is a pretty important step to prevent any irritation and to clean your natural lashes properly.
- Rinse Thoroughly: Rinse your eyes and face with cool water. Make sure all the product is gone.
- Pat Dry: Gently pat your face and lashes dry with a clean, soft towel. Don't rub, as your lashes will be a bit delicate after the removal process.
And that's pretty much it for the removal part. It might take a little while, but doing it this way helps keep your natural lashes safe and sound. It's a bit like carefully removing a shared email account from Outlook; you follow the steps, and you get the job done without messing things up, hopefully.
Aftercare for Your Natural Lashes
Once those individual eyelash extensions are gone, your natural lashes might feel a little different, maybe a bit sparse or just softer than you remember. This is totally normal, and it doesn't mean they're damaged, just that they've been carrying a bit of extra weight for a while. Now's the time to give them some love and help them bounce back to their best. It's like after you remove the OneDrive software from your computer; you might do a little cleanup to make sure everything is running smoothly again.
Here are some good ways to look after your natural lashes:
- Condition, Condition, Condition: Just like the hair on your head, your lashes benefit from conditioning. Consider using a lash serum or a natural oil like castor oil or a bit of Vaseline. Apply a tiny amount with a clean spoolie before bed. This helps to moisturize and strengthen your lashes, making them look healthier.
- Be Gentle: For a few days after removal, avoid rubbing your eyes vigorously. When washing your face or applying makeup, be extra gentle around the lash line. Your lashes are in a bit of a recovery phase, so treat them with kindness.
- Take a Break from Mascara: If you can, try to avoid wearing mascara for a day or two after removal. This gives your lashes a chance to breathe and recover without any extra product. When you do start using mascara again, choose a nourishing formula.
- Eat Well: A balanced diet rich in vitamins and minerals, especially biotin and Vitamin E, can support healthy hair growth, including your lashes. So, eating good food is always a good idea, you know?
- Consider a Lash Growth Serum: If you feel your lashes need a bit of a boost, a dedicated lash growth serum can help encourage new growth and strengthen existing lashes. Just make sure to pick one with good reviews and follow the directions carefully.
Taking these steps will help your natural lashes feel strong and look great. It’s a good way to ensure they are ready for whatever lash look you might want to try next, or just to enjoy them au natural for a while. You can learn more about natural lash care on our site, and we also have a page dedicated to choosing the right lash serum for you.
Frequently Asked Questions About At-Home Lash Removal
People often have a few questions when they're thinking about how to remove individual eyelash extensions at home. It's totally natural to be curious and want to do things the right way. So, here are some common queries that pop up, and their answers, which might help you feel a bit more confident, really.
Can I use olive oil to remove individual lash extensions?
Yes, you can use olive oil to remove individual lash extensions. Olive oil is a natural, gentle option that can help to dissolve the adhesive. It works by breaking down the bond over time. You just need to apply it generously to your lashes with a cotton pad, let it soak for a good few minutes, and then gently wipe the extensions away. It might take a little longer than a specialized remover, but it's a very accessible and safe choice, honestly. Just be patient, and you'll get there.
How long does it take for individual lash extensions to fall out naturally?
Individual lash extensions typically fall out naturally as your own lashes complete their growth cycle. This usually happens over a period of about six to eight weeks. As your natural lash grows and sheds, the extension attached to it will also come off. Some might fall out sooner, and some later, depending on the individual lash cycle and how well they were applied. So, if you're not in a rush, you could just let them shed on their own, but that can sometimes leave your lashes looking a bit patchy, you know?
What happens if you pull off individual lash extensions?
If you pull off individual lash extensions, you risk damaging your natural lashes. The adhesive forms a strong bond, and pulling can rip out your natural lashes from the root, or cause them to break off mid-shaft. This can lead to gaps in your lash line, and it might take a while for your lashes to grow back, if they do at all. It's a bit like trying to force a saved account off your Teams app without following the proper removal steps; it can cause more problems than it solves. Always use a proper removal method to protect your natural lashes, which are quite delicate, after all.
How to Remove Eyelash Extensions: Your Step-by-Step Guide | IPSY
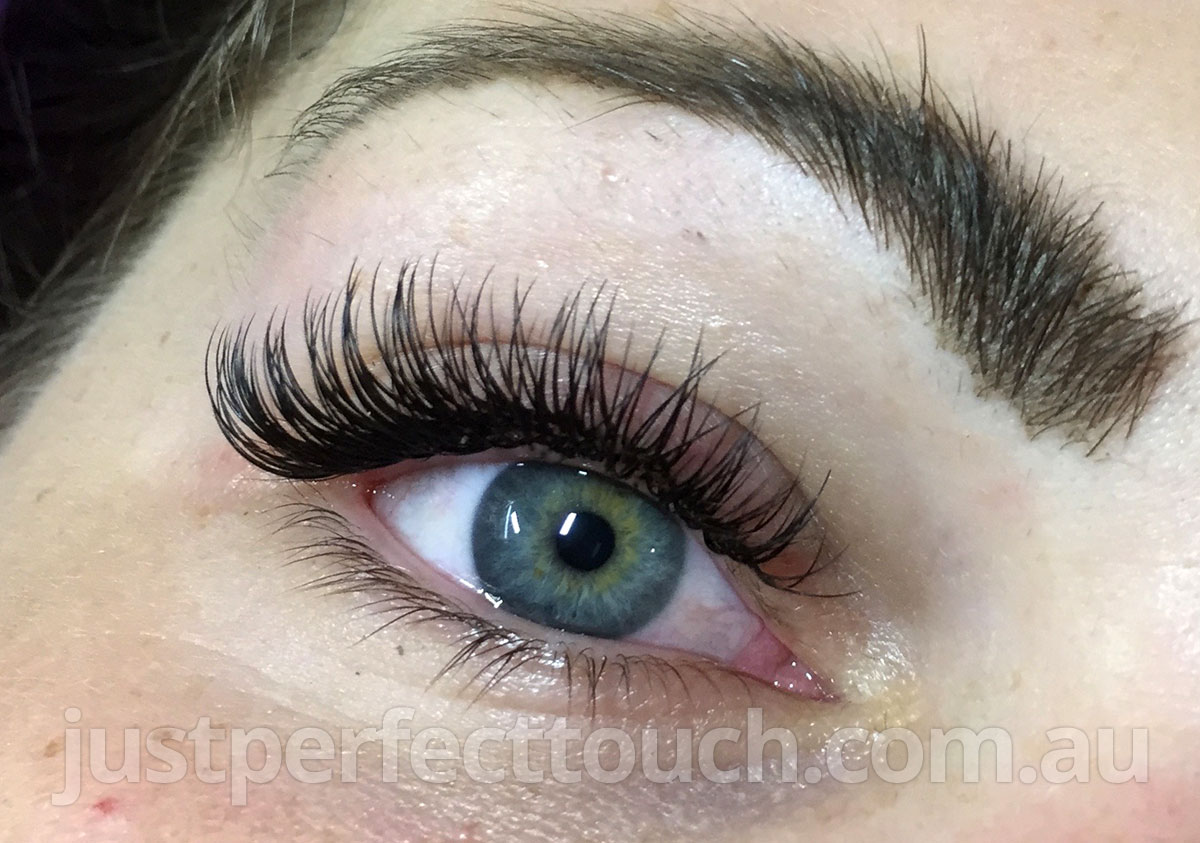
How to Remove Eyelash Extensions | Just Perfect Touch - Eyelash extensions
Remove Eyelash Extensions at Home Using these Major Tips
