How To Make Scissors Drawing Easy: Your Simple Guide
Learning to draw can feel like a big step, but it doesn't have to be hard. Sometimes, you just want to sketch something familiar, something you see every day, and make it look right. That's where a simple item like scissors comes in, you know? It's a tool many people use, whether for crafts or just opening a package, so drawing it can be a really useful skill for anyone starting out with art.
A lot of people want to try drawing, but they worry about making things perfect. They might think they need special skills or fancy tools. But honestly, drawing something like scissors can show you that art is for everyone. It's about seeing shapes and putting them on paper, and that's a skill you can pick up with a little bit of guidance, so it's not as tricky as it might seem.
This guide is here to help you draw scissors in a way that feels simple and fun. We'll go through each step, making sure you feel good about what you're doing. By the time you finish, you'll have a neat drawing of scissors, and maybe, just maybe, you'll feel ready to draw even more things. It's a pretty good way to spend some time, too.
Table of Contents
- Why Learning Scissors Drawing Easy is a Great Idea
- Getting Ready to Draw Your Scissors
- Your Step-by-Step Guide to Scissors Drawing Easy
- Tips for Making Your Scissors Drawing Even Better
- Frequently Asked Questions About Drawing Scissors
- Your Next Steps in Simple Drawing
Why Learning Scissors Drawing Easy is a Great Idea
Drawing a simple object like scissors offers a lot of good things for someone just starting out. It's a common item, so you see it a lot, and that makes it easier to picture in your mind. This helps you get comfortable with drawing everyday things, which is pretty cool, honestly.
It also builds your confidence. When you can draw something that looks like the real thing, even if it's just a simple sketch, you feel a sense of accomplishment. That feeling can really encourage you to keep going and try drawing more complex items later on, you know?
A Fun Way to Start Drawing
Getting started with drawing doesn't have to be a big deal. Picking an item like scissors gives you a clear goal that is very achievable. It’s not too simple, but it’s not overly complicated either, which is a nice balance for a beginner, as a matter of fact.
You can use this drawing as part of other projects too. Maybe you want to make a picture of a craft table, or a school desk. Having a simple pair of scissors ready to draw can really help fill out your scene. It's a pretty handy thing to know how to do, you see.
Practical for Everyday Projects
Scissors are a tool we all know and use. From cutting paper for school projects to opening packages at home, they are everywhere. Being able to sketch them means you can add a touch of realism to your drawings of daily life, which is kind of neat.
Think about drawing a picture for a friend who loves crafts. Adding a pair of scissors to your drawing makes it feel more personal and real. It shows you thought about what they like, and that's a nice touch, usually.
Getting Ready to Draw Your Scissors
Before you put pencil to paper, it helps to gather a few things. You don't need anything fancy, just some basic art supplies that you probably already have around. This part is about setting yourself up for success, so you can focus on the drawing itself.
It's also good to spend a moment looking at real scissors. Pay attention to how they are shaped and how their parts fit together. This quick observation can make a big difference in how your drawing turns out, honestly.
What You'll Need
You only need a few simple items to get started. A pencil is the most important, of course. Choose one that feels good in your hand, maybe a regular HB pencil, or one that's a little softer like a 2B for darker lines, you know.
You'll also want some paper. Any kind of paper will do, whether it's plain printer paper or a sketchbook page. An eraser is also very helpful for fixing any lines you don't like, and that's pretty much it for your basic tools, basically.
If you want to add some color, you might grab some colored pencils, crayons, or markers later. But for now, just focus on the lines. That's the main part of learning to draw the shape, anyway.
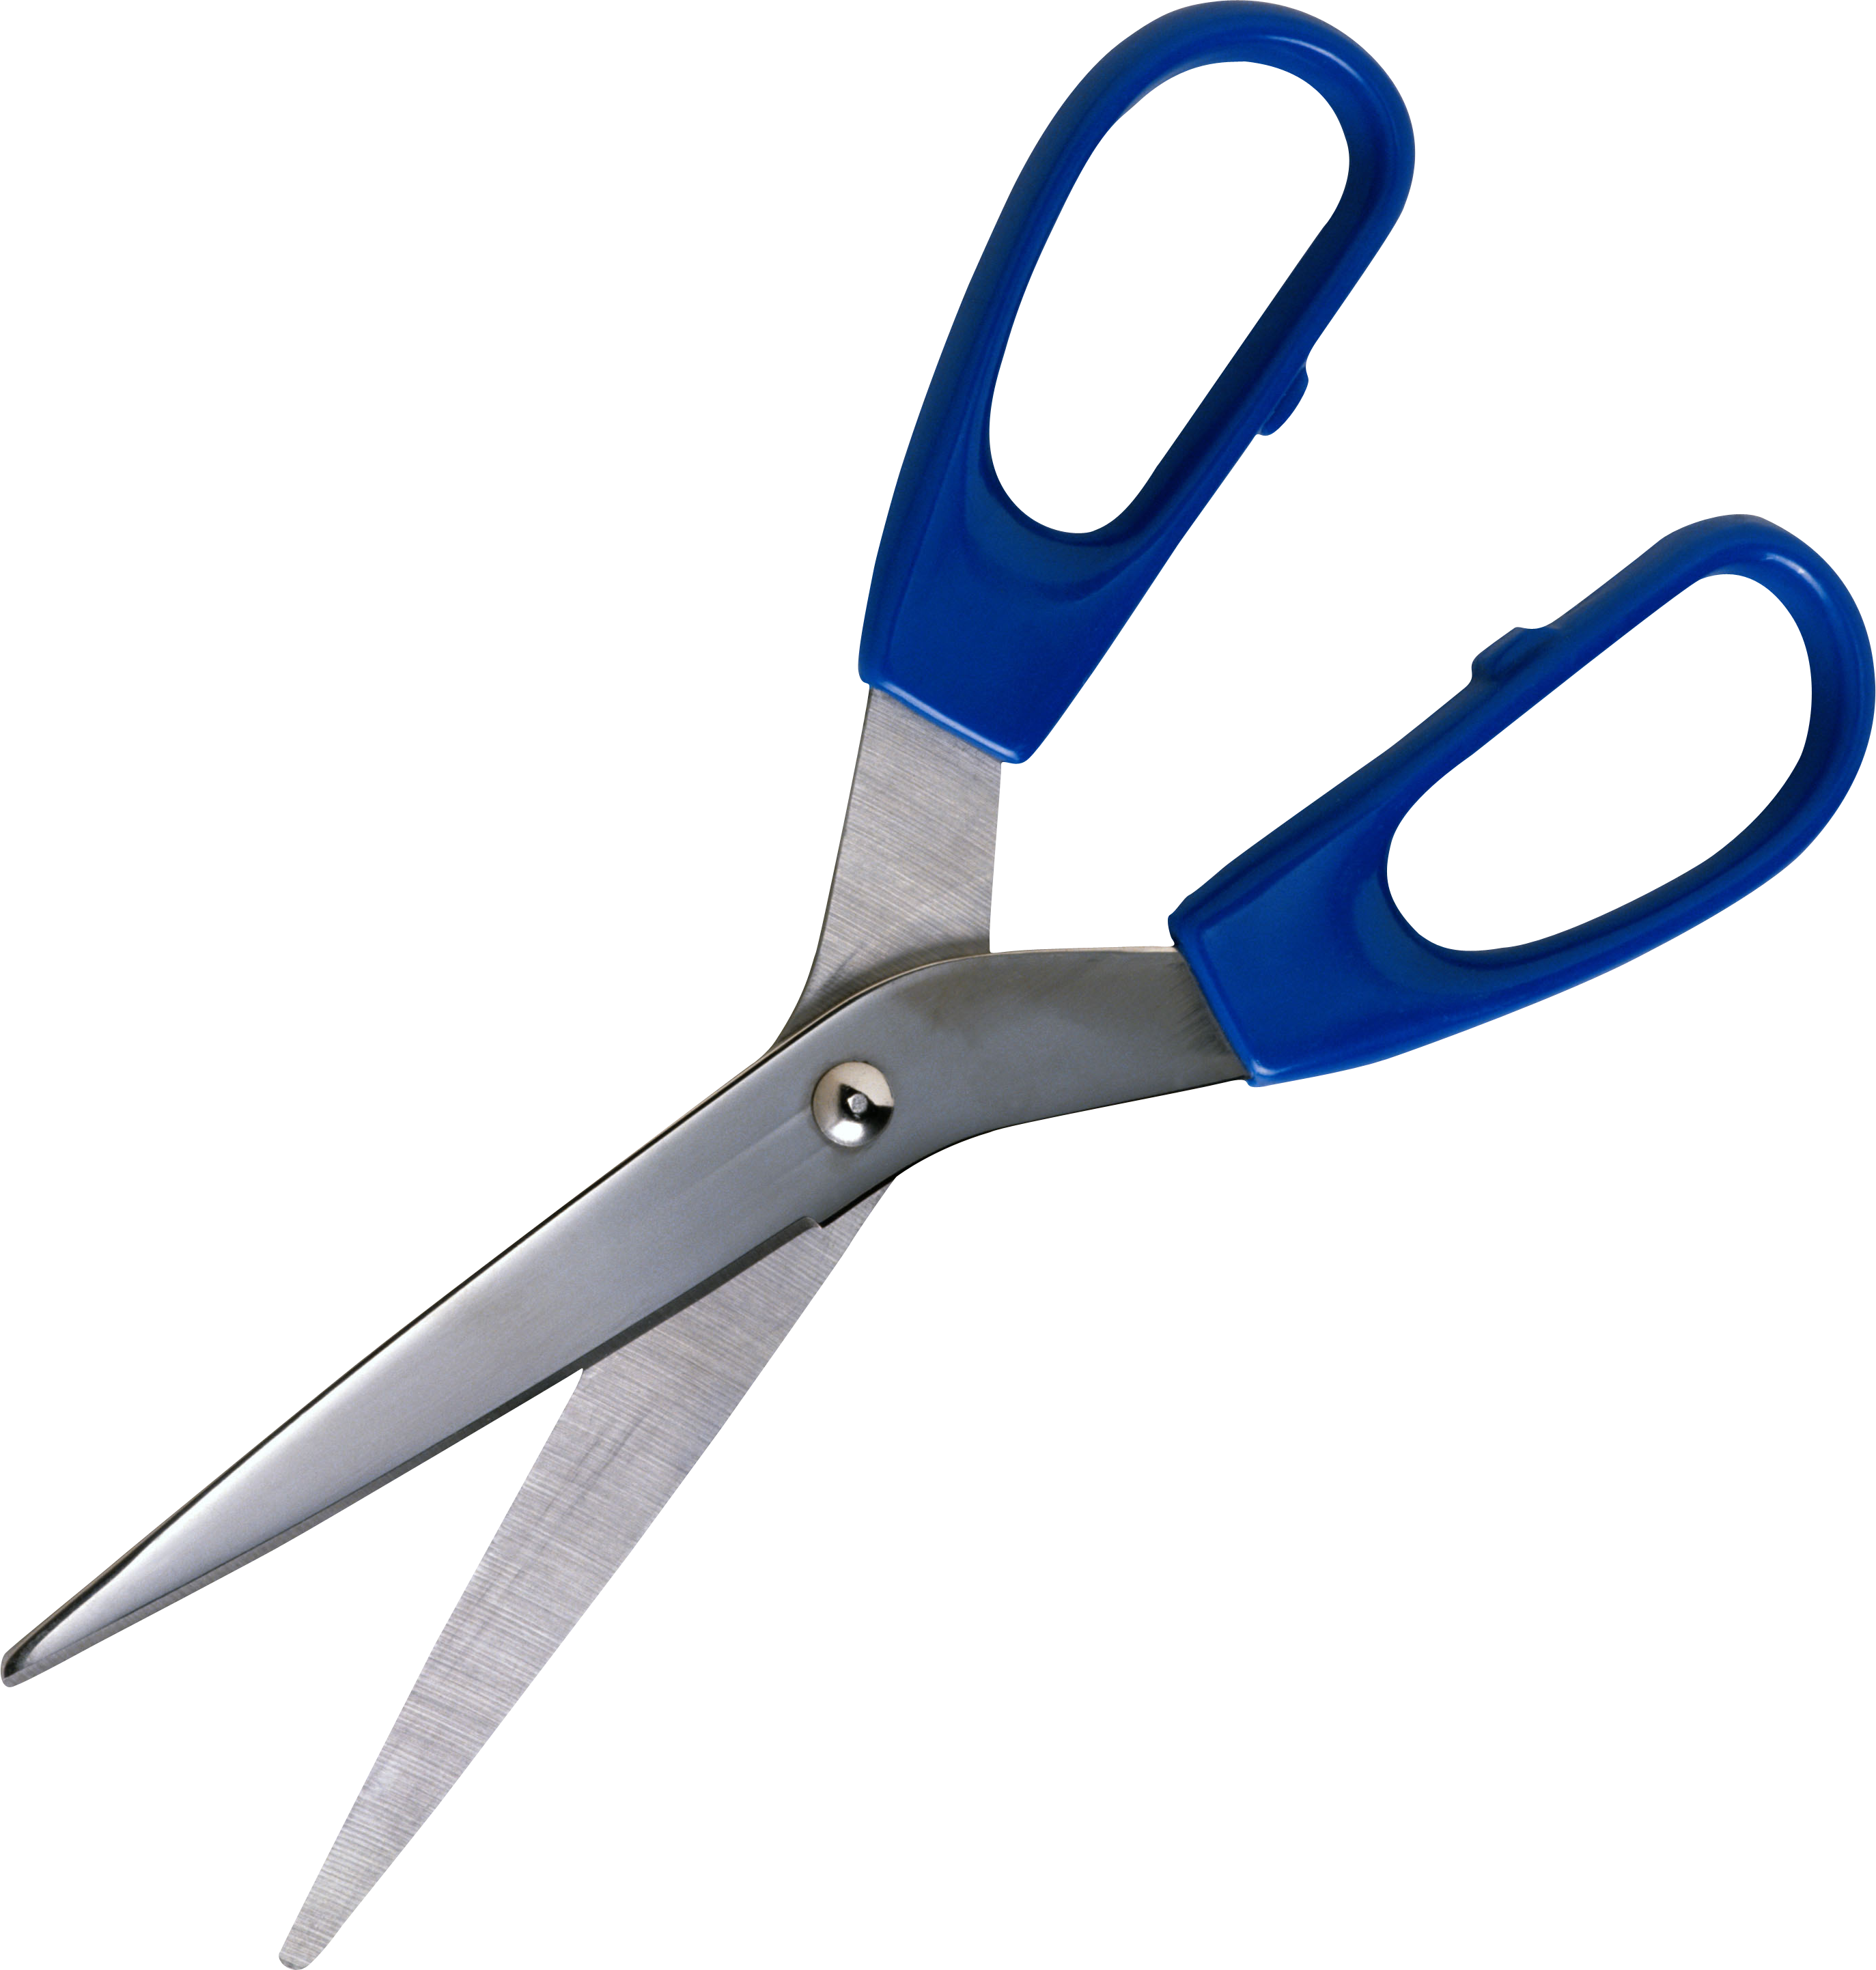
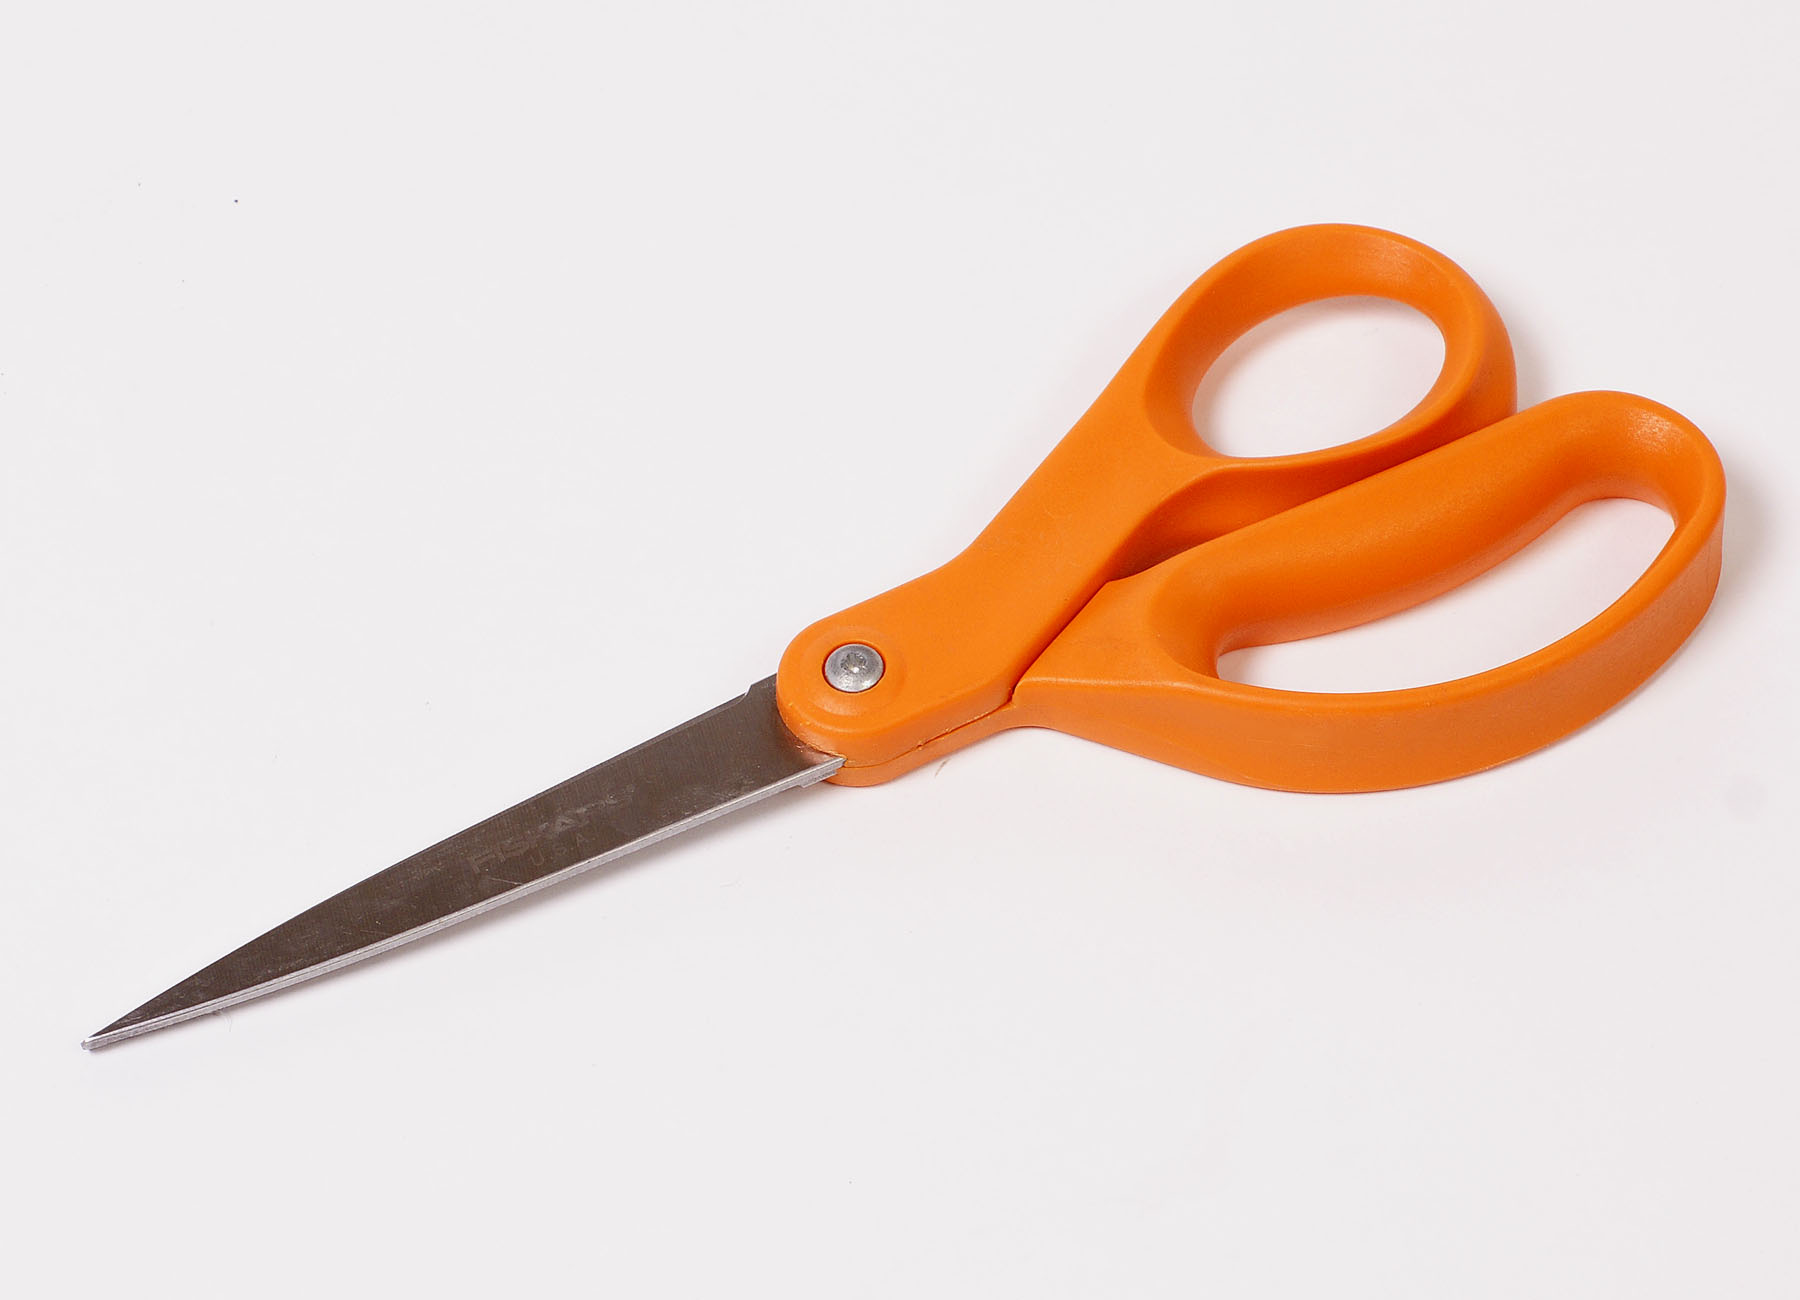
Understanding the Parts of Scissors
Before you draw, let's think about what makes up a pair of scissors. My text tells us, "A pair of scissors consists of a pair of blades pivoted so that the sharpened edges slide against each other when the handles (bows) opposite to the pivot." This means you have two main parts that cross over, you see.
There are the handles, which are often called "bows," where you put your fingers. Then there are the blades, which are the parts that do the cutting. In between them is the pivot point, which is where they join and move, so that's a very important spot.
My text also mentions, "Our selection of scissors comes in a variety of shapes and styles — choose a serrated pair if you're cutting multiple layers of fabric or a pair with ergonomic grips to keep your hands comfortable." This shows that even though the basic parts are the same, the look can change a lot. You can draw them with smooth blades or with little teeth, for instance.
Thinking about these parts helps you break down the drawing into smaller, easier steps. Instead of seeing one complex object, you see a few simple shapes joined together, which is pretty helpful, you know.
Your Step-by-Step Guide to Scissors Drawing Easy
Now, let's get to the fun part: drawing! We'll take this step by step, so you won't feel rushed or confused. Just follow along, and remember that every line you draw is part of your learning, and that's what matters, really.
Don't worry about making it perfect on your first try. Drawing is about practice, and each attempt helps you get better. You're just exploring shapes and lines here, so relax and enjoy the process, okay?
Starting with Basic Shapes
Begin by drawing two simple oval shapes for the finger holes of the handles. Make them roughly the same size and place them side by side, a little bit apart. These will be the openings where your fingers go, you know.
Next, connect these two ovals with a gentle curve on the outside. This forms the outer edge of the handles. Think of it like drawing a rounded letter 'C' that connects the two ovals, so it's a pretty simple shape to start with.
Then, draw another gentle curve on the inside, connecting the ovals again. This makes the inner part of the handles. You should now have what looks like two joined loops, and that's a good base, honestly.
Shaping the Handles
Now, let's give those handles some body. From the bottom of your joined loops, draw two lines that extend downwards and slightly inwards. These lines will form the part of the handle that connects to the blades, as a matter of fact.
Make sure these lines are somewhat parallel, but they can curve a little to give the handles a natural feel. Remember that some scissors have "ergonomic grips," as my text says, so your handles can be a bit curvy and comfy-looking, too.
At the very bottom of these lines, where they meet, you'll eventually place the pivot point. For now, just make sure the handles look like they could comfortably fit a hand, you know?
Crafting the Blades
From the bottom of the handles, where they almost meet, draw two long, narrow shapes for the blades. These shapes should be somewhat like stretched-out teardrops or long, thin leaves. One blade will sit slightly behind the other, so that's something to keep in mind.
Make sure the blades come to a point at the end. The sharpened edges, which "slide against each other," according to my text, should look like they could actually cut something. You can make one blade a little longer than the other if you like, for a more dynamic look, which is pretty common.
You can also think about the different types of blades. My text mentions "serrated" pairs. If you want to draw a serrated blade, you could add small, regular bumps along one edge of the blade, which is a neat detail, you know.
Adding the Pivot Point
The pivot point is where the two blades cross and are held together. This is a small but important detail. Draw a small circle or a dot where the two blades meet, right below the handles. This represents the screw or rivet that holds the scissors together, so it's a very key part.
This point is where the "blades pivoted," as my text says, allowing them to open and close. Making this circle clear helps show how the scissors work, even in a simple drawing. It's a pretty central feature, you see.
Finishing Touches and Details
Once you have the basic shape, you can add a few more lines to make your scissors drawing look even better. You might add a thin line down the middle of each blade to suggest the bevel, or the way the metal is shaped, you know.
You can also go over your main lines with a slightly darker pencil to make them stand out. Erase any extra lines or smudges that you don't need anymore. This cleans up your drawing and makes it look much neater, which is good, actually.
Consider adding some shading if you feel like it. A little bit of shading can make your scissors look more solid and real. Just imagine where the light might hit them and where shadows would fall, and that's a simple way to add depth, you know.
Tips for Making Your Scissors Drawing Even Better
Drawing is a skill that gets better with time and a little bit of playful experimentation. Here are some thoughts to help you keep improving your scissors drawings, or any drawing really. It's about finding what works for you, so it's very personal.
Don't be afraid to try new things or to make mistakes. Mistakes are just part of the process, and they often teach you the most. Every line you draw, even one you erase, is part of your learning, as a matter of fact.
Play with Different Styles
As my text points out, "Our selection of scissors comes in a variety of shapes and styles." This means your drawings can also show variety! Try drawing a pair of big, sturdy utility scissors, or a small, delicate pair for crafts. You could even draw "multipurpose scissors" that tackle "various tasks," as my text describes, by making them look strong and ready for anything.
Experiment with different ways of drawing the handles. Some are round, some are more oval, some have special grips. Changing these details can give your drawing a whole new look. It's a fun way to explore different designs, you know.
You might also try drawing them open, or closed. Drawing them open adds a bit more challenge, but it also makes the drawing feel more active. Just remember the pivot point will still be key, of course.
Practice Makes a Difference
The more you draw, the better you'll get. It's as simple as that. Try drawing scissors a few times, maybe once a day for a week. You'll notice how your lines become smoother and your shapes look more natural. It's a pretty satisfying feeling to see that progress, too.
Don't just draw the same way every time. Try drawing faster, then slower. Try drawing with a lighter touch, then pressing harder. Each approach can teach you something new about how your hand works with the pencil, and that's valuable, you know.
Even a few minutes of drawing can help. You don't need hours of dedicated time. Just a quick sketch here and there can add up to big improvements over time, which is pretty neat, honestly.
Use Real Scissors as a Guide
One of the best ways to improve your drawing is to look at the real thing. Grab a pair of scissors from your desk or a craft box. Hold them in your hand, turn them around, and see how the light hits them. This observation can give you ideas for your drawing, you know.
Notice the little details, like the texture of the handles or the shine on the blades. You don't have to draw every single detail, but just being aware of them can make your drawing feel more authentic. It's a great way to learn to see things like an artist, basically.
You can also try drawing them from different angles. This helps you understand how the shape changes depending on your view. It's a bit of a challenge, but it really helps your drawing skills grow, as a matter of fact. You can find more tips on basic shapes in drawing by looking at resources like Art Is Fun, for instance.
Frequently Asked Questions About Drawing Scissors
People often have similar questions when they start drawing simple objects. Here are some common ones that might be on your mind too, you know?
How do you draw scissors step by step?
To draw scissors step by step, you start with the two oval shapes for the handle holes. Then you connect those to form the handles. After that, you draw the two long blade shapes extending from the handles. Finally, you add a small circle for the pivot point where the blades cross. It's a pretty straightforward process, honestly.
What are the basic shapes of scissors?
The basic shapes that make up scissors are mostly ovals for the handle holes, and long, somewhat pointed rectangles or teardrop shapes for the blades. The handles themselves can be formed from curved lines. A small circle is used for the pivot point. It's just a collection of simple forms, really.
Can a child draw scissors easily?
Yes, absolutely! A child can draw scissors quite easily by following the basic shape method. Focusing on the ovals for the handles and the simple blade shapes makes it very accessible for young artists. It’s a good project for developing hand-eye coordination and confidence, you know?
Your Next Steps in Simple Drawing
You've just learned how to draw scissors, which is a great achievement! This skill can open up many more drawing possibilities for you. Think about other everyday objects you could try sketching next, like a pencil, a book, or even a simple cup. The same principles of breaking down shapes apply, you know?
Keep a small sketchbook handy and draw whenever you have a few free moments. It doesn't have to be a masterpiece every time. Just putting lines on paper helps your hand and eye work better together. You're building a habit that can bring a lot of joy, as a matter of fact.
Remember that drawing is a journey, not a race. Every drawing you make, no matter how simple, is a step forward. You're doing great, and there's always more to explore in the world of art. Learn more about drawing on our site, and discover more simple art projects on this page, too.

File:Pair of scissors with black handle, 2015-06-07.jpg - Wikimedia Commons
scissors PNG image
File:Large-scissors.jpg
