Making Your Own Style: Easy DIY Silk Screen T-Shirts At Home
Do you ever look at a plain t-shirt and just wish it had something more, something that truly spoke to you? Maybe you have a brilliant idea for a design, a funny saying, or a cool graphic that you know would look amazing on fabric. Creating your own unique clothing is a fantastic way to show off your personality, give thoughtful gifts, or even start a small creative project. It's that feeling of making something with your own hands, something that's totally one-of-a-kind, that makes DIY projects so rewarding. This guide is all about helping you bring those custom t-shirt dreams to life, right from your home.
There's a real joy that comes from doing things yourself, isn't there? It's a lot like the feeling you get from tackling a home improvement project or even, you know, building something cool in an electronics club. The folks in those clubs, as a matter of fact, often share their favorite websites for making all sorts of things. They say the most important part of DIY is having fun, and that's absolutely true here too. Making your own t-shirts with silk screening is, in a way, about expressing yourself and finding that happy feeling in creation.
So, if you're ready to add some personal flair to your wardrobe, or just want to try a fun new craft, you've come to the right spot. We're going to walk through everything you need to know about making **diy silk screen t shirts**. You'll discover how simple it can be to turn a plain shirt into a wearable piece of art. We'll cover what you'll need, how to do it, and some smart tips to make your first projects a real success. It's pretty cool, actually, what you can achieve with just a few basic supplies and a bit of patience.
Table of Contents
- Why Make Your Own Shirts?
- What You'll Need: Your DIY Silk Screen Toolkit
- Getting Your Design Ready
- The Silk Screening Process: Step-by-Step
- Troubleshooting & Common Questions
- Frequently Asked Questions
- Tips for Great Results
- Keeping Your Creations Looking Good
Why Make Your Own Shirts?
There are many good reasons to get into making **diy silk screen t shirts**. For one thing, it lets you create truly unique items. You're not stuck with what's available in stores, which is pretty neat. You can make shirts for yourself, for friends, or for special events, like a school club or a family gathering. It's a way to personalize things that really stands out.
Another big plus is the cost. Buying custom shirts can get quite expensive, especially if you want more than one. When you do it yourself, you save a good bit of money, and you can make several shirts for the price of one custom-ordered one. It's a practical skill, in a way, that lets you be both creative and budget-friendly.
Beyond that, it's just plain fun. There's a real sense of accomplishment when you pull that screen away and see your design perfectly printed on the fabric. It's a creative outlet that's surprisingly accessible, even if you've never tried anything like it before. Many people find it a relaxing and rewarding hobby, too, like working on a puzzle or a painting.
What You'll Need: Your DIY Silk Screen Toolkit
Getting started with **diy silk screen t shirts** doesn't require a huge investment. You probably have some of these items around your house already. We're talking about basic craft supplies, more or less. Here's a rundown of the key things you'll want to gather:
The Screen
This is, obviously, the heart of the process. A silk screen is a frame, usually wood or aluminum, with a mesh fabric stretched tightly across it. For beginners, a pre-made screen is often the easiest way to start. You can find these at craft stores or online. The mesh count matters; a lower number (like 80-110) is good for thicker paints and less detailed designs, while a higher number (like 160-230) works better for finer details and thinner inks. For most **diy silk screen t shirts** projects, a medium mesh count is a good all-around choice.
The Squeegee
This tool helps you push the ink evenly across the screen and through the open areas of your design onto the fabric. Squeegees come with different blade hardnesses. A medium-hard blade is usually a good starting point for fabric printing. You want one that's a bit wider than your design, so you can cover it in one smooth pass. It's pretty important to have the right size, you know, for good coverage.
Fabric Paint
Not just any paint will do. You need specific fabric paint or ink that's designed to adhere to textiles and withstand washing. Water-based fabric paints are great for beginners because they're easy to clean up with water. They also tend to be less toxic. Look for paints labeled for screen printing or textile use. There are many colors available, so you can really get creative with your **diy silk screen t shirts**.
Design Materials
How you create your design on the screen depends on the method you choose. For simple stencils, you might need:
- Vinyl or contact paper: Easy to cut and stick to the screen.
- Craft knife or cutting machine: For precise cutting of your design.
- Pencils and paper: For sketching out your ideas first.
T-Shirts and Other Fabrics
Of course, you need something to print on! Cotton t-shirts are a classic choice and work very well. You can also print on tote bags, hoodies, tea towels, or even canvas. It's a good idea to pre-wash your fabric if it's new, just to prevent any shrinking after printing. This helps your design stay looking good for a long time, too.
Other Handy Items
- Cardboard or a piece of wood: To place inside the t-shirt. This prevents the paint from bleeding through to the back and gives you a firm surface to print on.
- Masking tape or painter's tape: To tape off areas of the screen you don't want paint to go through, and to hold your shirt in place.
- Paper towels or old rags: For quick clean-ups.
- Newspaper or plastic sheeting: To protect your work surface from paint spills.
- A hairdryer or iron: For curing the ink (making it permanent).
Getting Your Design Ready
This is where your artistic side comes into play for your **diy silk screen t shirts**. There are two main ways to get your design onto the screen for home use. One is super simple, great for beginners, and the other offers more detail. Both are quite doable, honestly.
Simple Stencil Method
This method is fantastic if you're just starting out or if your design has bold, clear shapes. It's very accessible. You basically create a stencil out of a material that will block the ink. Vinyl or contact paper works really well for this. Here’s how you do it:
- Design: Draw or print your design onto paper. Keep it fairly simple at first, with clear lines and solid shapes.
- Cut the Stencil: Place your vinyl or contact paper over your design and carefully cut out the areas where you want the ink to go. This means you're cutting out the parts of the design that will show up on your shirt. A craft knife on a cutting mat is perfect for this.
- Apply to Screen: Carefully peel the backing off your stencil and stick it to the underside of your screen (the side that will touch the shirt). Press it down firmly, making sure there are no air bubbles, especially around the edges of your design. Any gaps will let paint through, so be precise.
- Tape Off: Use masking tape to cover any exposed mesh around the edges of your stencil or screen frame. You only want paint to go through your design, not seep out the sides. This step is pretty important for a clean print.
Photo Emulsion Method
This method allows for much finer detail and more complex designs, similar to professional screen printing. It involves coating your screen with a light-sensitive emulsion. You'll need a photo emulsion kit, which usually includes the emulsion and a sensitizer. This is a bit more involved, but the results are really impressive for your **diy silk screen t shirts**.
- Coat the Screen: In a dimly lit room (no direct sunlight!), mix the photo emulsion according to the kit's instructions. Use a scoop coater or a credit card to apply a thin, even layer of emulsion to both sides of your screen. Let it dry completely in a dark, dust-free place. This can take several hours.
- Create Transparency: Print your design onto a transparent sheet. This design needs to be completely opaque (black works best) in the areas where you want the ink to pass through. Think of it like a negative.
- Expose the Screen: Once the emulsion is dry, place your transparency design onto the emulsion-coated side of the screen (the side that will be facing up when you print). Place a piece of black fabric or cardboard underneath the screen to absorb light. Then, expose the screen to a strong light source (like a specialized exposure unit or even a strong work light/UV lamp) for a specific amount of time, as recommended by your emulsion kit. The light hardens the emulsion everywhere *except* where your opaque design blocks it.
- Wash Out: After exposure, immediately wash the screen with a gentle spray of water. The unexposed emulsion (the parts under your design) will wash away, leaving your design open on the mesh. You'll see your design appear as you wash. Let the screen dry completely.
- Block Out: Just like with the stencil method, use masking tape to block out any areas of the screen around your design that you don't want ink to go through.
The Silk Screening Process: Step-by-Step
Now for the fun part: printing your **diy silk screen t shirts**! This is where all your preparation pays off. It's a pretty straightforward process once you get the hang of it, and very satisfying, too.
Prepare Your Workspace
Lay down newspaper or plastic sheeting to protect your table or floor. You don't want paint getting everywhere, obviously. Make sure you have enough space to work comfortably and to lay out your printed shirts to dry. Having everything within reach just makes the whole thing smoother, you know?
Position the Shirt
Place a piece of cardboard or a firm board inside your t-shirt. This creates a flat, stable surface for printing and prevents the paint from soaking through to the back of the shirt. Smooth out the shirt on your protected surface, making sure there are no wrinkles in the area where you'll be printing. You might want to use a little spray adhesive on the board to keep the shirt from shifting, which is a good idea for precision.
Apply the Paint
Place your prepared screen onto the shirt, centering your design exactly where you want it. Use a bit of masking tape on your work surface to create registration marks around the screen. This helps you line up future shirts perfectly, which is pretty handy. Pour a line of fabric paint across the top edge of your design on the screen. Don't use too much, just enough to cover the top of your design. A little bit goes a long way, actually.
Pull the Squeegee
Hold the squeegee at about a 45-degree angle. With firm, even pressure, pull the squeegee down across the paint and over your design in one smooth, continuous motion. The goal is to push the paint through the mesh openings onto the fabric below. You might need to do a second pass if the first one didn't give you full coverage, but usually one good pull is enough for **diy silk screen t shirts**.
Lift and Inspect
Carefully lift the screen straight up from the shirt. Try not to smudge the wet paint. Take a look at your print! This is often the most exciting part. If you're printing multiple shirts, leave the screen in place and quickly replace the printed shirt with a new one, aligning it using your registration marks. This makes the process faster, so it's a good tip for batches.
Cure the Ink
Once your shirt is printed, let the paint air dry completely. This can take a few hours. After it's dry to the touch, you need to "cure" the ink to make it permanent and washable. Most fabric paints require heat curing. You can do this with a household iron (set to the cotton setting, no steam) by placing a piece of parchment paper or a thin cloth over the design and pressing firmly for several minutes. Alternatively, a heat gun or even a hot dryer cycle can work. Always check the specific instructions on your fabric paint for the best curing method, as different paints have different needs, obviously.
Clean Up
Immediately after printing, clean your screen and squeegee thoroughly with water (for water-based paints). If the paint dries on the screen, it can be very difficult to remove and might ruin your screen for future use. A soft brush can help get paint out of the mesh. It's really important to do this right away, you know, for the longevity of your tools.
Troubleshooting & Common Questions
Even with careful steps, you might run into a few small issues when making **diy silk screen t shirts**. Don't worry, these are usually easy to fix. It's all part of the learning process, actually.
Fuzzy Edges: If your design looks blurry or has fuzzy edges, it could be that your screen wasn't pressed firmly enough against the shirt, allowing paint to seep underneath. Or, your stencil might not have been fully adhered. Make sure your surface is flat and your screen is stable. Sometimes, too much paint can also cause this, so use just enough.
Uneven Coverage: If some parts of your design are lighter than others, you might not have used enough pressure with the squeegee, or you didn't apply enough paint. Try a firmer, more even pull next time. Make sure the squeegee blade is clean and smooth, too, as a damaged blade can cause streaks.
Paint Bleeding Through: If paint goes through to the back of the shirt, your cardboard insert might not be thick enough, or the paint is too thin. Using a thicker board or a slightly thicker paint consistency can help. Also, make sure the shirt is pulled taut over the board, which helps a lot.
Screen Clogging: If paint starts drying in your screen mesh, especially with detailed designs, it might be too warm in your workspace, or you're taking too long between prints. Keep your paint moving, and if you need a break, clean the screen quickly. You can also try adding a tiny bit of water to your paint to thin it slightly if it's too thick, but be careful not to make it too watery.
Frequently Asked Questions
Here are some common questions people often ask about making **diy silk screen t shirts** at home:
Is silk screen printing at home hard for beginners?
Not at all! It might seem a bit tricky at first, but with the simple stencil method, it's very beginner-friendly. The key is to start with simple designs and practice. Many people find it quite easy to pick up, and the results are really rewarding. It's more about patience and following steps than complex skills.
What materials do I need for DIY silk screening?
You'll need a screen, a squeegee, fabric paint, and something to create your design (like vinyl for stencils or a photo emulsion kit). Plus, of course, the t-shirts! You'll also want some basic items like masking tape, cardboard, and newspaper to protect your work area. It's a pretty manageable list, actually.
Can I silk screen without special equipment?
You can definitely get started with very basic equipment. While professional setups use specialized machines, you can achieve great results at home with just a screen, squeegee, and fabric paint. Some people even make their own screens from old picture frames and sheer fabric, though a pre-made screen is usually more reliable for beginners. It's pretty adaptable, in a way.
Tips for Great Results
To make sure your **diy silk screen t shirts** turn out looking professional, here are a few extra tips. These little things can make a big difference, honestly.
- Practice First: Before you print on your favorite t-shirt, do a test print on an old piece of fabric or a paper towel. This lets you get a feel for the squeegee pressure and paint consistency without risking a good shirt. It's a bit like practicing anything new, you know?
- Less is More with Paint: Start with a small amount of paint on your screen. You can always add more if needed, but too much paint can cause bleeding or make it harder to get a clean pull. It's better to be a little conservative at first.
- Even Pressure: The most important thing for a good print is applying even pressure across the entire design with your squeegee. Try to keep the angle consistent as you pull. This ensures the paint goes through the mesh uniformly.
- Work Quickly: Fabric paint can start to dry in the screen mesh, especially on warmer days. Work efficiently once the paint is on the screen to avoid clogging. This is why having everything ready beforehand is so helpful.
- Clean Immediately: As mentioned, clean your screen and tools right after you finish printing. Dried paint is a real hassle to remove and can damage your screen. It's just a good habit to get into.
- Consider Instructables: For more ideas and detailed guides on various DIY projects, including screen printing, you might find a lot of useful information on sites like Instructables. It's a great place for inspiration and step-by-step instructions, very helpful for any kind of making.
Keeping Your Creations Looking Good
After all that effort making your **diy silk screen t shirts**, you'll want them to last! Proper care is key to keeping your custom designs vibrant. Once the paint is fully cured, your shirts should be quite durable. It's pretty satisfying to see your designs hold up over time, too.
When washing your printed shirts, it's generally best to turn them inside out. This helps protect the printed design from rubbing against other clothes in the wash. Use cold water and a gentle cycle. Avoid harsh detergents or bleach, as these can fade the colors or damage the print over time. It's just a little extra care that makes a big difference.
For drying, air drying is always the gentlest option. If you use a dryer, choose a low heat setting. High heat can sometimes cause the print to crack or peel over time, especially if the paint wasn't perfectly cured. Ironing should also be done with care; if you need to iron the printed area, turn the shirt inside out or place a thin cloth over the design to protect it. Remember, you can learn more about home repair projects on our site, and even how to handle plumbing fixes, if you're feeling extra DIY-inclined!
Making your own custom t-shirts with silk screening is a truly rewarding hobby. It lets you express your creativity, save some money, and wear something truly unique. It's a fun process that, with a little practice, anyone can master. So, why not gather your supplies and give it a try? You'll be wearing your own designs in no time, and that's a pretty cool feeling, honestly.
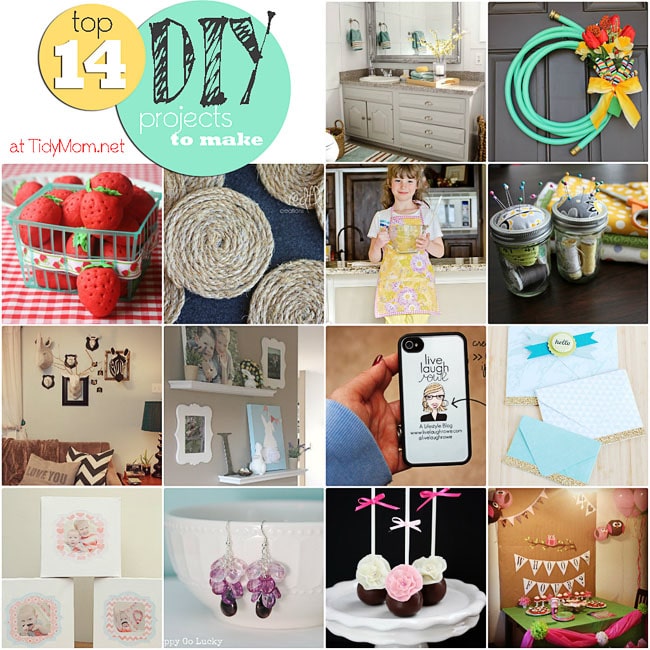
Top 14 DIY Projects to Make
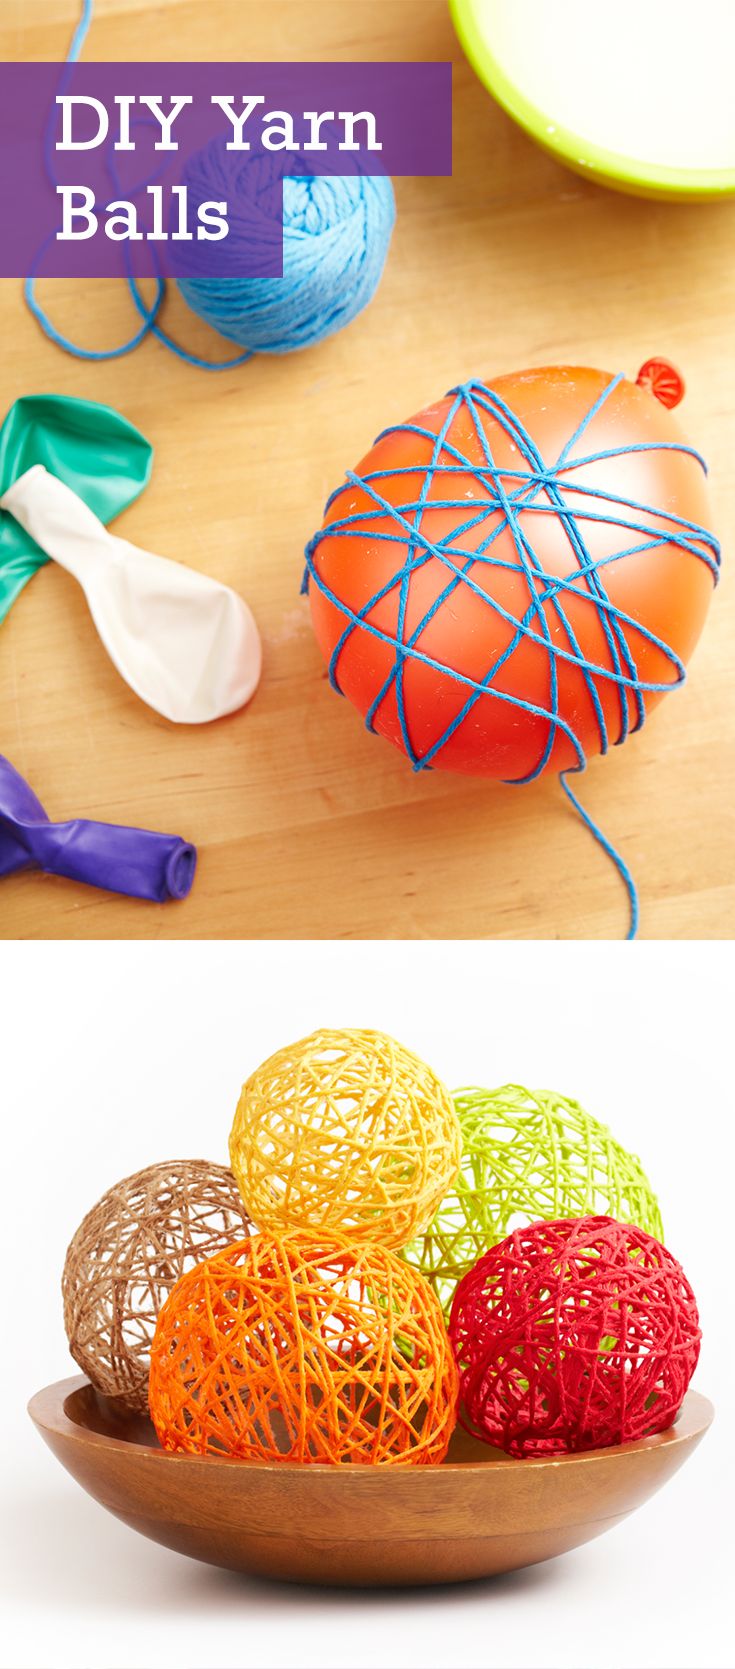
20 DIY Yarn Projects for this Winter - Pretty Designs
5+ Easy DIY Home Decor Crafts Ideas by Livspace & ThatYellowTrunk
