Silver To Brown Hair: A Smooth Shift To A Richer Shade
Thinking about a fresh hair color? Going from silver to brown hair is a popular choice for many, offering a lovely change that can feel warm and inviting. Perhaps you've had your silver look for a while, and you're just ready for something different. It's a big decision, certainly, and you want it to feel right for you.
This kind of change, you know, it can really make you feel renewed. Silver hair, whether it's natural or dyed, has a special charm, but sometimes a person just wants to try a different vibe. You might be looking for a softer appearance, or perhaps a color that feels a bit more grounded. Many people, more or less, consider this shift for a variety of personal reasons.
This guide will walk you through everything about making the move from silver to brown hair. We will talk about what to think about before you start, how to pick the right shade, and what the coloring process might look like. So, in a way, get ready to explore your options for a beautiful new look.
Table of Contents
- Why Consider the Change?
- Getting Your Hair Ready
- Picking the Perfect Brown
- The Coloring Process Explained
- Salon Visit or At-Home Dye?
- Keeping Your New Brown Fresh
- Common Questions About Silver to Brown
- Frequently Asked Questions
- Your New Brown Hair Journey
Why Consider the Change?
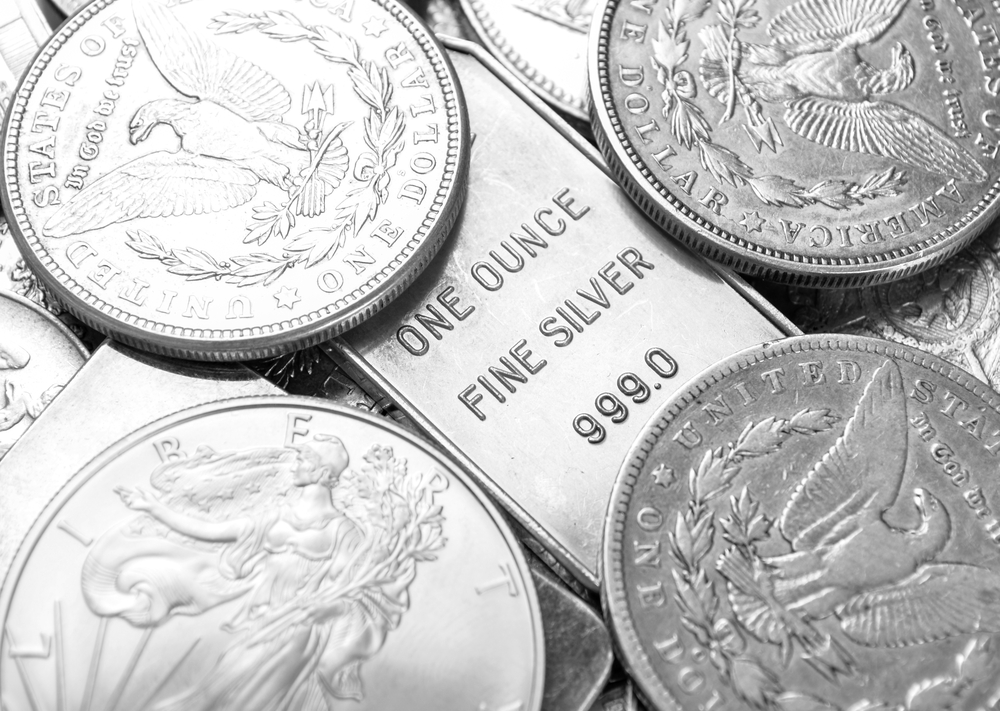
Many people with silver hair eventually think about changing their color. Maybe they feel like they want a different look for a new season of life. Sometimes, a person just wants to try something new, a bit like how some folks might decide to buy silver in all forms, from silver leaf to apply to an antique frame, just to see how it looks. A new hair color can bring a feeling of excitement, you know?
Brown hair can give a softer appearance, which some people really like. It can also make your skin tone look warmer and brighter. For some, the thought of maintaining silver hair, with its special needs, can feel like a lot of work. So, a shift to brown can feel like a welcome break, giving you a fresh start, more or less.
Also, trends come and go, and while silver has been quite popular, a rich brown shade always seems to have its place. It's a classic color that often feels comforting and natural. So, it's almost a way to keep your look current while also feeling timeless, if that makes sense.
Getting Your Hair Ready
Before you even think about putting color on your hair, getting it ready is very important. Think of it like preparing a surface before you apply something precious, like silver leaf to a table. You want the best possible base for your new brown shade. This preparation helps the color take evenly and last longer, too.
A good starting point makes a huge difference in the final result. If your hair is not in good shape, the color might look uneven or fade quickly. It's like trying to build a strong house on a weak foundation; it just won't hold up. So, taking these steps seriously is pretty essential.
Hair Health Matters
Healthy hair holds color much better than hair that is dry or damaged. If your hair feels brittle or looks dull, you might want to give it some extra care before coloring. Using deep conditioning treatments or hair masks in the weeks leading up to your color change can really help. You want your hair to be strong, basically.
Sometimes, silver hair can be a bit more fragile or porous, which means it can soak up color differently. A bit like how some forms of silver can be more prone to tarnish. Making sure your hair is well-nourished helps it absorb the brown color more evenly. This helps avoid patchy spots, too, which nobody wants.
Consider cutting off any split ends before you color. This makes your hair look healthier and helps the color look better from top to bottom. A good trim can really make a difference, you know, and it helps the hair feel lighter and more vibrant.
Understanding Your Silver
Is your silver hair natural or dyed? This makes a big difference in how you approach the coloring process. Natural silver, or "native silver" as you might call it, often has a different texture and porosity than hair that has been bleached to silver. Knowing this helps you pick the right products, too.
If your silver is natural, it might be more resistant to color, especially around the temples. This means you might need a stronger formula or a longer processing time in those areas. It's a bit like how some silver coins might be harder to clean than others, you know, they just react differently.
For dyed silver hair, you need to consider what was done to get it silver in the first place. Was it heavily bleached? This could mean your hair is more porous and might soak up the brown color very quickly, possibly leading to a darker result than you expect. So, a strand test is really important here, you know, to see how it reacts.
Picking the Perfect Brown
Choosing the right shade of brown is a fun part, but it also takes some thought. Brown isn't just one color; there are so many different tones, from light caramel to deep espresso. You want a brown that makes you feel good and complements your natural features, too. It's a bit like choosing a piece of silver to invest in; you want something that holds its value and looks good for a long time.
Looking at pictures of people with brown hair that you admire can be a good start. Think about what kind of brown appeals to you most. Do you like something warm and golden, or something cool and ashier? This initial thinking really helps narrow down the choices, more or less.
Remember, your silver hair will act as a base, and it might influence the final brown shade. Sometimes, the silver can make the brown look a bit cooler than expected. So, keeping that in mind helps manage your expectations, you know, for the final outcome.
Warm, Cool, or Neutral?
Brown shades have different undertones. Warm browns have hints of red, gold, or copper. Think of shades like honey brown, caramel, or auburn. These can be very pretty and add a lot of richness. They often look great on people with warmer skin tones, too.
Cool browns have hints of blue, green, or violet. Ash brown or chocolate brown often fall into this group. These can look very sophisticated and can help to balance out any redness in your skin. They tend to suit people with cooler skin tones, you know, giving a nice contrast.
Neutral browns are a mix of both, or they don't lean too heavily one way or the other. They are often described as true browns. These can be a safe bet if you're not sure about your skin's undertone, or if you just want a classic look. A neutral brown can be very versatile, basically.
Skin Tone and Eye Color
Your skin tone and eye color play a big role in what brown shade will look best on you. A color that clashes with your skin can make you look washed out, while a good match can make you glow. It's like finding the right setting for a beautiful silver piece; the right background makes it shine. So, taking this into account is pretty important.
If you have warm skin (veins look green, you tan easily), warm brown shades often look amazing. If you have cool skin (veins look blue, you burn easily), cool brown shades might be more flattering. Neutral skin tones can pull off almost any brown, which is nice, you know?
Consider your eye color, too. A rich, warm brown can make blue or green eyes really pop. A cooler brown can bring out the depth in brown or hazel eyes. It's about creating harmony, more or less, with all your features.
The Coloring Process Explained
Once you've picked your perfect brown, it's time to think about the actual coloring process. This isn't just about slapping on some dye; there are steps to follow to get the best result. It's a bit like a careful chemical process, not unlike how silver is found in the earth's crust in its pure form, or as an alloy with other metals, and each form reacts differently. So, patience is key here.
The process might vary a little depending on whether you're doing it at home or at a salon. But the basic principles remain the same. You're aiming for an even, beautiful brown color that looks natural and lasts well. This takes a little planning, you know?
Don't rush this part. Taking your time with each step can prevent mistakes and help you get the color you really want. It's not a race, after all, and you want to be happy with the outcome, basically.
Pre-Treatment Steps
For silver hair, especially if it's very light or bleached, a pre-pigmentation step might be needed. This means adding a warm, golden, or red pigment to your hair *before* applying the brown dye. Why? Because silver hair often lacks these warm tones, and without them, brown can look dull or even greenish. It's a common issue, you know.
Think of it like laying down a base coat before painting a wall a darker color. It helps the final color appear true and rich. Your hair needs those missing warm pigments to properly absorb the brown. This step is often skipped in at-home kits, which is why some people get unexpected results. So, it's pretty important.
A protein treatment before coloring can also help. It strengthens the hair and can make it more receptive to the dye. Healthy hair is happy hair, and happy hair takes color better. This can really make a difference, you know, in the overall vibrancy.
Applying the Color
Follow the instructions on your dye kit very carefully, or listen to your stylist. Sectioning your hair properly is a must for even application. You want to make sure every strand gets coated with color. It's a bit like making sure every part of a silver object gets cleaned evenly; you don't want any missed spots. This helps avoid patchiness, too.
Start applying the color at the roots, working your way down to the ends. Roots often take longer to process because they are newer hair. If your silver hair is very porous at the ends, you might apply the color to the ends for a shorter time. So, timing is very crucial here.
Wear gloves, and protect your skin and clothes. Hair dye can stain, obviously. Set a timer according to the instructions, and don't leave the dye on for too long or too short a time. This is where precision matters, you know, for the best results.
After the Color is On
Once the processing time is up, rinse your hair with cool water until the water runs clear. Then, use the conditioner that comes with the dye kit, or a good color-safe conditioner. This helps to seal the cuticle and lock in the color. It's a bit like the final polish that sets the look, though you might not want an "over shined polished look" for your hair, preferring a more natural feel, which I personally like and will pass on myself. This step is important for lasting color, too.
Avoid washing your hair for at least 24-48 hours after coloring. This gives the color more time to settle and fully develop. The longer you wait, the better the color will set. So, a little patience goes a long way here, you know?
Treat your hair gently after coloring. Avoid harsh brushing or excessive heat styling right away. Your hair has just gone through a process, and it needs a little kindness. This helps keep it looking its best, basically.
Salon Visit or At-Home Dye?
Deciding whether to go to a professional stylist or do it yourself at home is a big choice. Both options have their good points and things to think about. It's a bit like deciding whether to buy silver from a big retailer like Silver.com with easy online payment options, or finding a local dealer. Each has its own way of doing things, you know?
For a big change like silver to brown, especially if your silver is natural or has been bleached, a salon visit often makes a lot of sense. But for some, the convenience and cost savings of an at-home kit are very appealing. So, weigh your options carefully.
Think about your comfort level and your hair's history. If you're not sure, it's usually better to play it safe. You want a result you'll be happy with, after all, and not feel sick to your stomach over it, like some might feel about certain financial decisions, you know?
The Salon Advantage
A professional stylist has the experience and knowledge to handle the unique challenges of coloring silver hair. They can assess your hair's condition, porosity, and natural undertones very well. They also have access to a wider range of products and tools. This can lead to a much more predictable and beautiful result, too.
Stylists know how to do things like pre-pigmentation correctly, which is often key for a good brown on silver hair. They can also mix custom shades to perfectly match your skin tone and preferences. It's like having an expert guide you through a complex market, helping you find what will keep value, especially given changing rules and regulations, you know?
While a salon visit costs more upfront, it can save you money in the long run by preventing mistakes that need fixing. Fixing a bad home dye job can be expensive and damaging to your hair. So, it can be a wise investment, basically, for your hair's health and your peace of mind.
Doing It Yourself at Home
Dyeing your hair at home can be a budget-friendly option, and it gives you control over the process. If your silver hair is already quite uniform and healthy, and you're going for a fairly simple brown shade, it might work out well. Many people successfully color their hair at home, you know.
However, be very realistic about the potential challenges. Getting an even application on your own head can be tricky, especially at the back. Also, over-the-counter dyes might not have the pre-pigmentation steps needed for silver hair, which can lead to unwanted tones like green or ash. So, be prepared for that possibility.
Always do a strand test and a patch test before coloring your whole head. A strand test shows you how the color will look on a small section of your hair, and a patch test checks for allergic reactions. These steps are very important for safety and satisfaction, you know, and can prevent a lot of trouble.
Keeping Your New Brown Fresh
Once you have your beautiful new brown hair, you'll want to keep it looking great for as long as possible. Color-treated hair needs special care to prevent fading and maintain its shine. It's like any valuable asset; it needs ongoing attention to hold its worth. So, a good routine is very helpful.
The first few weeks after coloring are especially important for setting the color. But ongoing care is also key for long-term beauty. You want your brown to stay rich and vibrant, not dull or brassy. So, these tips are pretty useful.
Think of it as a commitment, a bit like a New Year's resolution concerning physical silver, where you've been touching and buying silver for years. You put in the effort, and you see the good results. That's how it works with hair color, too.
W

File:Silver crystal.jpg - Wikipedia

Silver price today: Silver is up 32.70% year to date
Silver Returns to Its Historic Role - The Daily Reckoning
