Your Simple Guide: How To Cut Up A T Shirt For Fresh Looks
Do you have a pile of old t-shirts just sitting there, taking up space in your closet? Perhaps you feel a bit bored with your current wardrobe, or maybe you are just looking for a new way to express your own personal style. Well, as a matter of fact, giving those old shirts a new life is simpler than you might think. This is how to cut up a t shirt, turning something plain into something truly unique, and you can totally do it yourself at home, too it's almost a fun project for a quiet afternoon.
Many people are looking for easy ways to refresh their clothes without spending a lot of money, and transforming a t-shirt is a very popular way to do just that. It is a fantastic way to make something old feel brand new, and you get to wear something no one else has. You can turn a basic tee into a stylish crop top, add some cool fringes, or even create an interesting open back design, so there are many possibilities.
This guide will walk you through the steps, giving you lots of ideas and helpful hints along the way. We will look at what you need, how to prepare your shirt, and different ways to make cuts for various looks. It's a creative process that lets you put your own spin on things, and you might find you really enjoy the making part, you know, the whole process of it all.
Table of Contents
- Getting Ready: What You'll Need
- Preparing Your T-Shirt
- Basic Cuts for a New Look
- More Creative Ideas
- Tips for a Clean Finish
- Keeping Your Cut T-Shirt Looking Good
- Common Questions About T-Shirt Cutting
- Your Next T-Shirt Project
Getting Ready: What You'll Need
Before you start to cut up a t shirt, gathering your tools is a good first step. Having everything nearby makes the process smoother, so you can just focus on the creative part. You do not need a lot of special items, which is pretty nice for a project like this, honestly.
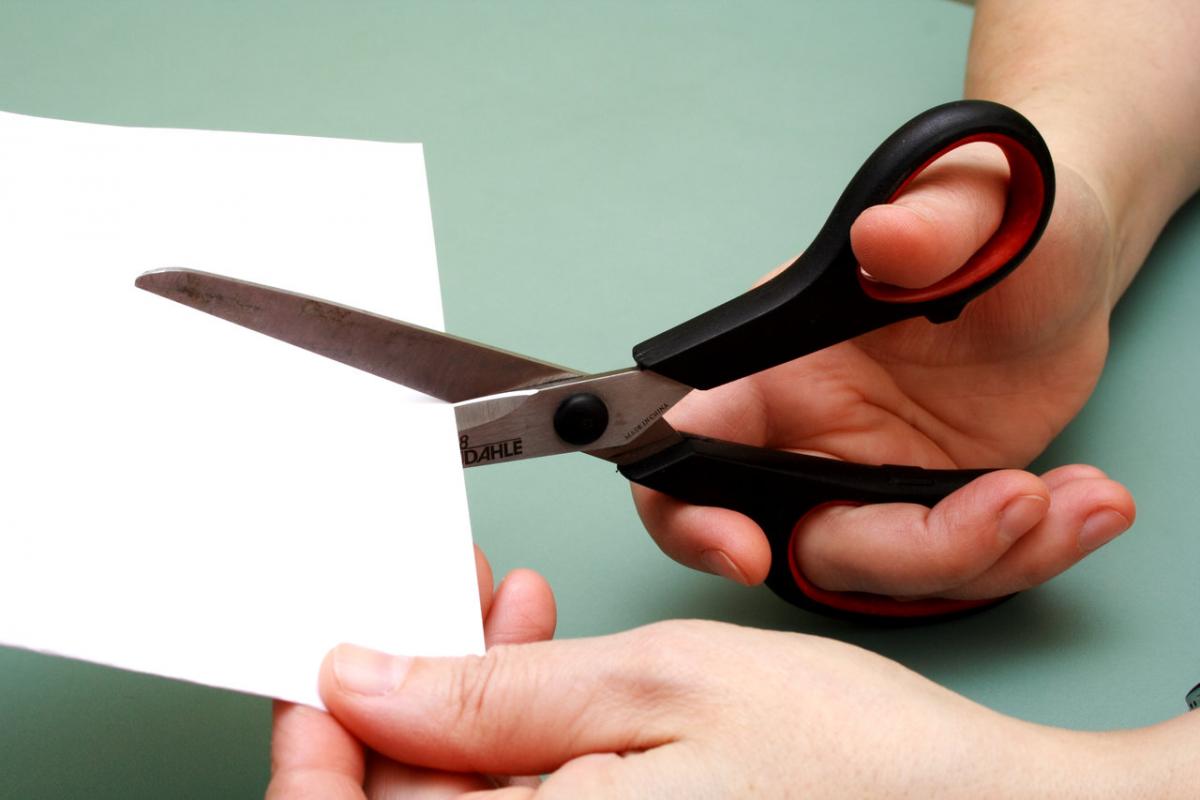
First, you will need a good pair of fabric scissors. These are different from regular paper scissors; they cut fabric cleanly without snagging or leaving frayed edges. A dull pair of scissors can make your cuts look messy, and you really want a clean line, you know, for a polished look. You can find fabric scissors at any craft store, or even a department store with a sewing section, which is pretty convenient.
Next, grab a ruler or a measuring tape. This helps you make straight lines and keeps your cuts even. If you want a symmetrical design, measuring is really important, so it is not just guesswork. A fabric marker or tailor's chalk is also very helpful. These tools let you draw your cutting lines directly onto the shirt, and the marks usually wash out later, which is a good thing.
You will also want a flat, sturdy surface to work on. A large table is ideal, or even a clean floor if you have enough space. Placing a cutting mat underneath your shirt can protect your surface from accidental cuts, which is a smart move, basically. Some people use a piece of cardboard or an old newspaper for this, and that works too, in a way.
And of course, pick out the t-shirt you want to transform. Choose one that fits you well, or one that you do not mind experimenting with. Cotton shirts are often the easiest to cut and work with, as they tend to hold their shape pretty well after cutting, so that's a common choice.
Preparing Your T-Shirt
Getting your t-shirt ready is a simple but important step before you cut up a t shirt. A little preparation can make a big difference in how your finished project looks, honestly. This part helps you avoid mistakes and ensures your cuts are exactly where you want them, you know, for the best outcome.
First, make sure your t-shirt is clean and dry. Any wrinkles or folds can throw off your cutting lines, making them crooked. So, it is a good idea to wash and dry the shirt, and perhaps even give it a quick iron if it is very creased. A smooth surface is key for precise cuts, so that's a basic thing to do.
Next, lay your t-shirt out flat on your work surface. Smooth out any bumps or creases with your hands. You want the fabric to be as flat and even as possible, kind of like a blank canvas. If you are planning a cut that needs to be symmetrical, like a new neckline or a straight hem, folding the shirt in half lengthwise can help you make matching cuts on both sides. This is a common trick, actually.
Think about the design you want to create. Do you want a shorter shirt? Some fringes along the bottom? An open back? Having a clear idea in your head, or even drawing a rough sketch, can guide your hand. You can use your fabric marker or tailor's chalk to draw your cutting lines directly onto the shirt. This gives you a clear path to follow with your scissors, which is really helpful, in fact.
Remember, you can always cut off more fabric, but you cannot put it back on. So, it is generally better to start with smaller cuts and then remove more if needed. This is a common piece of advice for any fabric project, and it definitely applies here, too. Take your time with this preparation step, and you will feel more confident when you start cutting, you know, just take it easy.
Basic Cuts for a New Look
Now for the fun part: learning how to cut up a t shirt into different styles. These basic cuts are popular starting points, and they can totally change the feel of an old shirt. You might find one of these is just what you are looking for, so let's see.
The Crop Top Cut
Making a crop top is one of the easiest ways to refresh a t-shirt. It is a quick change that can make an old, baggy shirt feel current and stylish, you know, like a whole new piece. This cut works well for almost any t-shirt, giving it a fresh, shorter length.
First, put on the t-shirt and decide where you want the new hem to fall. You can stand in front of a mirror and use a piece of chalk or a pin to mark the spot. Some people like it just above the belly button, others prefer it a bit longer, so it really depends on your preference. Once you have your mark, take the shirt off and lay it flat.
Use your ruler and fabric marker to draw a straight line across the shirt at your chosen length. Make sure the line is even all the way around, front and back. If your shirt has a side seam, you can use that as a guide to keep your line straight, which is pretty handy. Then, using your fabric scissors, carefully cut along that line. Take your time to make a clean, straight cut. The fabric might roll up slightly after cutting, which is totally normal for cotton jerseys, so don't worry about that.
For a clean edge, you can leave the cut raw, as many modern styles do. Or, if you want a more finished look, you can fold the raw edge up by about half an inch and secure it with fabric glue or a simple stitch. This is a pretty straightforward cut, and it really changes the shirt's whole vibe, you know, makes it feel new.
Fringe Fun
Adding fringes to the bottom of a t-shirt gives it a playful, relaxed feel. This is a popular way to cut up a t shirt, especially for casual wear or festival outfits, and it is surprisingly simple to do, too. You can make the fringes long or short, thick or thin, depending on the look you want, so there's a lot of room for your own touch.
Start by deciding how long you want your fringes to be. A good length is usually between 4 to 8 inches, but you can go longer if you like. Use your ruler and fabric marker to draw a horizontal line across the shirt, marking the top of where your fringes will begin. This line will be your stopping point for all the vertical cuts, so it is pretty important to get it right.
Next, begin cutting vertical strips from the bottom hem of the shirt up to your marked line. Aim for strips that are about half an inch to one inch wide. You can make them narrower for a more delicate fringe or wider for a bolder look. Try to keep the width consistent for a uniform appearance, though some people like a varied look, so that's okay too.
Continue cutting strips all the way around the bottom of the shirt. Once all your strips are cut, you can gently pull on each fringe to make it curl slightly, which gives it a more natural, worn-in feel. This is a simple trick that really makes the fringes look good. You can also add fringes to the sleeves or even the neckline for extra detail, so there are other places to try this, too.
Slashed Back Style
A slashed back t-shirt adds an unexpected and stylish element, making a plain shirt much more interesting. This design is a bit more daring, but it is still very easy to create, and it looks really cool, actually. It is a great way to show off a little bit of skin or a cute bralette underneath, you know, for a layered look.
Lay your t-shirt flat, face down, on your work surface. Decide how far down you want the slashes to go and how wide you want the gaps to be. A good starting point is usually from just below the neckline down to about the middle of the back. You can use your fabric marker to draw two horizontal lines: one for the top of your slashes and one for the bottom, so you have clear boundaries.
Now, draw several horizontal lines between these two boundaries. These lines will be your cutting guides for the slashes. You can space them about one to two inches apart, depending on how much skin you want to show. The closer the lines, the more subtle the slashes will be. Make sure these lines are parallel and straight, which is pretty important for the final look.
Carefully cut along each of these horizontal lines. Do not cut through the side seams of the shirt; just cut across the back panel. Once all your slashes are made, gently pull on the fabric between each cut. This will make the fabric roll and open up, creating the "slashed" effect. You can stretch them as much or as little as you like, which is pretty neat.
For an even more dramatic look, you can twist or braid some of the slashed strips together before stretching them, which adds another level of detail. This style is very popular, and it is a fantastic way to transform a simple tee into something really eye-catching, you know, something special.
More Creative Ideas
Once you get comfortable with the basic cuts, you can start exploring even more creative ways to cut up a t shirt. These ideas let you really personalize your clothes and show off your unique style. They might take a little more time, but the results are often worth it, honestly.
Lacing Up the Sides
Adding lacing to the sides of a t-shirt can give it a trendy, adjustable fit and a really cool visual detail. This is a fantastic way to add some flair to a plain tee, and it is not as hard as it might seem, you know, once you get the hang of it.
Start by laying your t-shirt flat. Decide how long you want your lacing section to be along the side seams. Use your fabric marker to draw a vertical line on both sides of the shirt, from just below the armpit down to the hem, or wherever you want the lacing to end. This is where you will make your cuts, so it is pretty important.
Along these lines, mark small, evenly spaced points where you will cut small slits or holes. These will be for your lacing. You can space them about an inch apart. Use your fabric scissors to cut small, horizontal slits, about a quarter of an inch long, at each marked point. Make sure these slits are big enough to thread your lacing material through, but not too big that they fray easily.
For lacing material, you can use shoelaces, ribbon, or even strips cut from another t-shirt. Thread your chosen material through the slits, crisscrossing it like you would lace up a shoe. You can start from the bottom and work your way up, or vice versa. Tie a knot at the top and bottom to secure the lacing, which is pretty straightforward. This gives the shirt a custom fit and a really stylish touch, so it's a good one to try.
Braided Details
Braiding parts of your t-shirt can add a textured, bohemian feel to your garment. This technique works really well on the back, sleeves, or even along the neckline, and it looks pretty intricate, but it is actually quite simple to do, you know, once you know how.
To create a braided detail, you first need to cut several long, thin strips of fabric from the t-shirt. These strips should be consistent in width, about half an inch to an inch wide, and long enough to braid. You can cut them from the bottom hem of the shirt, or from a section you plan to remove anyway, so you are not wasting fabric. If you want a longer braid, you can join strips by tying small knots at their ends, which is a neat trick.
Once you have your strips, you can start braiding them. A simple three-strand braid is often the easiest to begin with. You can braid them directly onto the shirt by cutting three parallel slits, pulling the fabric through, and then braiding those sections. Or, you can braid separate strips and then attach them to the shirt using small stitches or fabric glue, which gives you more flexibility.
For example, to create a braided back, you could cut several horizontal strips across the back, leaving them attached at the sides. Then, you can take three adjacent strips and braid them together, securing the ends with small knots or stitches. This creates a really unique pattern on the back of the shirt, and it is a bit more involved, but the effect is really striking, actually. It is a very creative way to use the fabric itself for decoration, so it's quite clever.
Off-Shoulder Appeal
Transforming a regular t-shirt into an off-shoulder top is a stylish way to update your look. This cut gives a relaxed, casual vibe and is perfect for warmer weather or a night out, you know, for a bit of a different feel. It is a pretty simple modification that makes a big impact.
Lay your t-shirt flat and smooth it out. Decide how wide you want the new neckline to be. You will be cutting a wider, more open neckline that will sit off your shoulders. A good starting point is to measure about 1-2 inches in from the shoulder seam on each side, so you have a good guide. You can mark these points with your fabric marker.
From these marked points, draw a gentle curve across the front and back of the shirt, connecting them through the original neckline. This curve should be wide enough to fall comfortably off your shoulders. Make sure the curve is symmetrical on both sides for an even look. You can use a plate or a bowl as a template for a smooth curve if you like, which is a pretty common trick.
Carefully cut along the curved line you have drawn. Take your time to make a smooth, continuous cut. Once the cut is made, the fabric around the new neckline might roll slightly, which is normal for jersey fabric. You can leave the edge raw for a casual look, or if you prefer a more finished edge, you can fold it over and secure it with fabric glue or a simple stitch, so you have options.
Try on your newly cut off-shoulder top. You might need to adjust the fit slightly by cutting a little more off if it is too tight, or by adding a small elastic band inside the hem for a more secure fit, which is a nice touch. This style is very popular, and it is a really effective way to give an old shirt a fresh, fashionable update, you know, make it current.
Tips for a Clean Finish
When you cut up a t shirt, getting a clean, neat finish makes all the difference in how professional your new garment looks. Even if you are going for a raw edge, there are ways to make it look intentional and not just messy, honestly. These tips will help you achieve a polished result, so your shirt looks great.
Always use very sharp scissors. Dull scissors can chew through fabric, leaving ragged, uneven edges that are hard to fix. A clean cut from sharp scissors means less fraying and a crisper line. If your scissors feel like they are pulling the fabric rather than slicing through it, they are probably not sharp enough, so that's a sign.
When making long cuts, like for a new hem or a deep V-neck, try to cut in one continuous motion if possible. Short, choppy cuts can lead to jagged lines. If you need to stop, try to do so at a point where you can easily pick up the cut again without creating a bump. This takes a little practice, but it really helps with smoothness, you know, for a good line.
For raw edges, especially on cotton jersey fabric, the fabric tends to roll up naturally. This can be a desired effect for a casual, "distressed" look. To encourage this rolling, you can gently pull on the cut edge after you are done. If you prefer a flatter raw edge, you can use a small amount of fabric glue along the very edge to prevent excessive rolling, which is a neat trick.
If you want a truly finished edge, like a sewn hem, you will need a sewing machine or some fabric glue. For a hem, fold the raw edge up by about half an inch, then fold it again. Press it flat with an iron, and then stitch it down. Fabric glue offers a no-sew alternative; just apply a thin line along the folded edge and let it dry completely. This creates a neat, durable finish, which is pretty good for longevity.
Finally, consider the fabric type. Some fabrics, like very stretchy knits, might fray more than others. If you are worried about fraying, a small amount of fabric sealant can be applied to the raw edges after cutting. This clear liquid dries invisible and helps lock the fibers in place, which is a very useful product for some fabrics. Remember, a little attention to detail goes a long way, so it is worth the effort.
Keeping Your Cut T-Shirt Looking Good
Once you cut up a t shirt and create your new style, you will want to keep it looking its best. Proper care can help maintain the shape and appearance of your modified garment, especially around those new cut edges. It is not much different from caring for your other clothes, but a few extra steps can help, you know, keep it nice.
For shirts with raw edges, like crop tops or fringed designs, washing them gently can help prevent excessive fraying. It is often a good idea to wash them in cold water on a delicate cycle. You might even consider putting them in a mesh laundry
Tools and Tips to Help You Cut Paper Use - United Business Systems

How to Cut Carrots - Chefjar

How to Cut Potatoes - Chefjar
