Crafting Luscious Caramel For Filling Chocolates At Home
Imagine biting into a piece of chocolate, and inside, a smooth, flowing, golden caramel awaits you. That moment, the way the sweet and slightly salty flavors blend with rich chocolate, is truly a special treat. It's a delightful experience, a little bit of joy in every single bite, and it's something many people really love. So, that kind of experience, you know, it just feels so good.
You might think making that perfect caramel for filling chocolates is a difficult task, something only professional candy makers can do. Yet, as "My text" suggests, homemade caramel is easier than you might initially believe. It's truly a process that anyone can try their hand at, and the results are often quite rewarding.
This guide is here to show you exactly how to make that rich, delicious caramel that's just right for your chocolate creations. We'll walk through the steps, giving you simple advice to create a filling that tastes far better than anything from a store. It's really about getting a feel for it, and that, too, is almost part of the fun.
Table of Contents
- What is Caramel, Anyway?
- Why Homemade Caramel for Your Chocolates?
- Wet Caramel or Dry Caramel: Which One is Best for Fillings?
- The Art of Making Caramel: A Step-by-Step Guide
- Perfecting Your Caramel Filling: Helpful Tips and Ideas
- Putting Caramel Into Your Chocolates
- Other Fun Ways to Use Your Homemade Caramel
Frequently Asked Questions
Is homemade caramel hard to make for chocolate fillings?
Making homemade caramel might seem a bit tricky at first, but it's really not as hard as it appears. With a few simple ingredients and some patience, you can create a beautiful, tasty caramel. The main thing is paying attention to the sugar as it changes color, and that, you know, just takes a little practice.
What's the difference between wet and dry caramel for chocolate fillings?
"My text" mentions two main ways to make caramel: wet and dry. Wet caramel involves dissolving sugar in water before cooking, which helps prevent it from crystallizing and creates a smoother sauce. This kind of caramel is often used for sauces and dipping things, so it's usually what you want for a chocolate filling. Dry caramel, on the other hand, is just melted sugar, and it gets firmer. It's typically for things like pralines, not really for a soft filling.
How do I get my caramel filling to be the right consistency?
Getting the perfect consistency for your caramel filling depends on how long you cook it and the amount of liquid you add. For a softer, more flowing caramel, you might cook it a little less or add a touch more cream. For a firmer, yet still soft, filling, cook it a bit longer. It's a bit like finding a sweet spot, so, you know, a little trial and error can help.
What is Caramel, Anyway?
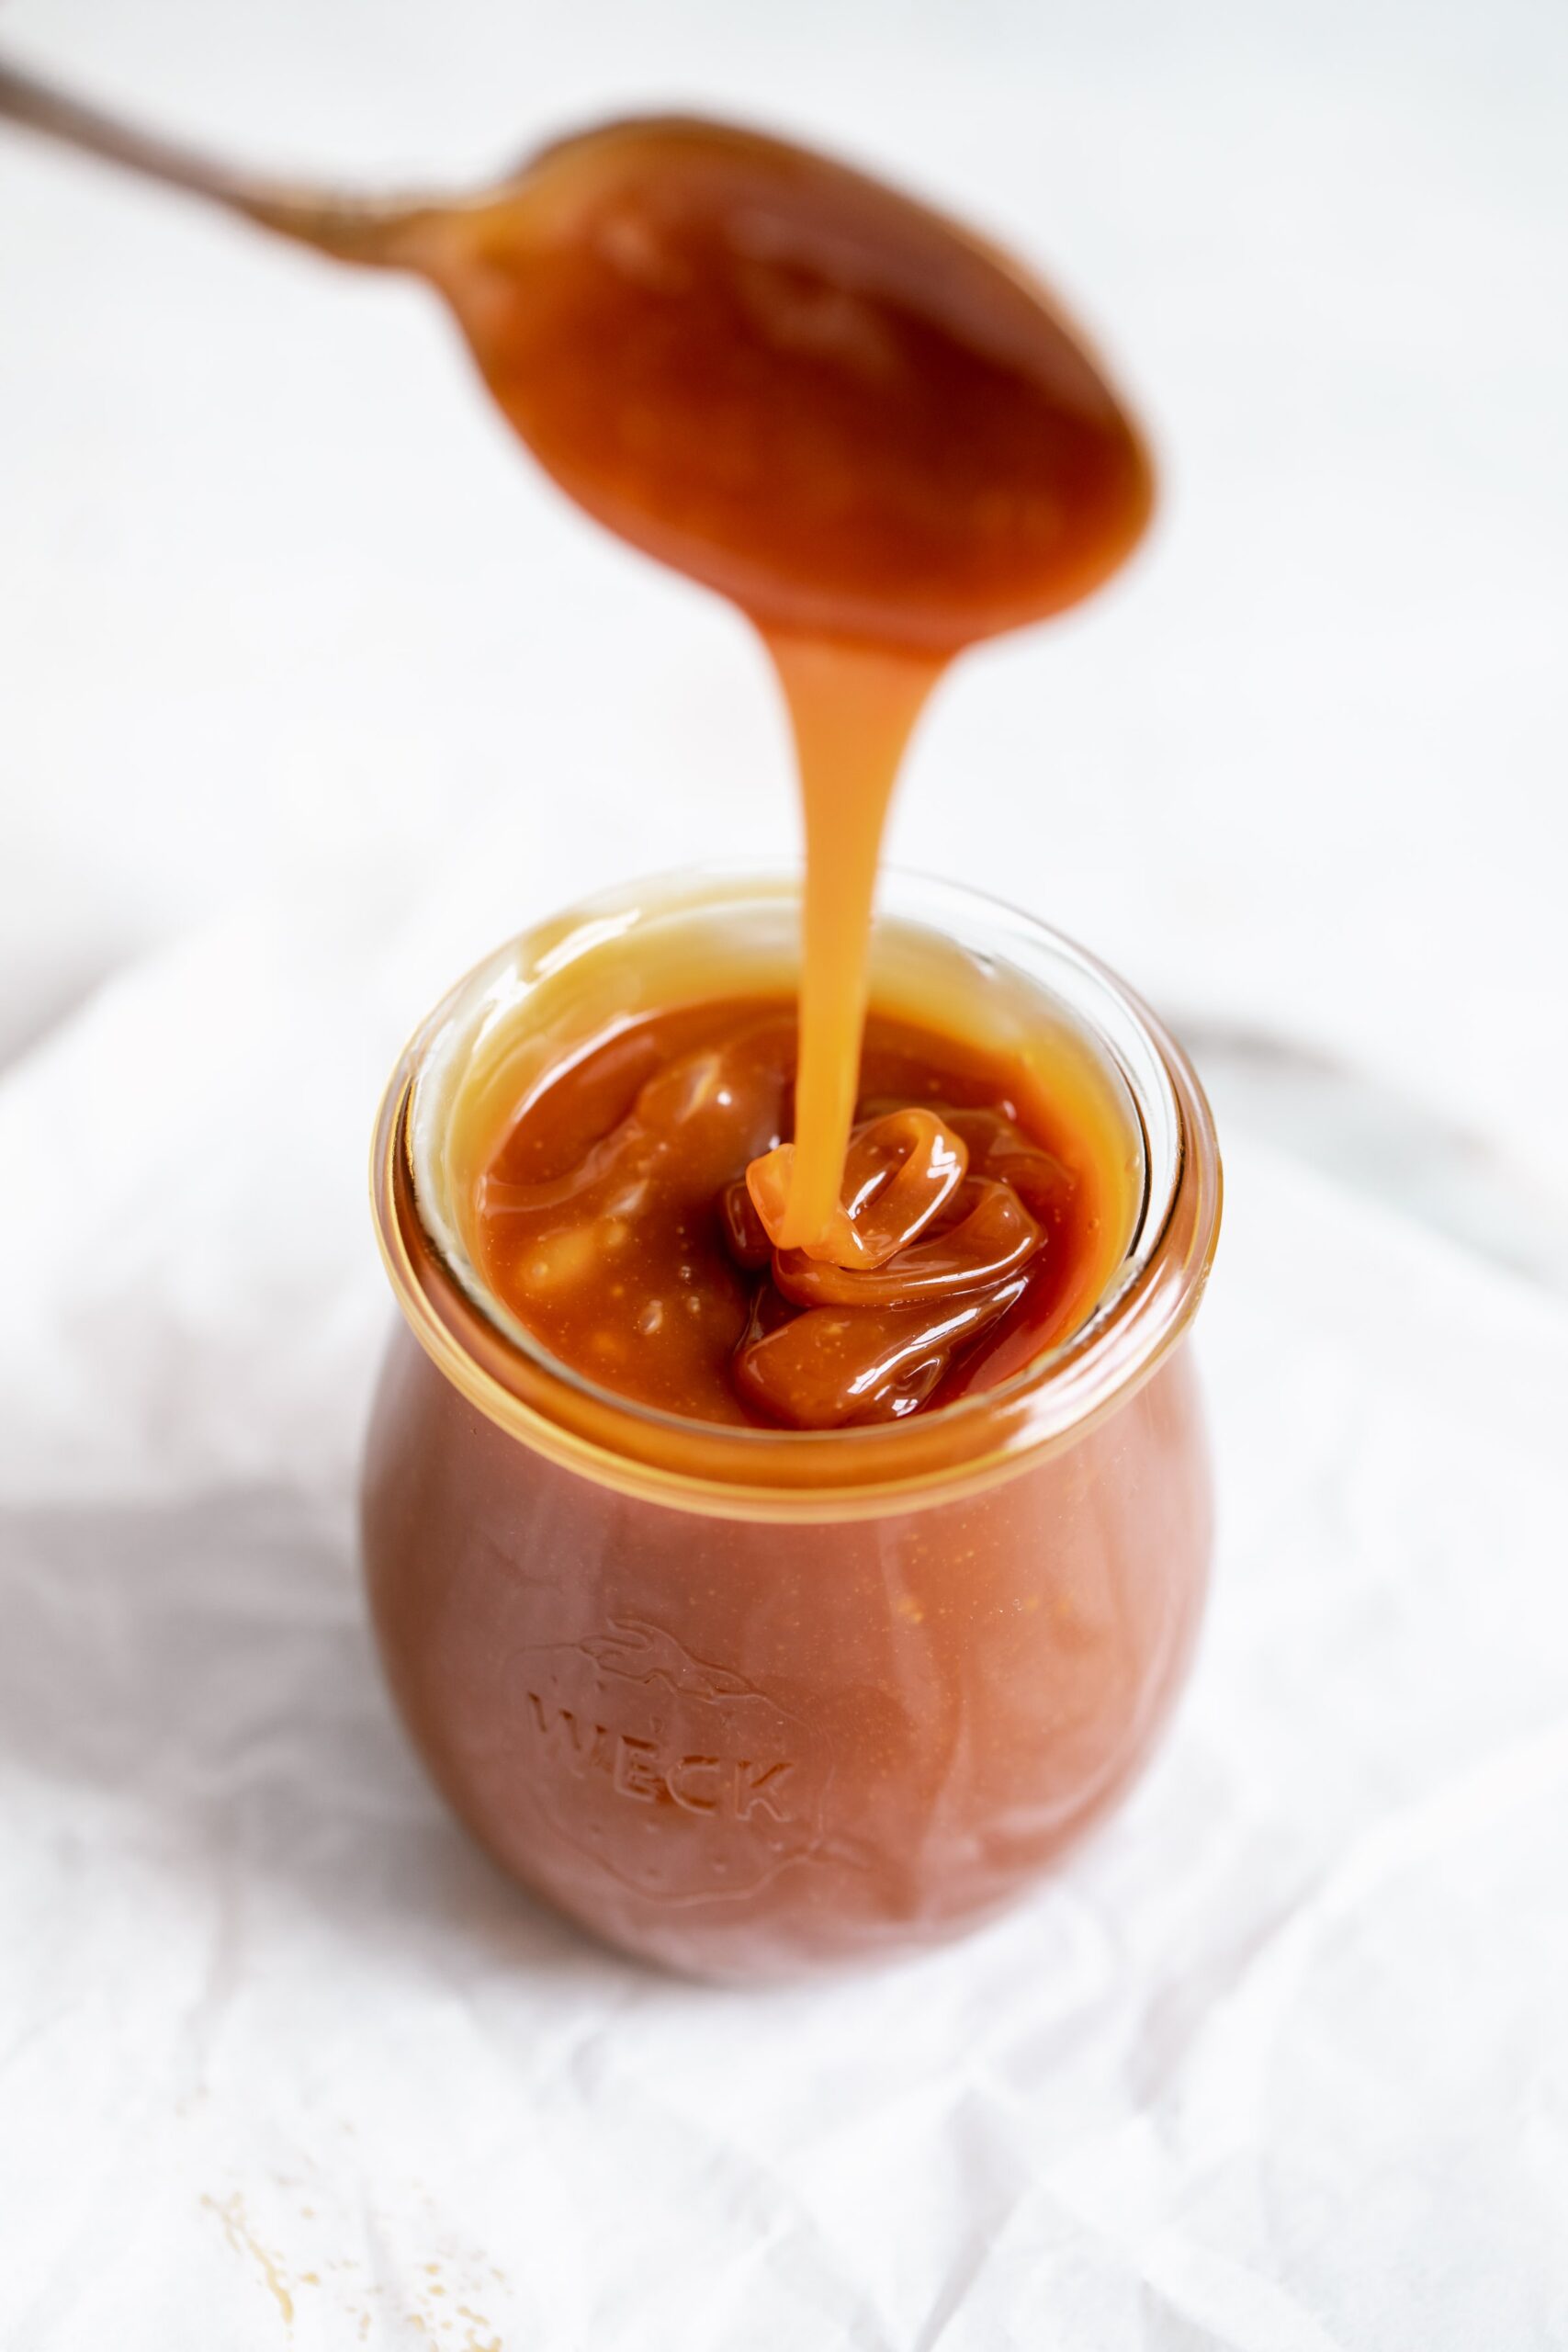
Caramel, as "My text" explains, is a soft, dense, and chewy candy. It typically comes from boiling a mix of milk or cream with sugar. It's that wonderful result you get when sugar melts and then turns a lovely brown color. This browning process gives caramel its distinct, deep flavor and its beautiful golden-brown look. It's a simple idea, but the outcome is quite special, you know.
Sometimes people call caramel candy "toffee," though "toffee" can also mean other types of sweets. What makes caramel so appealing is its rich taste and its pleasing texture. It can be gooey, it can be slightly firm, or it can be a soft sauce. That versatility is part of its charm, and that, really, is why it's so popular.
The sweet, slightly toasted flavor of caramel comes from careful cooking. It’s a process that transforms basic sugar into something truly delightful. Getting it just right, you know, takes a bit of a feel for it, but it’s very rewarding.
Why Homemade Caramel for Your Chocolates?
Making your own caramel for chocolate fillings brings so many good things to the table. For one, the taste is often much better than anything you can buy ready-made. You get a fresh, deep flavor that store-bought versions just can't match. It's really about the quality of the ingredients and how freshly it's made, you know.
Then there's the texture. When you make caramel yourself, you control how soft or how firm it becomes. This means you can get that perfect, slightly gooey consistency that flows just right when someone bites into your chocolate. It's really about having that personal touch, so, you know, it makes a big difference.
Also, you know exactly what goes into your caramel. No strange additives or preservatives. Just sugar, butter, and cream, as "My text" points out. This gives you peace of mind and lets you feel good about what you're serving. Plus, there's a real sense of pride in creating something so delicious from scratch. It's a bit like a little personal victory, you might say.
Wet Caramel or Dry Caramel: Which One is Best for Fillings?
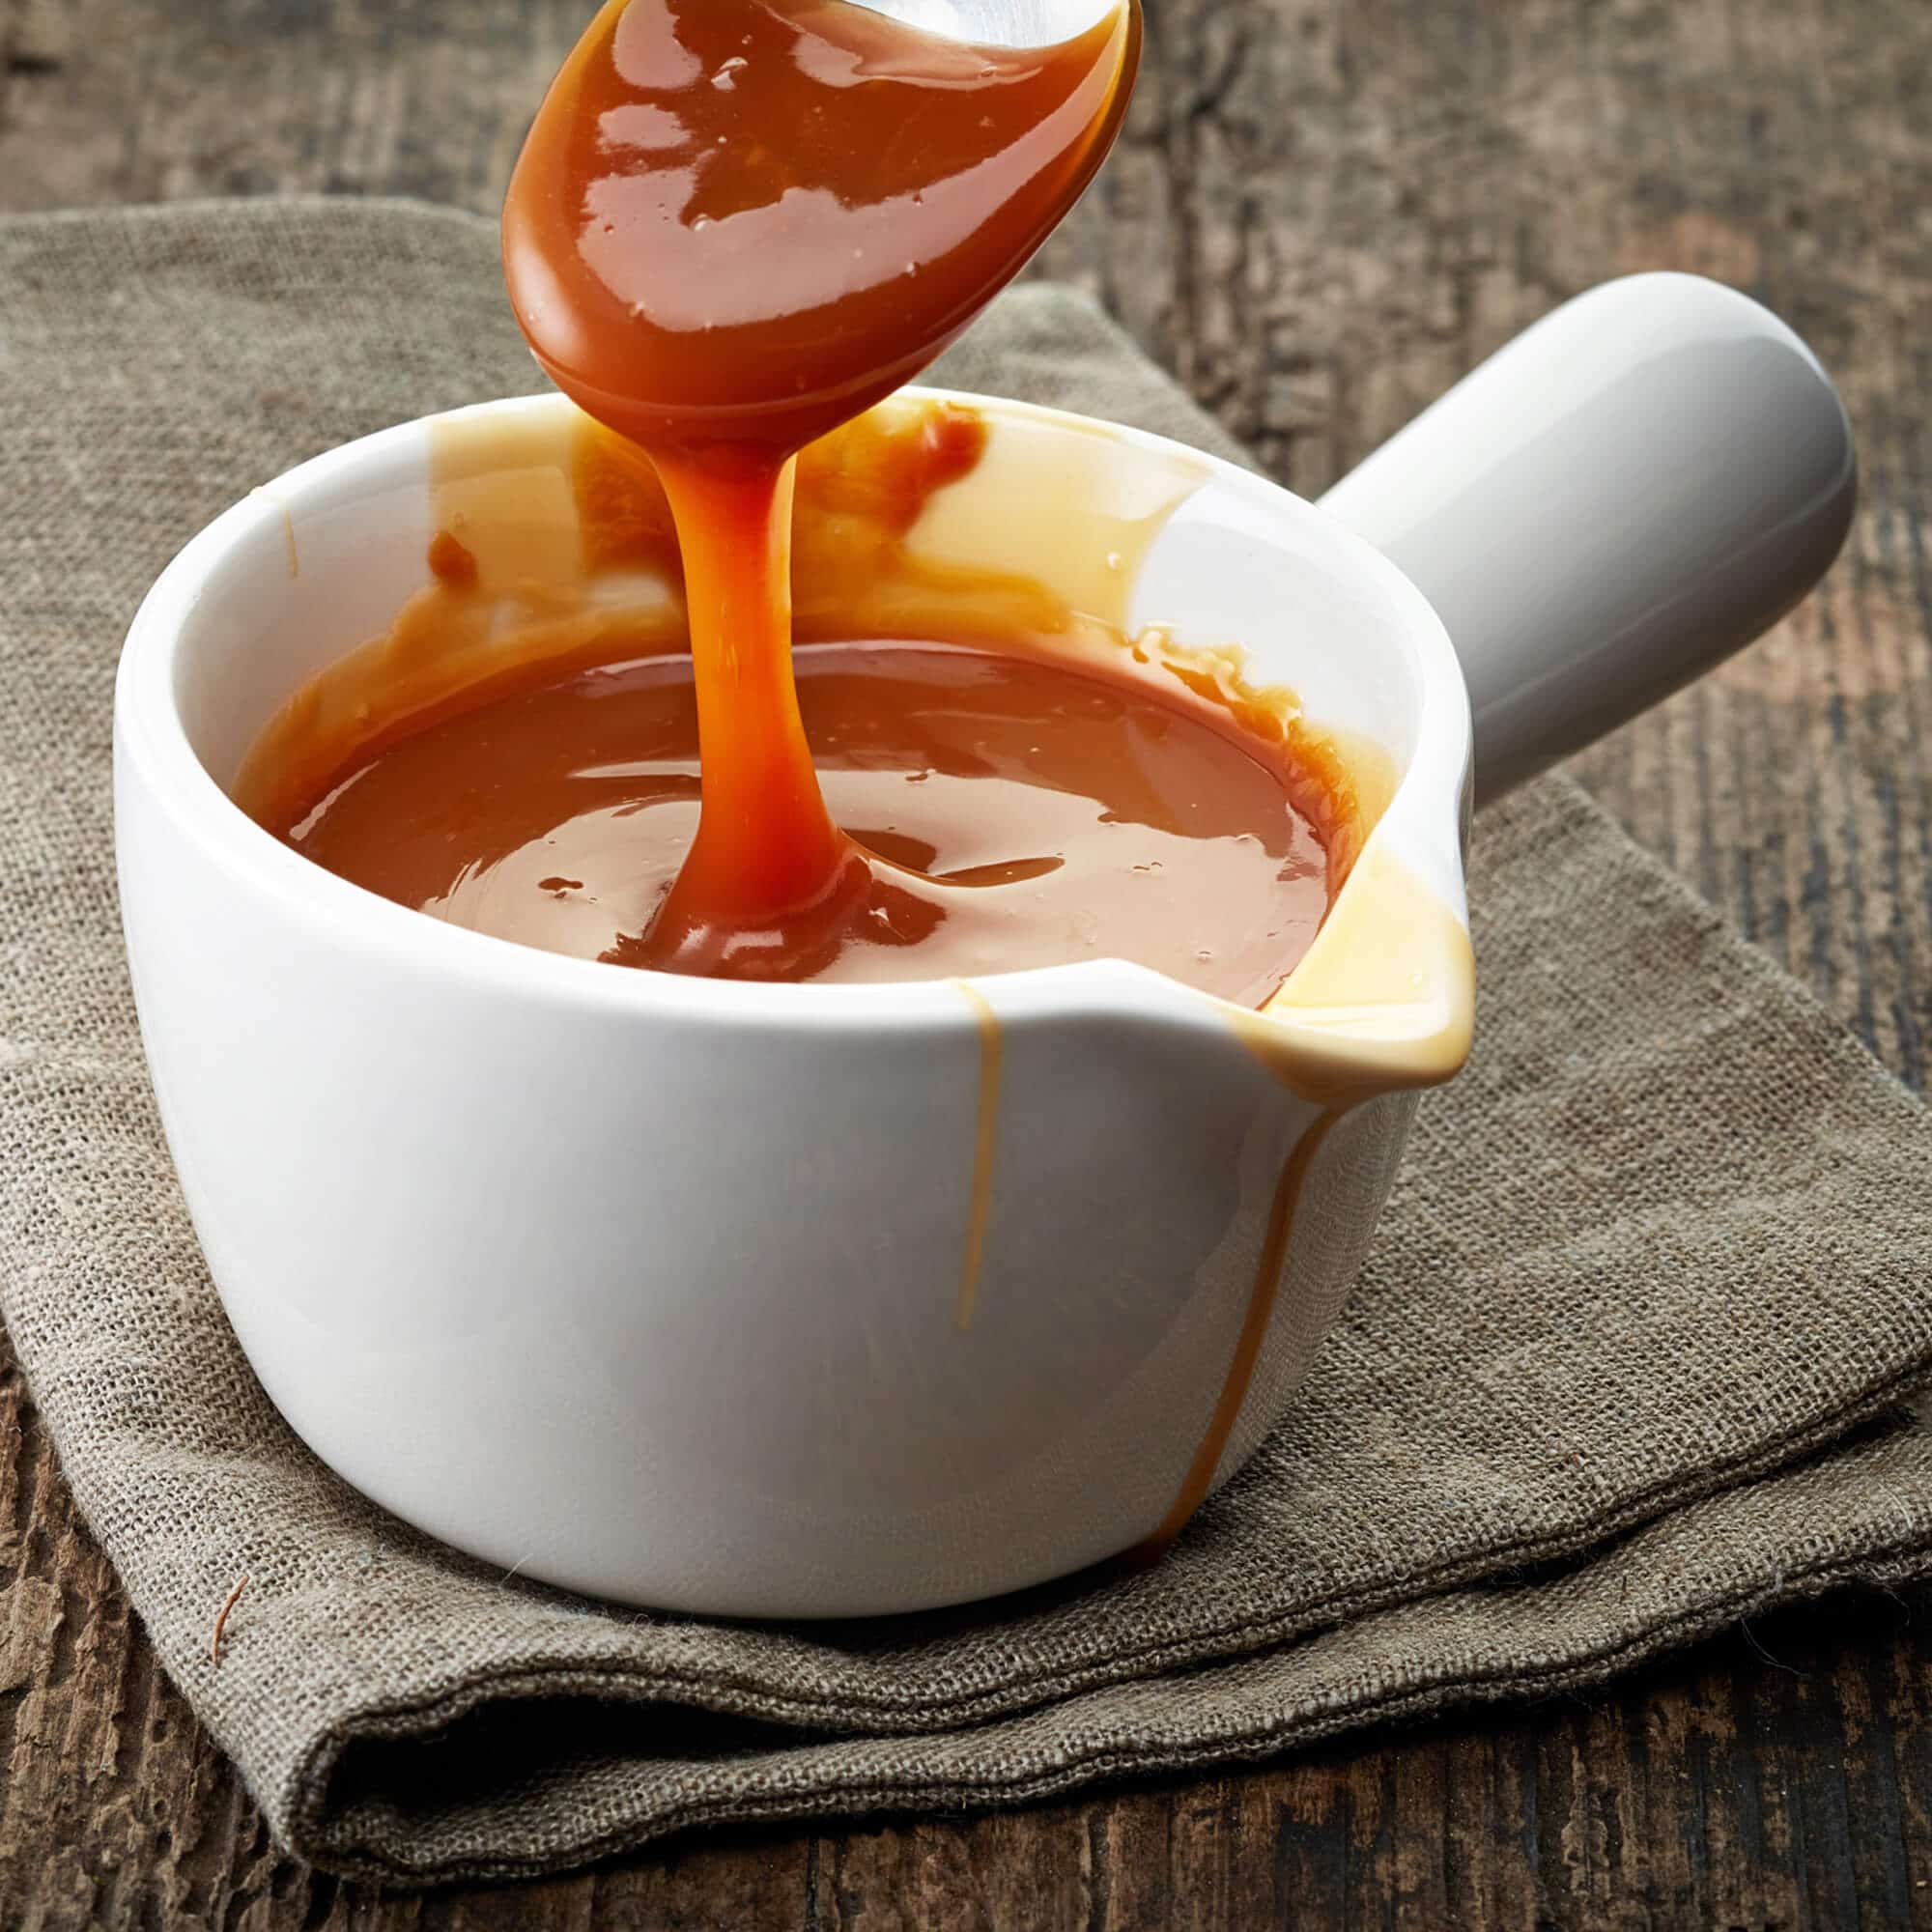
When you're making caramel, you generally have two main approaches: the wet method or the dry method. "My text" mentions choosing between these. For filling chocolates, the wet caramel technique is usually the better choice. This is because it helps create a smooth, rich sauce that's perfect for pouring or piping into chocolate shells. It's really quite forgiving, in a way.
The wet caramel method involves adding a little water to your sugar before you start cooking it. This water helps the sugar dissolve evenly and prevents it from forming crystals, which can make your caramel grainy. It's a really good way to get a consistent result, and that, you know, is important for fillings.
Dry caramel, on the other hand, is made by simply melting sugar on its own. This creates a firmer consistency and is often used for things like making pralines or spun sugar decorations. While it has its uses, it's not ideal for the soft, flowing filling you typically want inside a chocolate. So, for fillings, wet caramel is the way to go, you know.
The Art of Making Caramel: A Step-by-Step Guide
Making caramel at home can feel a bit like a kitchen adventure, but with a clear path, it's quite simple. We tested every possible variable to get a grip on what makes caramel succeed or fail and created a technique that every home cook can feel confident about, as "My text" notes. This process uses the wet caramel technique to create a rich, smooth sauce in about 15 minutes.
Ingredients You'll Need
To make a truly good caramel, you only need a few basic things. You'll want granulated sugar, of course, which is the star of the show. Then, you'll need some water to start the wet caramel process. For richness, you'll use butter, and for that creamy texture, heavy cream is a must. A pinch of salt is also good, especially if you want a salted caramel flavor. It's really just a few items, so, you know, it's pretty straightforward.
Make sure your ingredients are fresh and of good quality. This really makes a difference in the final taste and texture of your caramel. Using good butter and cream will give your caramel a much better flavor profile. That, you know, is something to keep in mind.
Getting Ready: Preparation is Key
Before you even turn on the stove, get everything ready. Measure out all your ingredients. Have your butter cut into pieces and your cream warmed slightly; this helps prevent the caramel from seizing later. Use a heavy-bottomed pot, which helps distribute heat evenly and prevents burning. A good thermometer is also very helpful for checking the temperature, so, you know, that's a good tool to have.
Make sure your pot is clean, as any bits of food can cause your sugar to crystallize. Have a pastry brush and a bowl of water nearby, too. These will be useful for cleaning the sides of the pot during cooking. It's really about setting yourself up for success, you know.
The Wet Caramel Approach
Start by putting your sugar and water into your heavy-bottomed pot. Stir them together just until the sugar is wet. Don't stir once it starts boiling. Place the pot over medium heat. The sugar will dissolve first, then it will start to boil. As it boils, you might see sugar crystals form on the sides of the pot. Use that wet pastry brush to gently wash these crystals down into the boiling sugar. This helps keep your caramel smooth, you know.
Let the sugar mixture boil without stirring. Watch it carefully as it changes color. It will go from clear to pale yellow, then to a lovely amber, and finally to a deep, rich brown. This color change is really important, so, you know, pay close attention.
Once the sugar reaches that deep amber color, take it off the heat right away. Carefully, but quickly, add the butter, stirring it in. Be careful, as the mixture will bubble up quite a bit. Then, slowly pour in your warmed cream, stirring constantly. Again, it will bubble and steam, so be cautious. Keep stirring until everything is fully combined and smooth. It's a bit of a dramatic moment, but it works out, you know.
Knowing When Your Caramel is Just Right
The color of your caramel is a big clue. You want a deep amber color, like a copper penny. If it's too light, it won't have that rich caramel flavor. If it goes too dark, it will taste burnt and bitter. So, you know, it's a balance.
Using a candy thermometer is the most accurate way to know when your caramel is done. For a soft, flowing caramel that's great for fillings, you're usually aiming for a temperature between 235°F and 245°F (113°C to 118°C). This is the "soft ball" stage. If you cook it much past that, it will become firmer, more like a chewy candy. That, you know, is a key piece of information.
Once your caramel reaches the right temperature and color, remove it from the heat. Let it cool a bit before you try to use it. It will thicken as it cools, so, you know, keep that in mind.
Cooling and Keeping Your Homemade Caramel
After you've made your caramel, let it cool down a bit in the pot before pouring it into a heatproof container. It needs to cool completely before you use it for filling chocolates. This cooling process helps it reach its final consistency. If you try to use it too warm, it will be too thin and messy. So, you know, patience is a good thing here.
Once cool, you can store your homemade caramel in an airtight container in the refrigerator for a couple of weeks. When you're ready to use it, you can gently warm it up in a microwave or a double boiler until it's soft and easy to work with. Just warm it slowly, you know, to keep it smooth.
Perfecting Your Caramel Filling: Helpful Tips and Ideas
Making caramel is one thing, but getting it just right for a chocolate filling is another. It's about a few small adjustments that make a big difference. This is where your practice comes in, and that, you know, is part of the fun.
Getting the Right Smoothness
For chocolate fillings, you want a caramel that is soft and flows nicely, but not so thin that it runs everywhere. If your caramel seems too thick after it cools, you can gently warm it up and stir in a tiny bit more warm cream, a teaspoon at a time, until it reaches your desired consistency. If it's too thin, it means it wasn't cooked long enough. You can try to gently reheat it and cook it a little longer to reach a higher temperature, which will make it thicker. It's a bit of a balancing act, so, you know, take your time.
A good test is to let a small spoonful cool on a plate. See how it moves. Does it slowly spread? Is it firm but still soft enough to press? That will tell you if it's right for piping into your chocolate shells. This kind of testing, you know, really helps.
Adding Different Tastes and Flavors
The classic caramel is wonderful on its own, but you can easily make it even more exciting. A very popular choice is salted caramel. To make salted caramel, stir in a good quality sea salt or flaky salt after you've added the cream and butter. The salt really brings out the sweetness and adds a lovely contrast. How much salt? That's up to your taste, but start with a little and add more if you like. It's really about what you enjoy, you know.
You can also add other flavors. A splash of vanilla extract after the caramel is off the heat is a common addition. Or, for something different, try a little cinnamon, a touch of espresso powder, or even a hint of rum or bourbon for an adult treat. Just be sure to add these after the cooking process is done, so the flavors don't cook away. That, you know, is a good tip.
Working Through Common Caramel Issues
Sometimes, things don't go exactly as planned with caramel, and that's perfectly okay. One common issue is grainy caramel. This usually happens if sugar crystals form on the sides of the pot and fall back into the mixture, making it grainy. Using that wet pastry brush to wash down the sides of the pot can help prevent this. If it happens, sometimes reheating it gently with a little more liquid and stirring until the crystals dissolve can help. It's a bit of a rescue mission, you know.
Another issue is caramel seizing, which means it suddenly becomes a hard, clumpy mess. This often happens when cold cream or butter is added to very hot sugar. That's why warming your cream slightly beforehand is a good idea. If it seizes, don't give up! Sometimes, gently reheating it over very low heat and stirring constantly can help melt the seized bits back into a smooth liquid. It's really about gentle heat and patience, you know.
And then there's burnt caramel. If your sugar gets too dark, it will taste bitter and there's no way to fix it. Unfortunately, if it burns, you'll need to start over. Sugar is cheap, so mistakes aren't costly, as "My text" wisely says. It's just part of the learning process, you know.
Putting Caramel Into Your Chocolates
Once your caramel is perfectly made and at the right temperature, it's time for the fun part: filling your chocolate shells! This is where your delicious caramel truly shines. It's a very satisfying step, you know.
Preparing Your Chocolate Outer Layers
First, you'll need some chocolate shells. You can buy these pre-made, or you can make them yourself by tempering chocolate and pouring it into molds. Make sure your shells are fully set and dry before you add the caramel. Any moisture can cause problems with your chocolate. So, you know, be sure they are ready.
The shells should be cool, but not too cold, or the caramel might set too quickly and be hard to spread. A room temperature shell is usually just right. It's really about having everything at the right temperature for easy working, you know.
Gently Adding the Caramel
The easiest way to get caramel into your chocolate shells is by using a piping bag. You can use a disposable piping bag or even a sturdy Ziploc bag with a small corner snipped off. Fill the bag with your slightly warm (but not hot) caramel. The caramel should be warm enough to flow easily but cool enough that it won't melt your chocolate shells. It's a bit of a delicate balance, you know.
Pipe the caramel into each chocolate shell, leaving a small space at the top. You need room to cap the chocolate later. Try to fill them evenly, so each chocolate has a good amount of delicious caramel inside. It's really about being neat and tidy, you know.
Finishing and Sealing Your Chocolates
Once your caramel is in the shells, let it sit for a little while, maybe 30 minutes or so, to make sure it's fully set and not too runny. Then, you'll need to seal the chocolates with another layer of tempered chocolate. This creates the bottom of your chocolate bonbon. Use a small spoon or a piping bag to gently spread a thin layer of tempered chocolate over the caramel, making sure it seals completely to the edges of the shell. This step, you know, is important for keeping the caramel inside.
Scrape off any excess chocolate from the top of the mold to create a neat finish. Let the chocolates set completely, either at room temperature or in the refrigerator for a short time. Once they are firm, you can gently pop them out of the molds. And there you have it, beautiful, homemade caramel-filled chocolates! It's a very satisfying end to the process, you know.
Other Fun Ways to Use Your Homemade Caramel
While making caramel for filling chocolates is truly wonderful, your homemade caramel is so versatile, you can use it in many other delightful ways. Don't let any extra go to waste! It's really about enjoying every bit of it, you know.
"My text" mentions that this easy caramel sauce is perfect for all sorts of recipes. You can use it as a filling in a salted caramel pie or tart. It's also absolutely amazing drizzled over ice cream, like a simple vanilla or even a rich chocolate. The way it slowly melts over the cold ice cream is just heavenly. It's a pretty classic pairing, you know.
Think about stirring it into your morning coffee or hot chocolate for an extra layer of sweetness and flavor. You can also use it as a dip for apple slices, pretzels, or other fruits. It's even lovely spread on toast or pancakes for a special breakfast treat. The possibilities are quite broad, so, you know, experiment a little!
Homemade caramel also makes a fantastic gift. Pour it into pretty jars, tie a ribbon around them, and give them to friends and family. Everyone loves a thoughtful, delicious, homemade present. It's a very personal touch, and that, you know, means a lot.
You can find more ideas for using your delicious caramel sauce by visiting a trusted baking resource like Allrecipes. Learn more about caramel on our site, and for more chocolate-making tips, link to this page our chocolate guide.
Making your own caramel for filling chocolates is a truly rewarding experience. It brings a special touch to your treats, offering a depth of flavor and a texture that's hard to find elsewhere. With a bit of practice, you'll be making perfect, flowing caramel every time. So, go ahead, give it a try and enjoy the delicious results! It's really about having fun in the kitchen, you know.
The joy of creating something so delicious from simple ingredients is immense. It's a skill that gets better with each attempt, and the mistakes, as "My text" reminds us, aren
How to Make Homemade Caramel - Broma Bakery
Caramel Syrup
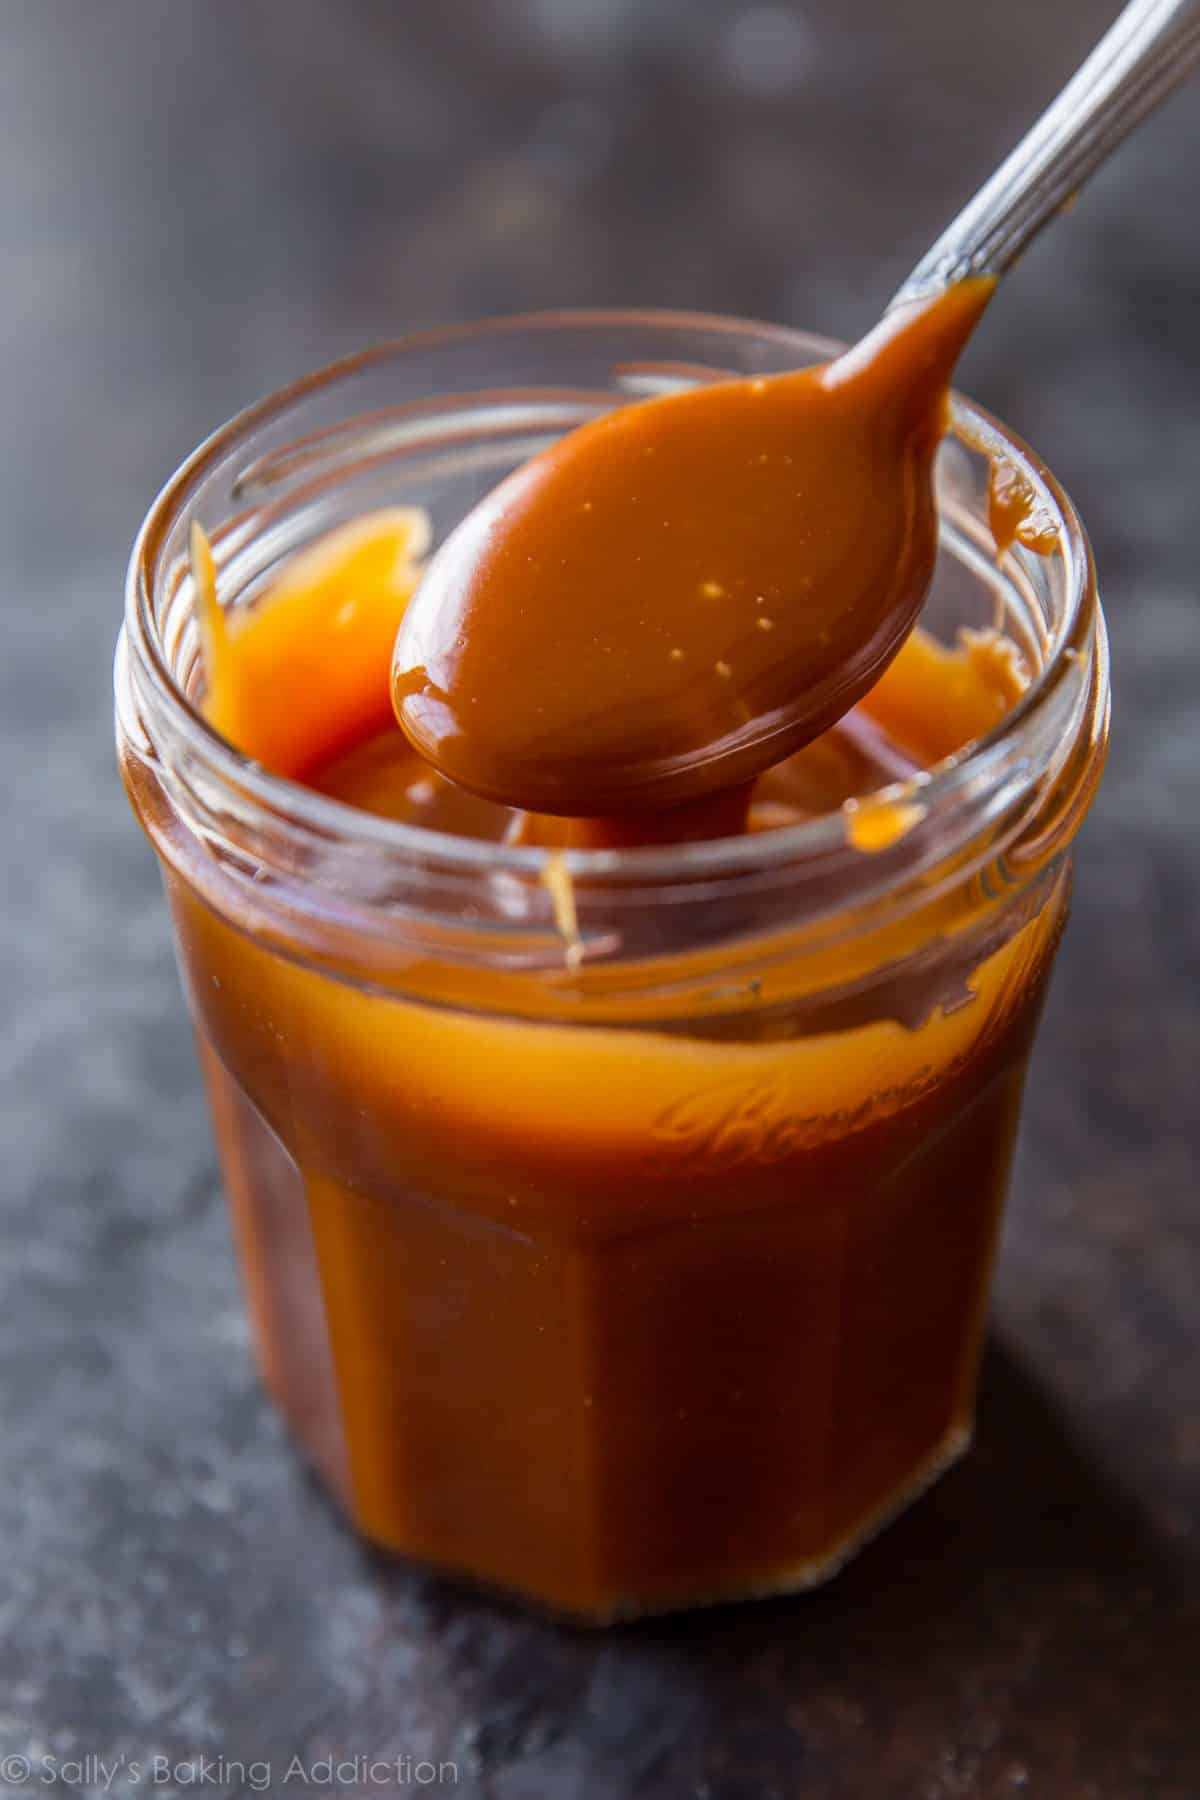
Homemade Salted Caramel Recipe. - Sallys Baking Addiction
